


Mark Kenfield
-
Posts
1,536 -
Joined
-
Last visited
Posts posted by Mark Kenfield
-
-
Hop on local Facebook crewing pages, see who's out there, and connect with people. That networking is everything.
If you have a reel together, start showing it around to people. -
Am I the only one really confused by this camera?
I was really interested to see what Red would come up with (and the mid-range of the camera market has been painfully sparse for last few years).
But a stills lens mount only (even with a locking mechanism)? No accessory power outputs? A v-mount plate that will only fit a few mini v-mount batteries that are out there? No internal ND solution (beyond the hodge podge "slot-in" style lens adapters that are just a dust super highway to the sensor)? And a $2750 USD, 7" monitor (for a small camera body) that appears to require mounting directly on top of the camera (where the top handle needs to be)?As much horsepower as they've squeezed under the bonnet, it's those operational aspects that make a camera appealing these days (they all make good-enough pictures). It's why I think the Mavo Edge is such an appealing camera - they've squeezed all of the OPERATIONAL bells and whistles on to that thing. That's what's exciting.
Why would you not address those KEY elements on a $24,500 camera? How many of the solo-shooter "put a stills lens and monitor on and go" types are going to spend that much on a camera (especially one with the controls on the assistant's side? It's a camera priced, and (at least partially) designed for a camera crew to work with it, and yet it's going to require a tonne of rigging gack to make it operational for that.
I guess the question now is, is the Raptor worth all of those operational compromises for the relatively reasonable price of $24,500 USD? You'll have to add some irritating v-mount-to-v-mount power distro box out the back of it. And you'll need to add RF adapters up front, possibly with additional bracketry to brace them to that slew of 1/4"-20s on the front of the body (so that they don't flex due to the structural costs of the filter slots, and the undersized flange of the RF mount).
Personally, I'm finding it pretty hard to see the appeal. It just doesn't bring much to the table except higher resolutions and framerates that I very rarely need.
The simplified control panel on the assistant's side is nice though. Needing breakout cables just to jam timecode etc? Not so much.
-
I would be very wary of the reliability (based on the reports I've seen). The compact size is really appealing, but I fear you'd want to carry a backup camera with you at all times.
-
I think the question you need to ask yourself, is how profound you want the jump between the Super-8 material and the body of the film to be?
As much as it pains me to not simply shout "Shoot 16mm stupid!". The jump between Super-8 and S16mm is going to be a lot subtler than jumping between 35mm digital and Super-8. So if you want the two different realities to be distinct from each other, I think that's an important consideration to ponder.
At the same time, I think you should also ponder whether shooting anamorphic is a great idea (if you're going to be jumping to 4:3 Super-8 frames with any regularity.
That's a nasty jump in aspect ratio, and cropping the Super-8 to 2.39:1 would look weird. So 1.85:1 may be a safer ratio if you're going to be jumping back and forth.-
 1
1
-
-
I'm wondering if anyone's had any experience with mounting split-field diopters to the rear of a lens before?
Will partially throwing out the backfocus (by having additional glass between half of the projected image) muck up the diopter's focussing?
Thanks to Alexander Sutton Hough's recent discovery of an easy modification to allow 49mm filters on the rear of Sigma's Cine primes, I'm amassing a small collection of fun little filters. Would love to be able to add some split-diopters (as I use them too infrequently to justify a normal 4x5.65" purchase) but at 49mm it becomes possible to carry a set at all times.
I just need to figure out whether they'd actually be usable.
Would love to hear any thoughts!
Cheers,
Mark
-
Sounds like a wonderfully rewarding little getaway. Thanks for the write up, I enjoyed it.
-
1
-
-
Teleconverters are a great way to funk-up modern lenses if you need to. Shot wide-open they'll make any lens look awful, and you can control how far back towards "normal" you go, via your iris.
-
Very cool little discovery! I've just ordered a set (to make life MUCH easier when I want to use nets). And maybe some more interesting things like centre spot or star filters.
Manfrotto make their Xume magnetic adapters for a 49mm diameter (which are brilliant for quick changing filters) I wonder if there's enough space behind the lens to fit the additional magnetic filter layers without any hard vignetting?
If so, that would make it really nice and convenient.
-
Congrats Justin!
-
1
-
-
13 hours ago, Satsuki Murashige said:
Thanks for the details Mark! The ‘guts’ practical FX sounds like it was a lot of fun to shoot. No better feeling than getting it done in-camera!
Having somewhat recent done a macro eyeball shot myself, I know how hard it is to light and hide reflections. Well done mate, great film and gorgeous work by you and your team.
Yeah, I certainly won’t be rushing to shoot macro eyeballs with a 24mm again anytime soon! Distance is most certainly your friend for those ones.
-
On 5/23/2021 at 12:01 PM, Tyler Purcell said:
Interesting concept... I assume the story is in her head? Kinda confused on the meaning behind it.
It was well shot, what camera did you use?
Thanks Tyler, we shot it on the F55.
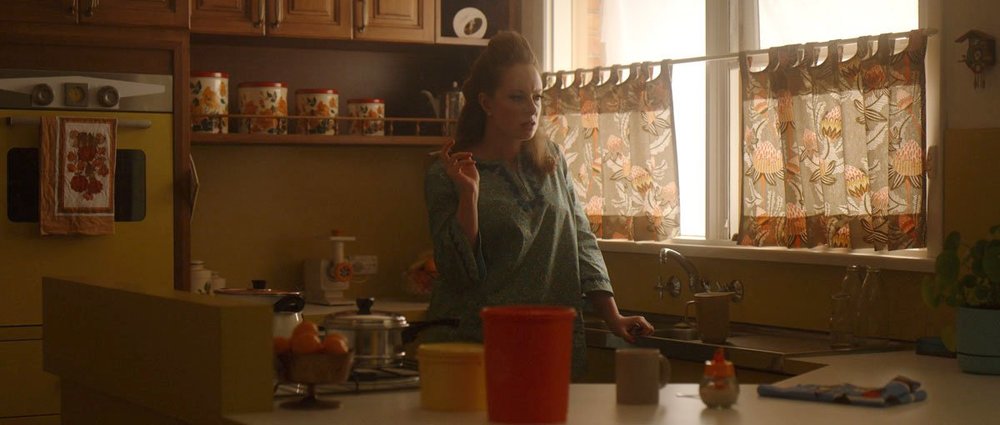
The story is a remembrance, but it's also supposed to be a compression of events and representative of the cyclical and dependent nature of so many domestic abuse situations. People don't just leave, caught up between their love and the constant conflict, and and the cycle keeps repeating itself.
The original title for the film was "The Loop", which I personally think they should have kept.17 hours ago, Satsuki Murashige said:Beautiful work, Mark! I’d suggest including the time stamp for the film so people can find it easier.
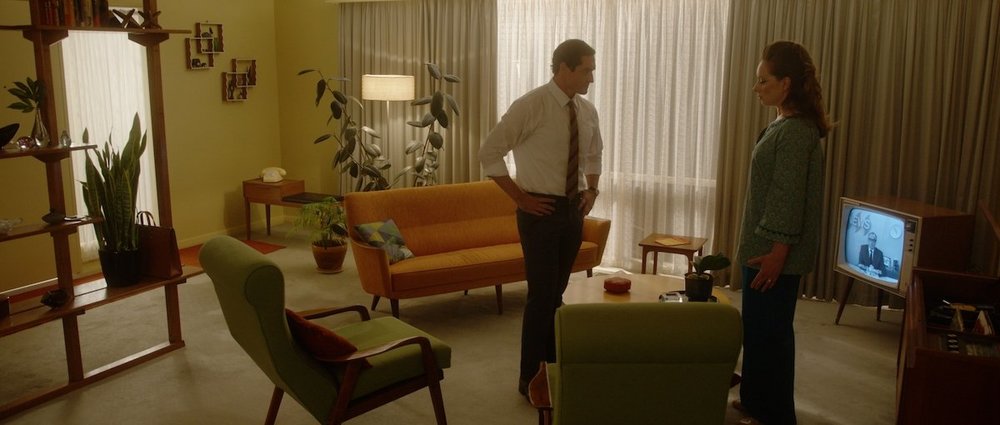
The actors were fantastic, the cyclical story structure along with the sound design worked really well to keep cranking the tension, and the production design, lighting, and lensing nailed the too-perfect ‘Mad Men’ vibe. Loved it!
You guys fooled me with Chekhov’s gun, I thought the rat poison would come into play on the third time around. Instead the trigger turned out to be something we saw in the foreground and also didn’t see just outside of frame. Can you talk a bit about how you and the director came up with that bit of storytelling sleight-of-hand?
Love the practical FX you got in there. The bulb filament popping with the smoke was a nice touch. But I was wondering how you did the ‘guts’ shot and whether you used a probe lens for the mouth/eye shots? I’m guessing you had to paint out the camera reflection in post for the eye shot?
Also, I’m assuming the space void transitions were VFX, but maybe that’s what you were referring to?
Anyway, lovely work Mark. You and your team should be very proud of what you’ve accomplished with this one. Congrats!
A good point Sat, for anyone interested in taking a look, you can click through to the vimeo page itself to access the forward/backward controls here:
https://vimeo.com/551773641Password: TOMI2021
Timestamp: 1:07:48
And thanks Sat, really appreciate the kind words. I'm not sure we consciously had the rat poison there for a mis-directed Chekov's Gun, so much as for a bit of flavour in the dressing, to help set the mood. But it did become pretty immediately apparent in the edit, and I think it works a treat as a mis-direct.
The guts/throat/mouth/void/eye shot was actually supposed to have two additional components at the start. We were going to fade in on launch footage from the Apollo 12 mission (the lunar mission that she's watching on the TV), and from shots of the exhaust flames from the rocket, we'd crossfade into our own shots of the "rocket exhaust" which we did by feeding the smoke from a smoke machine through a pipe surrounding a Dedolight, with the dedo flickering through a dimmer to create the sense of the exhaust flames shooting out at the camera lens.
That explosive firey/smokey shot would then blend into the roiling stomach juices and the rest of the shot would carry on from there. The gut itself was a bowl we lined with lettuce leaves painted pink, and reddish liquid mix that we fed a small gas tube into to create the bubbles. The oesophagus was a soft rubber tube.
We used a Laowa probe lens to get all three of the shots (the guts/oesophagus, the mouth/void, and the eyeball pull-back). By feeding the oesophagus tube over the barrel of the probe lens, and with the camera mounted on a slider vertically, we'd slide up and away from the roiling gut juices, and then pull the oesophagus tube down over the lens, twisting and clenching it by hand to create the "curves" in the throat.
Getting enough light for the shot (at T/22 @ 60fps and 800 ISO) on the probe lens required a LOT of light, so I had a 2k blonde literally centimeters below the gut-bowl, and then a pair of 150w Dedolights firing at full spot into the oesophagus/tube sections (again mere centimeters away from it. The little wafts of smoke that you see floating above the bubbling stomach juices are actually steam from the liquid - because the 2k heated it up to near boiling point!
The mouth/void section was continued by putting the probe lens on a jib, and literally pushing it down to the back of our poor actor Tom's throat! With an M18 blasting into his face at close range to get us the T/32 or so that we needed for my poor AC to have any chance at sharps. If I could have had a 6k HMI that would have helped a great deal, and I could have stopped down to T/44 and made our lives (if not Tom's!) easier.
Shooting on S35mm made this a bit harder than it could have been because at 24mm, we were struggling to jib up and away far enough from Tom's head to fit his whole body in, so that it could be comped into the eyeball shot.
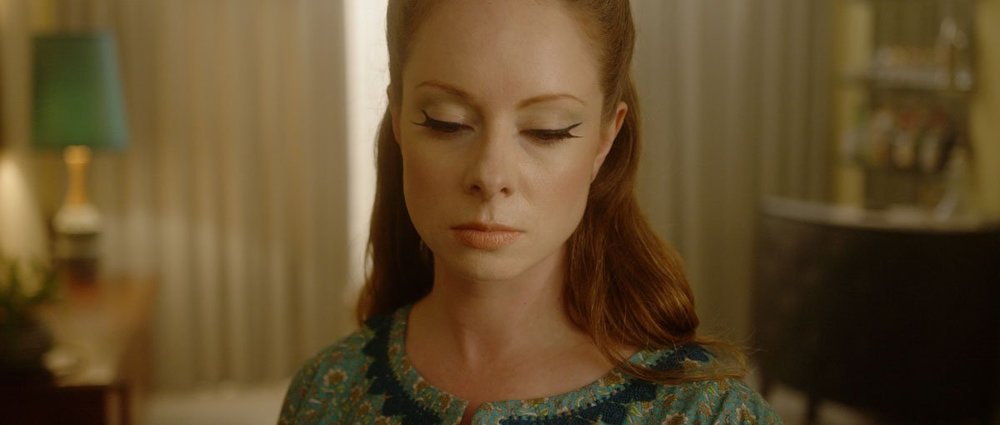
With the eyeball shot itself, having Tom comped into it at the start of the shot helps cover the camera. But we had ourselves pretty well tented behind, to help hide things - still, very hard to get away with much looking THAT closely into an eye. You can see EVERYTHING reflected, and to a very wide viewing angle.
Also, trying to make old-age makeup work at THAT level of magnification is just brutal. You can see everything. We had to remove quite a lot of it on the day, and then I used some contrast/mid-tone detail trickery in the grade to help hide things long-enough that the shot pulls back far enough and you can (kinda) get away with it. -
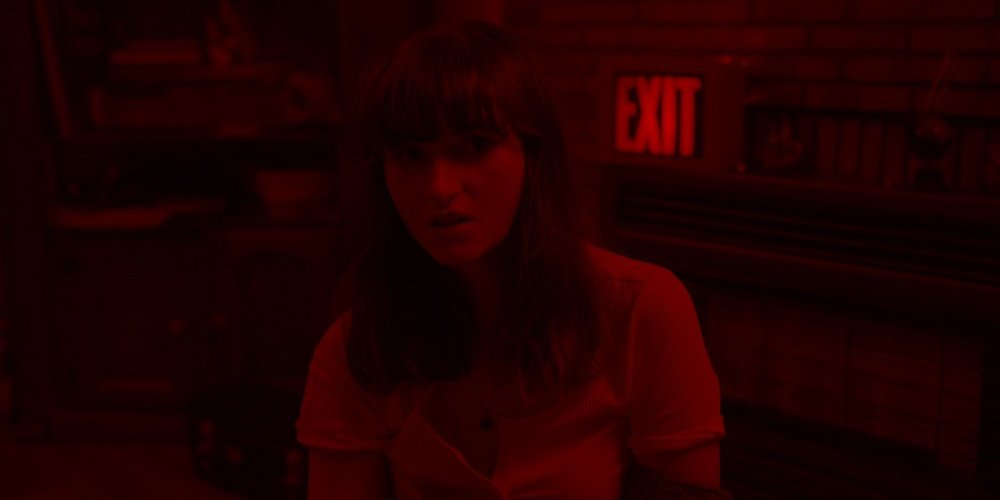
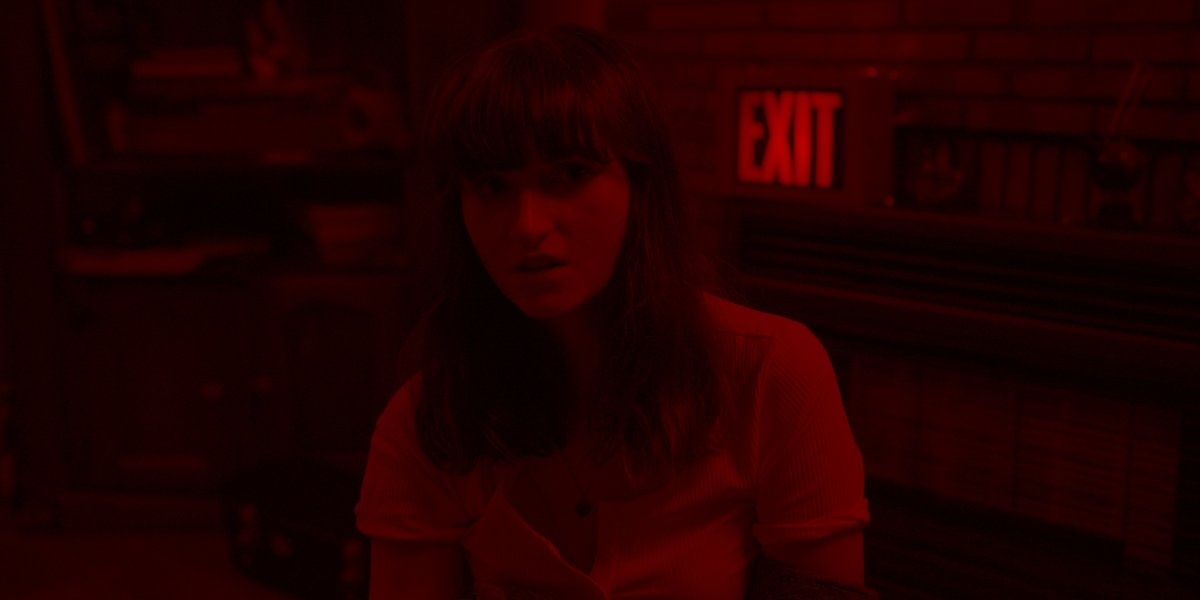
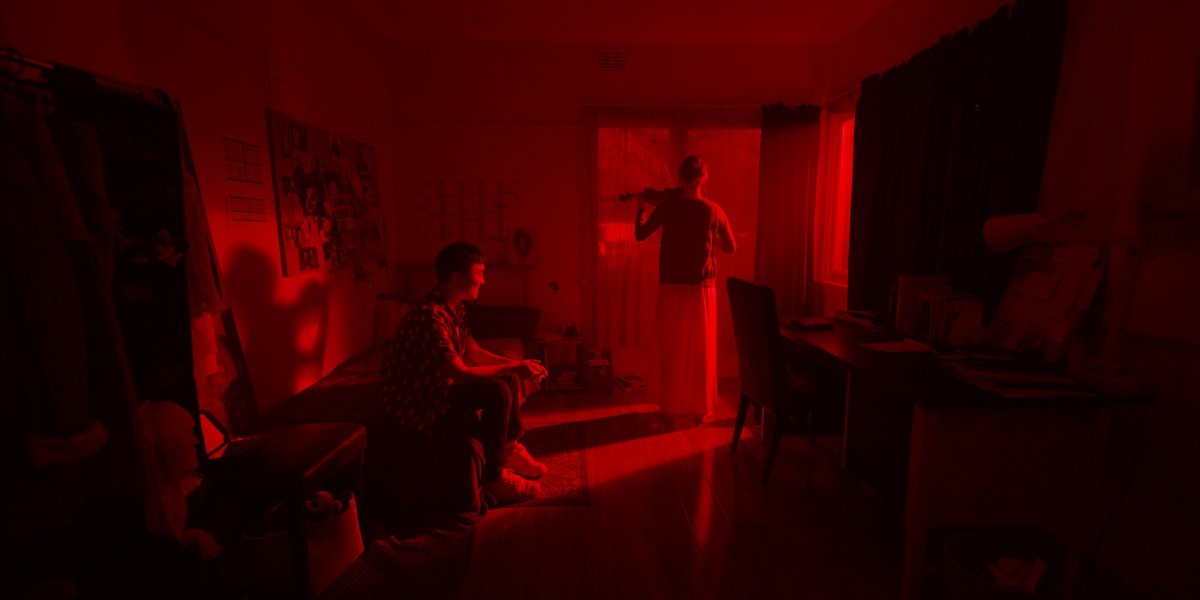
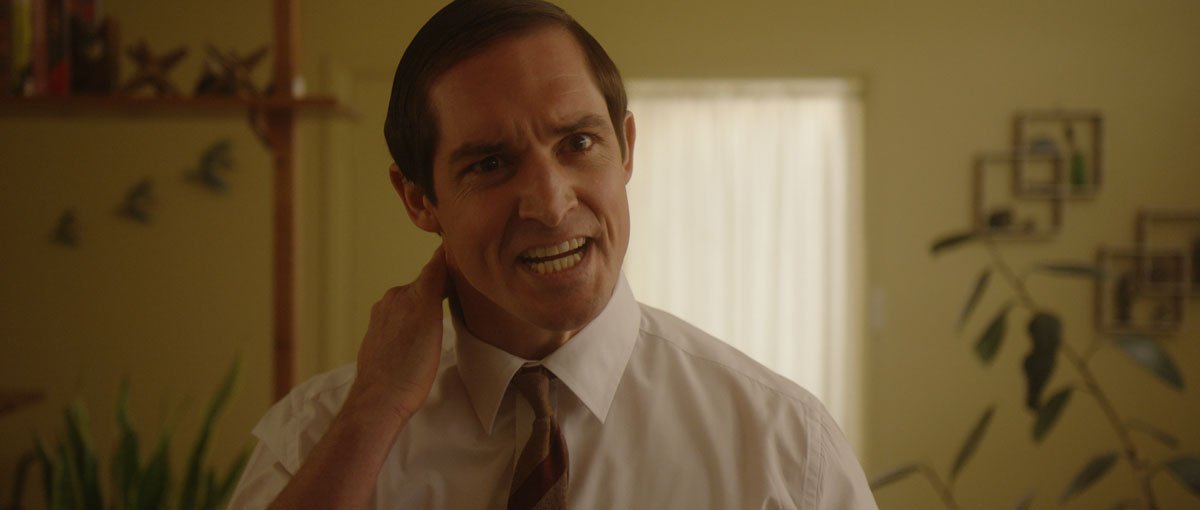
Personally, I tend to add a little clean tungsten light into my red-lit "darkroom" scenes (to pad out the spectrum a little). However, if you don't have the money for gels, you can 100% shoot the scene normally with plain tungsten light and get a perfect red result in the grade.
It take literally seconds, just drop a solid colour generator on top of your clips that need it. Set the colour generator to the red hue of your chosing, and then use "Colour Burn" as your composite mode for the generator. It'll turn a normal image, into a purely red one.
The only limitation, is that you can't easily isolate and remove the overlaid colour from selected parts of the image (say if you wanted to see a tiny bit of white light spilling under the doorway of the dark/red room).
Here's a couple of grabs from a recent shoot with this little colour overlay trick applied (so you can see how effective it is on even full daylight shots):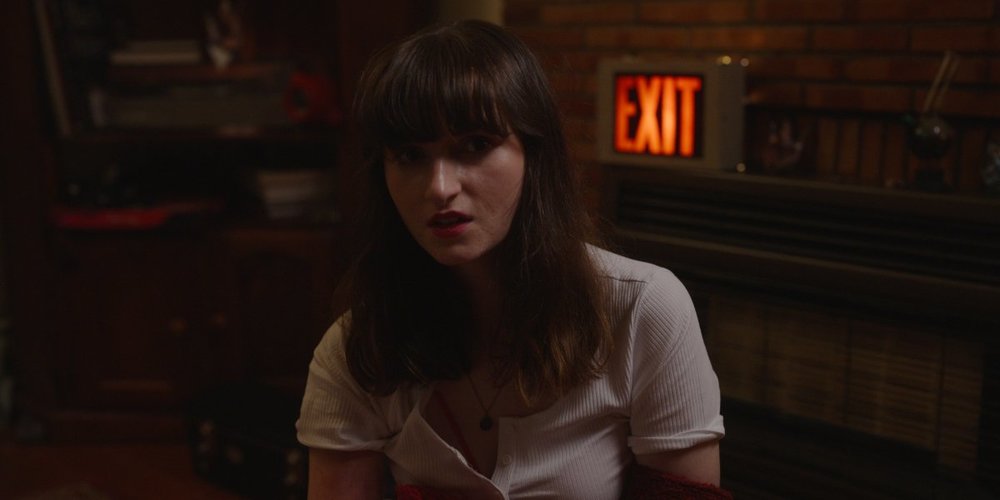

-
1
-
 1
1
-
-
Here's a direct link that should make scrubbing through the full session easier:
Password: TOMI2021
-
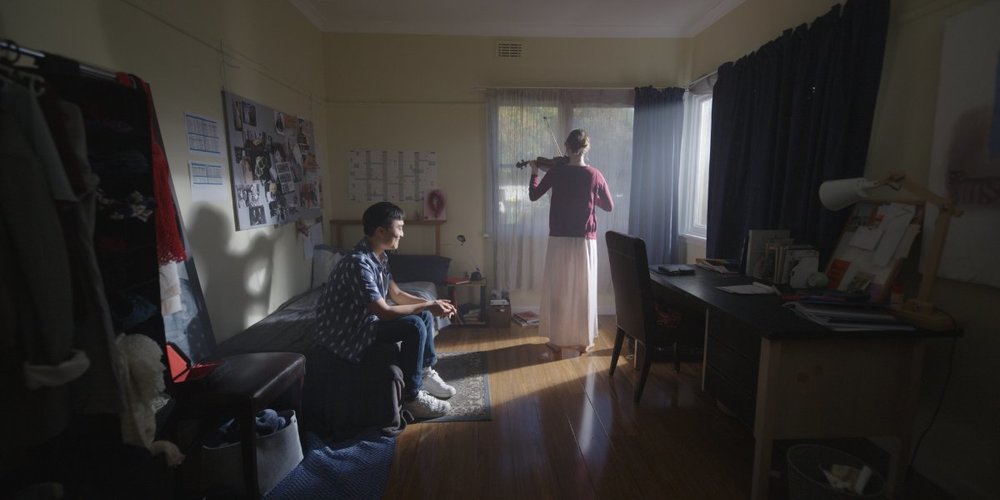
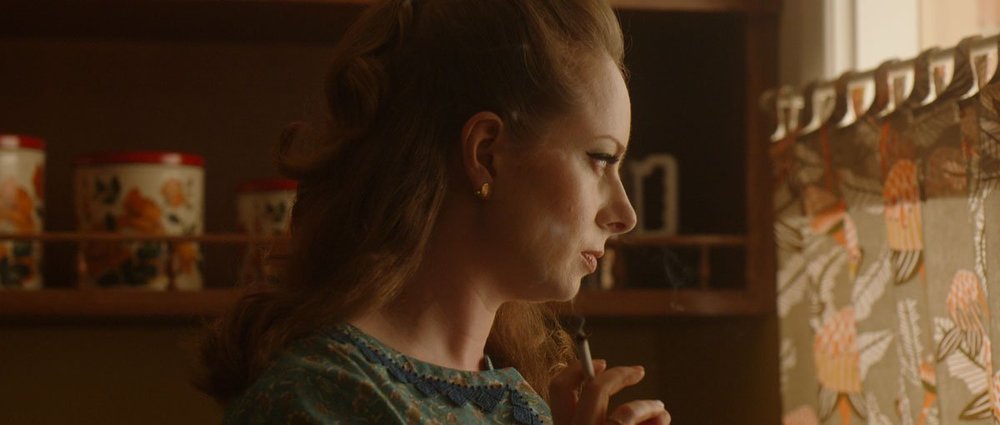
Hey guys, you can catch our little period piece "Today", screening in competition with Australia's top 100 shorts for the next week at the St. Kilda Film Festival (which is streaming online for free this year).
Really proud of this little film and the terrific team who pulled it together under COVID restrictions and between the two lockdowns last year, and it's screening alongside a really interesting collection other films in the session called "Tales of Mystery & Imagination" (it's the last film in the session, but I enjoyed the whole session if you want to watch them all). The player's fast-forward feature has been disabled in the viewer, but if you hold down the left/right arrows on your keyboard, you can scroll through the session to find it at the end (if you don't want to watch the whole session).
It features perhaps my favourite practical FX shot that I've done to-date!
Would love to hear people's thoughts.You can check it out here:
https://player.vimeo.com/video/551773641
(password: TOMI2021)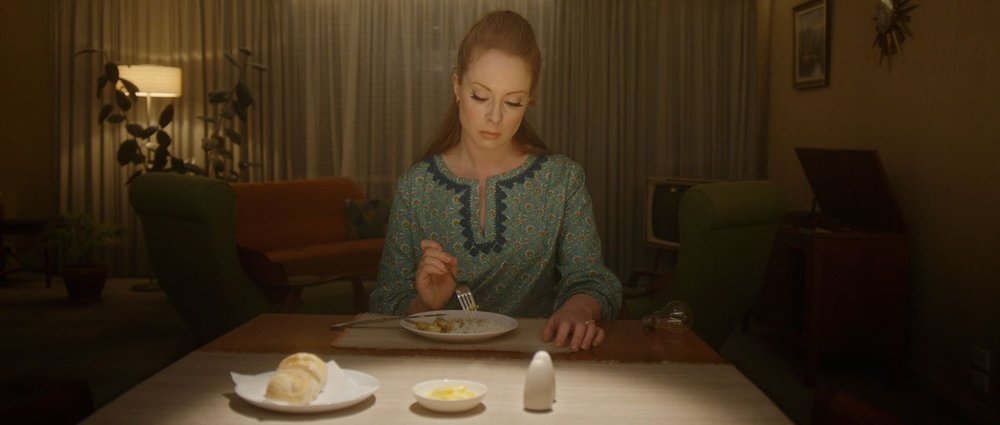

-
Sound Devices had this essentially already covered with their PIX video recorders 8-9 years ago - which had a 12-step false-colour mode, which was brilliant, and all anyone would ever need for perfect exposure every time.
Essentially, with 12-steps (the top and bottom steps being black/white clipping) what you have is a 10-step system - basically the Zone System for video. Let's you know exactly where all of your image detail is sitting - what's barely-discernable shadow detail, what's pure black, what's regular shadow detail, or mid-tones, or highlights, or specular highlights.
A VASTLY superior system to the silly little pink/green/grey false colour everyone else uses.
Convergent Design's Odyssey recorders had a system that was almost as nice, I think it was a five or six step false colour - but it was completely user-customisable. So you could set it to exactly the IRE values you needed (generally barely-there shadows, there shadows, middle-grey, normal skintone, 90% white, and just below white clipping). -
The Shogun is okay, but only just "okay" for monitoring, and you MUST NOT for any reason, use Atomos' built-in LUT engine to do any image processing. Their system is totally f**ked and will destroy any semblance of accuracy in your monitoring.
Send the Shogun a LUTted image directly from the camera though (with no additional processing on top) and it's serviceable.Be aware though, that their spec sheets lie about a few things. The only have one SDI output (not two) if you're needing to do any loop-through with the monitor.
The only real strong points of it (to my mind) are that it offers internal Prores recording, and high-brightness for viewing outdoors.
The high-bright mode kills your accurate monitoring even further - but at least lets you make out compositions in bright outdoor conditions.
The recording mode, makes playback on-set much easier than it generally is running through the camera's playback system. -
Hi everyone,
Looking for a Sigma Cine 135mm T/2 Lens (PL-mount, Feet). If anyone has one for sale, please drop me a line.
Cheers,
Mark
-
If you want to control and shape your light, a book light is a pretty poor choice of source. They're basically the most diffuse and omni-directional of all lights.
-
10 hours ago, Ravi Kiran said:
How does the variable ND work? I couldn't find any specifics other than it not being polarizers.
Are there any issues such as color shifting with the variable ND?
As I understand it, it's an LCD screen, that darkens when charge is applied to it. The limits are that two stops is the lightest density you can get with it, and seven stops is the highest. So you still often have to add external ND at the high and low ends of the range.
You also can't use polarisers with it, because you get weird artefacts in the corners.
Apparently there is colour shift caused by the electronic ND, but Sony are compensating for those shifts internally. So you're not actually seeing any colour issues in your recorded footage.
Ultimately, although it's super useful. I'm still having to carry a full set of NDs with me at all times (in case I run into a situation where I can't use the electronic system).-
2
-
-
On 4/13/2021 at 4:22 PM, Satsuki Murashige said:
This must be how Michael Mann felt while shooting ‘Collateral’ back in 2004. ?
I’m very curious to hear the rest of your report on the FX6 after you wrap. Are you shooting in Prores RAW or XAVC?
It's a really polarising camera for me, possibly more-so than any other I've used to-date. It has features that I absolutely f**king love, and others that drive me into fits of unadulterated rage.
First and foremost, fully-built with PL glass, matte box, EVF, studio baseplate, wireless everything - it’s just over 8kg… not for just the camera body + body accessories, that’s in-total.
Which is nuts. I’ve never had any build (of any camera) with all the mod cons, weigh so little.
Then there’s the speed of its processors. The camera literally boots up and is ready to shoot in the time it takes you to move your finger from the power switch to the record button(!). This is brilliant, and means you’ll never miss a shot waiting on the camera to load. You can also power the camera down (to save battery) with complete impunity.
Not that you need to save battery much, since it sips them.
1-120fps variable frame rates in full-sensor readout, great.
Excellent dynamic range, great.
Sony’s VASTLY improved new colour science (which genuinely does look good out of the box now).
A solid built-in scratch mic, wildly underrated as a feature!
Two video outputs (3 if you count the stock LCD), this makes it viable for conventional production (where the comparably-priced Komodo and C70 are violently compromised).
Extremely fast rolling shutter readout.
Really great, highly-visible tally lights in multiple locations around the camera body (a lovely feature).
A really full-featured LUT system, that’s easy to use (this is terrific)
The electronic ND, which is AMAZING (except when you occasionally run into one of its few limitations).
And (most importantly) the pictures look great. So there’s SO much it’s got going for it.
But then (if you’re doing conventional production) you start to run into the painful bits, and it becomes achingly obvious that Sony never once considered the camera as likely to be thrown into a normal, crewed productions. It’s just missing some really important fundamentals.
Clip naming… Sony have stripped away any capacity to use Reel Numbers, you just get a customisable prefix and an adjustable counter (which doesn’t reset itself when you update said prefix ? ). We’ve been getting around this by building the Reel Numbers into the Prefixes (so the prefix is “A001C” and then the counter counts up the clip numbers). Still, we shouldn’t have to deal with something like this in 2021.
No locking lens mount (or even a few 1/4”-20 holes on the front of the camera, so that 3rd parties could add one after the fact). This is ridiculous for a supposed “cinema” camera. And makes the camera unsuitable for anything but hand-focussed (and auto-focussed) stills lenses (unless you add a whole bunch of additional rigging gack to try and get a somewhat rigid lens mount). I’ve gone with the Wooden Camera top-plate/PL mount system, but it isn’t quite rigid enough.
A media bay that opens backwards and the silly BPU battery system are also painful (especially when there are so many mini v-lock options out there these days (which give away nothing in overall size/weight to the BPUs). It just forces you to add yet more gack to the camera build, which is frustrating.
No ability to monitor the image with just your marker/framelines active. So you either have to have ALL of the camera display info covering your image (INFURIATING FOR COMPOSITION), or you can have nothing but a totally clear 17:9/16:9 image (which is fine if you’re shooting a 16:9 or 17:9 aspect ratio, but for anything else, this is a genuine nightmare).
Sony’s F3/F5/F55 all had this simple third monitoring display option. How Sony have managed to overlook it in the FX6 is utterly beyond my powers of comprehension.
It’s a big deal, and basically forces you use alternate monitoring options.
You can use Sony’s ALL FILE system to work your way around some of these issues, by having different shooting configuration modes for the camera, and it only takes a few seconds for the camera to reboot into a different ALL FILE config - so it’s not too onerous to change. I have both an “INFO” version and a “MARKER ONLY” version for all of my shooting modes (so that I can get clear monitoring if I need it), it’s ridiculous to have to do that though.
Adding to the problem is the fact that the camera doesn’t store ALL FILES internally at all, so you have to keep them on an SD card in your second media slot… and then the camera will wipe out those ALL FILES if you format that card. Which means that to use the system effectively, you have to physically lock the SD card, and it has to live permanently in the 2nd card slot (in order to actually be convenient). But this means you’re losing your second card slot entirely for recording purposes.
So the camera’s great, but there are some pretty deep-seated issues with a few operational aspects (for people doing conventional production at least).
The key to getting around most of those issues seems to be customisation and accessorising, and that’s taken me down a deep, dark, complicated path of trial and error to build a rig that works for narrative production. And it’s cost me hundreds of dollars in failed nobbins/accessories that didn’t quite work out (on top of the several grand I’ve had to spent on parts that did).
I bought Zacuto’s loupe for the camera, and although that fixed the daylight-viewing and mounting issues with the stock LCD, ultimately the display info issues, and the too short cable for the LCD, have forced my hand into running a dedicated EVF instead.
Having the EVF with long-enough cables though, has made a big difference in solving some of the monitoring issues. That said, you have to either keep the stock LCD mounted on the camera for display info access, or you still have to dance around the same issues as before.
I’ve actually removed the LCD entirely (to streamline the overall build a bit), and have been using my “MARKER ONLY” configuration for text-free monitoring on the EVF. However, because I’m having to feed the EVF a loop-through signal from my Teradek (which is taking an HDMI feed from the camera, because the SDI is feeding the raw output to a Ninja V recorder) I can’t get the EVF’s internal tally light working - so am having to take my eye out of the EVF and rely on the external tally lights on the camera body and the Ninja V to confirm that the camera is recording each time we button on.
If the camera had two SDI ports (instead of one SDI/one HDMI) this wouldn’t be an issue.
This monitoring setup has also meant I have ZERO display info from the camera itself, so I have to hit the quick-menu button to bring up camera setup info, frame rate, shutter angle, check remaining card time etc. This is doable as a workaround, but still messy (and stupid that it has to be done).
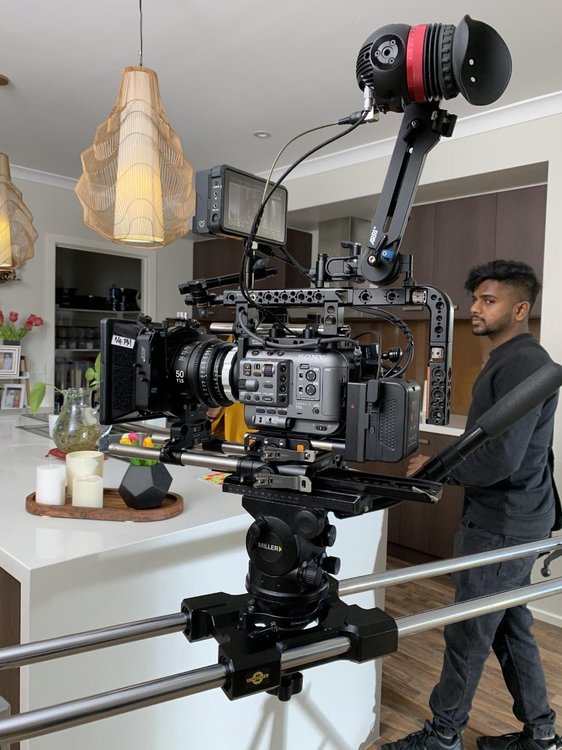
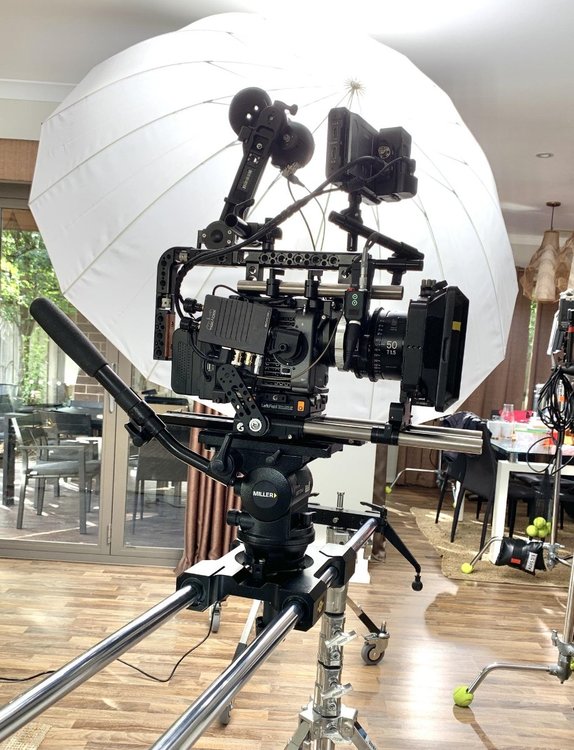
Here’s my build currently (I’m particularly proud of my EVF mounting system, which basically lets me put the EVF anywhere, no matter what side of the camera I’m having to operate from):
-
1
-
1
-
-
12 hours ago, Robin R Probyn said:
I here by predict .. Probyn's Criteria .. within 3 years .. all the usual suspect high end cameras will have as standard ,dual ISO or triple ISO .. variable ND .. either Sony sell the patent rights or the others get around it .. and the big one AF.. yes Auto Focus .. not for every shot.. but for singles extreme shallow DoF (god knows what size sensors in 3 years !) , running at / away from camera etc .. it just saves time = money = thats why it will happen 100% ..
I do LOVE the electronic ND. But if you held a gun to my head, I think I'd still take the Venice's 1-8 discrete stops system - because you can still use polarisers with it, and having a 1-stop density at the bottom of the range, and an 8-stop density at the top, really does make a difference (as it stands, I'm still frequently having to drop in normal 4x5.65 NDs to get the exposure where I need it).
1 hour ago, Michael LaVoie said:What is the camera you're using for the normal 800 footage?
We're doing it all on the FX6. It's been (hands-down) the most difficult camera I've ever had to rig up into an A-camera though. It's so tiny that fitting all of the accessories we need on to it, is a real challenge, and it has a few operational quirks that are a nightmare for conventional production. Outside of those couple of STUPID design decisions though, it's a remarkable camera, and hard not to love.
I'm still undecided though, on whether the couple of operational compromises (and the time they cost you), are traumatic enough to outweigh all of the other speed advantages the camera offers.
-
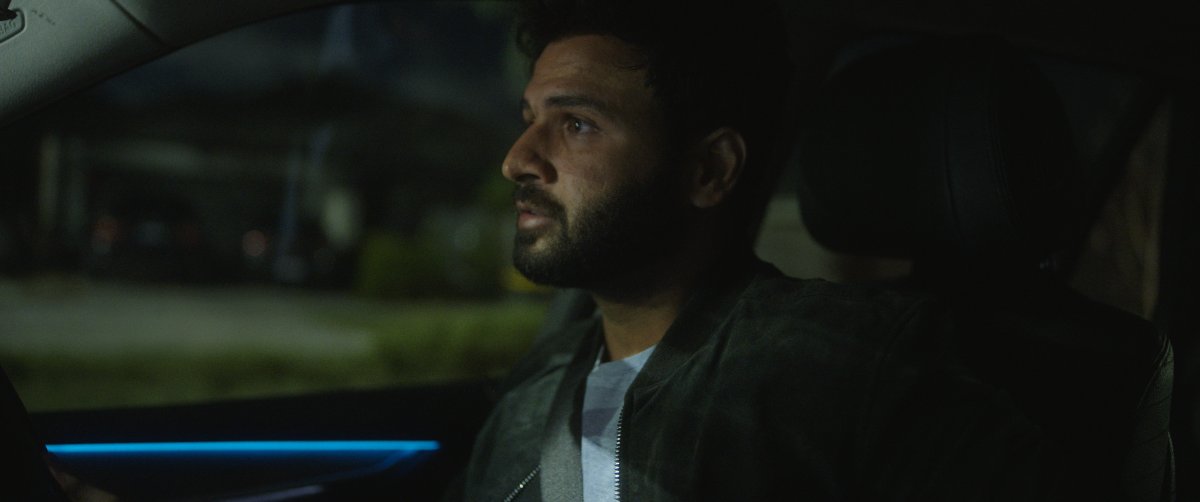
I'm coming into the third week of a Bollywood feature at the moment, and we're shooting on the new Sony FX6. I had my first opportunity to use the 12,800 ISO (native) high-ISO mode last night, and it's damn-near mind boggling.
We had to get some driving material on some exceptionally dim suburban streets (as in, your eyes can barely discern any detail dark). Chuck the little Sony into its low-light beast mode though, and all of a sudden these impossibly dark streets are correctly exposed...
In order to get a bit of low-level fill on our actor (so that he never dropped off into total darkness. We taped a little Nanlite 6C Pavotube (a little 6w LED tube light) onto the windshield.
At 1% brightness, this 6w light was wildly overexposing our talent (without stopping down until the dark streets outside the windows returned to the natural blackness they had by eye). So we took a 2'x3' roll of 216 diffusion and folded it over and over on top of itself until it fit the front of the little tube light.
This diffusion must have been folded on top of itself at least 20x over (in terms of layering).
Put the light back in place... we're still over exposed.
I then had to take some gaffer tape and just physically cover half of the surface of the tube to get the output low enough that it looked natural at 12,800 ISO.
So we had a 6w light, cut down to a 3w light, diffused 20x over and run at 1%... and NOW we had some correctly exposed ambient fill.
Absolutely nuts.
That sky and those clouds you can faintly see above the house behind him (in the screengrab below) were totally invisible to the human eye. And what's even crazier, is that the footage is still so clean, that with a touch of noise-reduction it intercuts seamlessly with our normal 800 ISO footage.
It's a brave new world.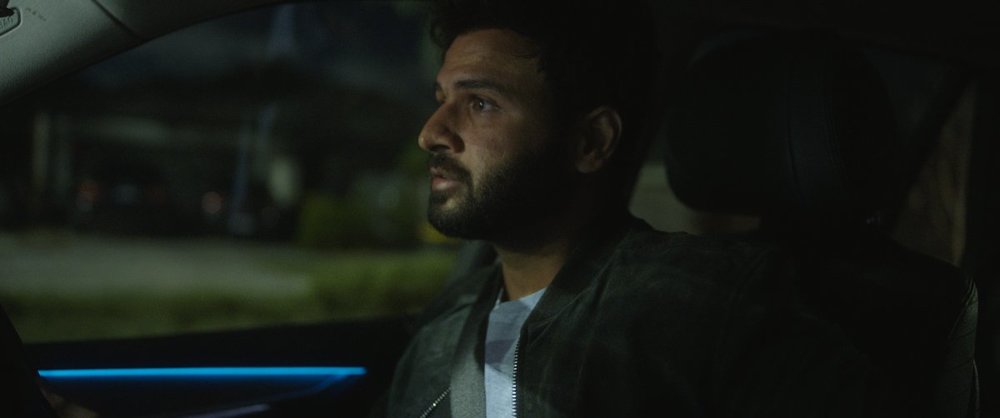
-
What Robino said, get yourself a film changing bag, and get yourself a dummy roll of film (an old roll of film that's already been exposed/processed) so that you can practice the process of loading the film safely with just your hands.
Once you're comfortable loading the dummy film, you'll be fine to do it with your unexposed stock.
It's an important skill, so you have to practice it (if you don't have an AC or loader to do it for you). -
On 3/2/2021 at 6:58 PM, Satsuki Murashige said:
In a nutshell, this is what I like about film capture:
5203 50D, 40mm Cooke Speed Panchro.
Lovely frames Sat! I know everyone loves the grain of 500T these days, but it's the slower, fine-grained stocks that have always held a special place in my heart. Vision 3 50D is just so pretty.


RED's New V-RAPTOR 8K VV
in Cinematography News
Posted · Edited by Mark Kenfield
Well this is interesting. I think I've finally pieced together how the "Production Shell" accessories (that were shown in the live stream) will sit on the Raptor. I've thrown together a quick little mashup in Photoshop (for those, like me, who have similarly been struggling to piece things together in their heads):
I was a bit annoyed at first (that the camera didn't simply have these basic functionalities built in), but the more I ponder it, the more I think it's actually a really interesting take on the modularity that has defined DSMC2.
Instead of DSMC2's build-a-cam approach (and all the complexity that it creates), this keeps all of the essentials self-contained (and familiar to everyone who encounters the camera). And then adds a (hopefully) really tidy "Production Shell" to provide the accessory power outputs, and control I/O that conventional productions will need.
And although I'd still prefer a tidier (and lighter) version of the camera, that simply had these three components built-in from the start. If this is essentially what the "production" version of the camera can be - then it suddenly grew much more appealing to me.
From the look of the render of the gold-mount plate, it would appear we'll end up with 2x DTAP outputs, and the 2x Lemo outputs on the top plate. And four outputs is going to be enough to cover the majority of rigging situations without having to add further accessory gack. This is really pretty significant.
It also looks like the "shell" battery plates, will bring the battery-mounting out far enough from the back of the camera, that we can (hopefully) use any existing V-mount or Gold-mount batteries (which will be a relief).
The camera's starting to make considerably more sense to me now (the lens mount/ND situation is the main remaining issue). I just don't understand why they didn't present these aspects of it clearly at the release.