David Mullen ASC
-
Posts
22,275 -
Joined
-
Last visited
Everything posted by David Mullen ASC
-

Killers of the Flower Moon
David Mullen ASC replied to Stephen Perera's topic in On Screen / Reviews & Observations
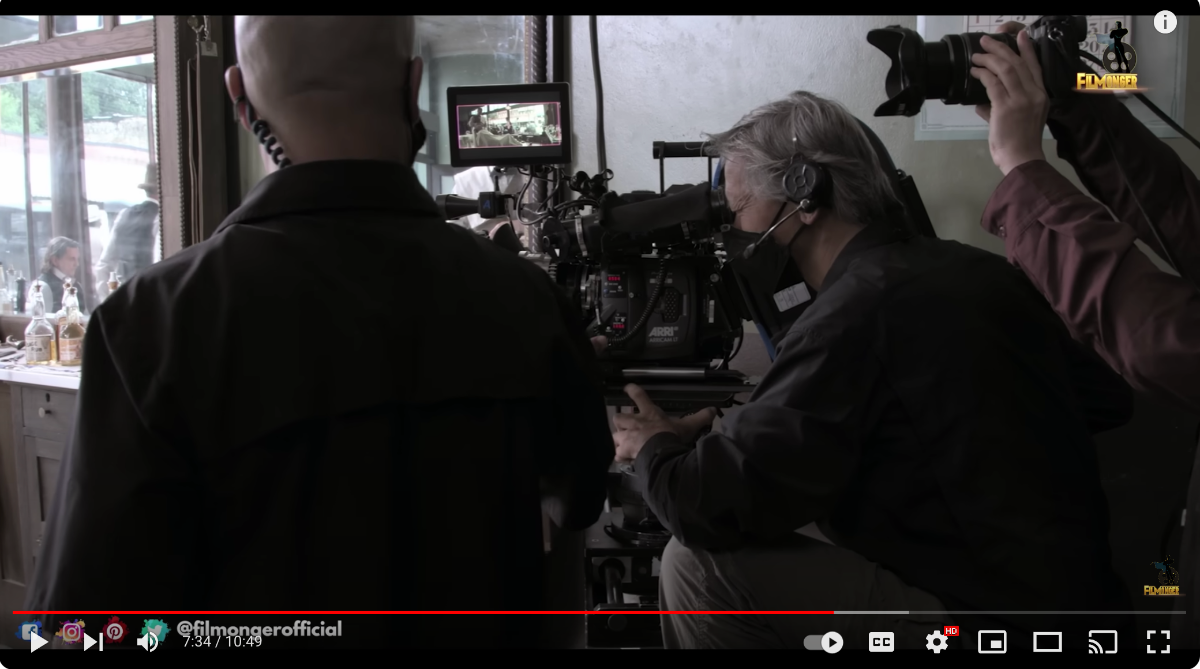
I talked to Prieto, he said about 85% of the movie was shot on film, but most of the night exteriors (not all) were shot digitally. -
How to light a glass??
David Mullen ASC replied to Abdul Rahman Jamous's topic in Lighting for Film & Video
Basically soft cross-lighting to create reflections along the edges. Then however you want to light the label on the bottle. Plus if you want to glow the liquid inside from behind. -
It was unusable just because 500T pushed to ISO 2000 was still grossly underexposed under moonlight.
-
The wavy pulse does seem more of a refresh rate issue than moire, unfortunately you'd need to shoot tests at different shutter speeds, otherwise try finding a monitor with a higher refresh rate. Why not just laser record your digital files to film? Is it because you need 16mm grain? You could try reducing the image to a 16mm area of a 35mm frame then, but of course, I don't know what your end goal is -- a 16mm print to show people? Or are you doing a D.I. with your 16mm project?
-
Killers of the Flower Moon
David Mullen ASC replied to Stephen Perera's topic in On Screen / Reviews & Observations
Plus super high-speed stock, besides being very grainy, does not store well over time due to sensitivity to cosmic radiation, so it's not like Kodak could make a large batch and store it for a couple of years. It's also a solution in search of a problem, the ability to mix digital and film into the same project just makes it easier to use digital. On the other hand, considering the popularity of 500T stock, I think Kodak might do OK with a Vision 1000T. Twice as fast and twice as grainy seems to me the limit though. -
I didn't see moire in your test but if it's there, it's not on the film -- it's just because the pattern in the monitor seen on film is interacting with the pattern of the scanner. I don't think it's a sync issue. Try scanning at a different resolution or use a different scanner? I certainly wouldn't use a CRT monitor but maybe a higher resolution monitor might help.
-
The reason why with color negative film (which has dye clouds technically, not grains, once processed, unless you skip the bleach step and leave silver grains in) looks less grainy when mildly overexposed is that in normal exposure, the smaller (slower) grains in darkest areas don't get any exposure so those grains are washed away, and the darker detail is captured on the larger (faster) grains. So overexposing allows more of the slow, smaller grains to stay in the image, filling in the gaps between the larger, faster grains. The image isn't less grainy but it feels less grainy because the grain structure is tighter. Technically this is true for b&w film as well but since silver grains are sharper-edged than color dye clouds, some people feel that overexposure, creating more silver, makes the image feel grainier. Now when you through digital scanning into the mix, there can be an issue that overexposed (denser) negative can create noise on the scanner from having to push the signal through the densist areas (the highlights, like bright skies). Yes, film captures a range from shadow to highlight, so overexposure shifts that range to favor shadows and underexposure shifts that range to favor the highlights. But since the film's response to light is non-linear, to have to factor in the way things look playing on the shoulder and toe of the characteristic curve.
- 6 replies
-
- 2
-

-

-
- film
- overexposure
- (and 3 more)
-
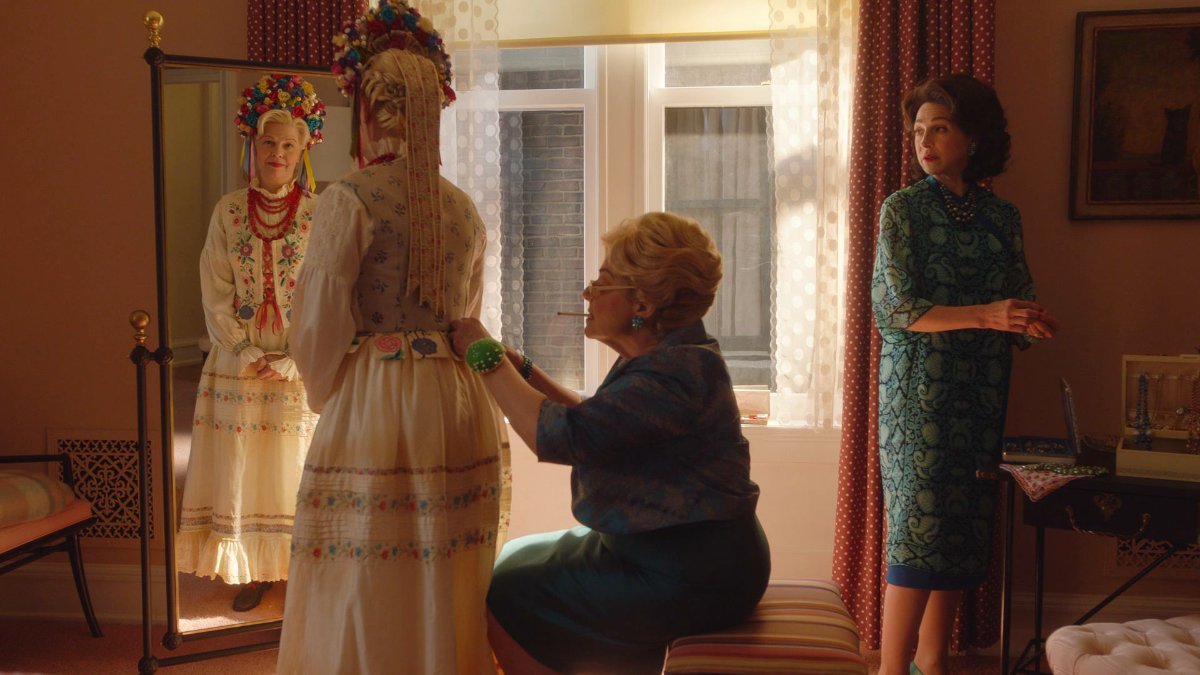
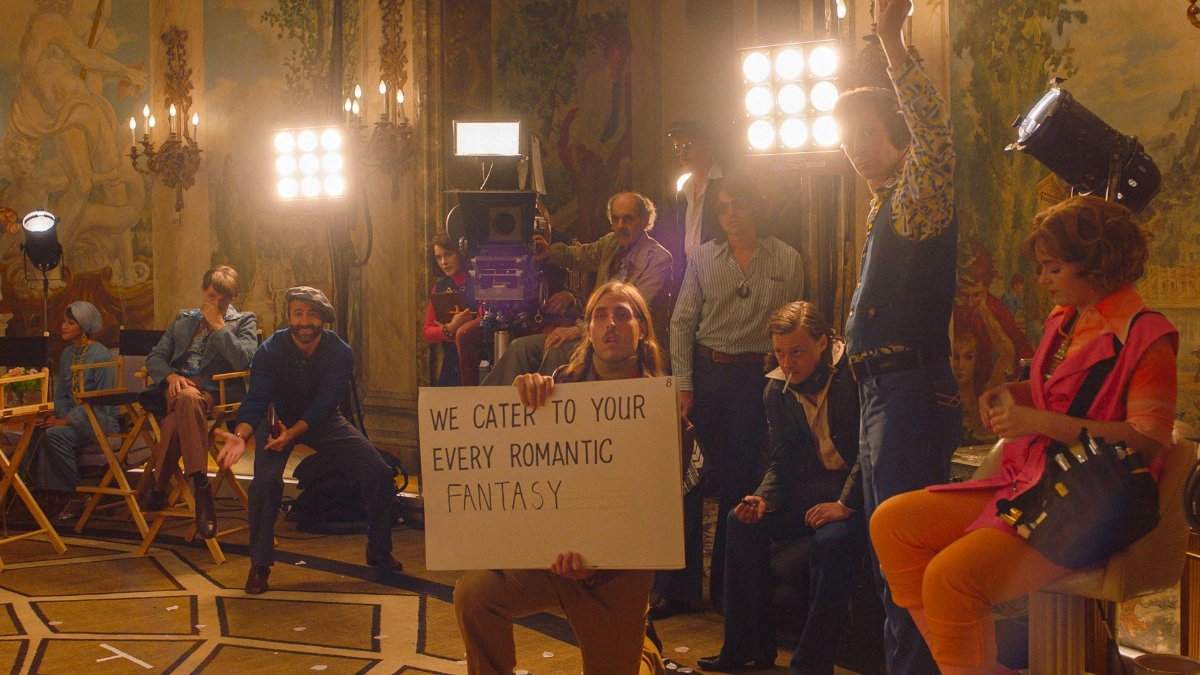
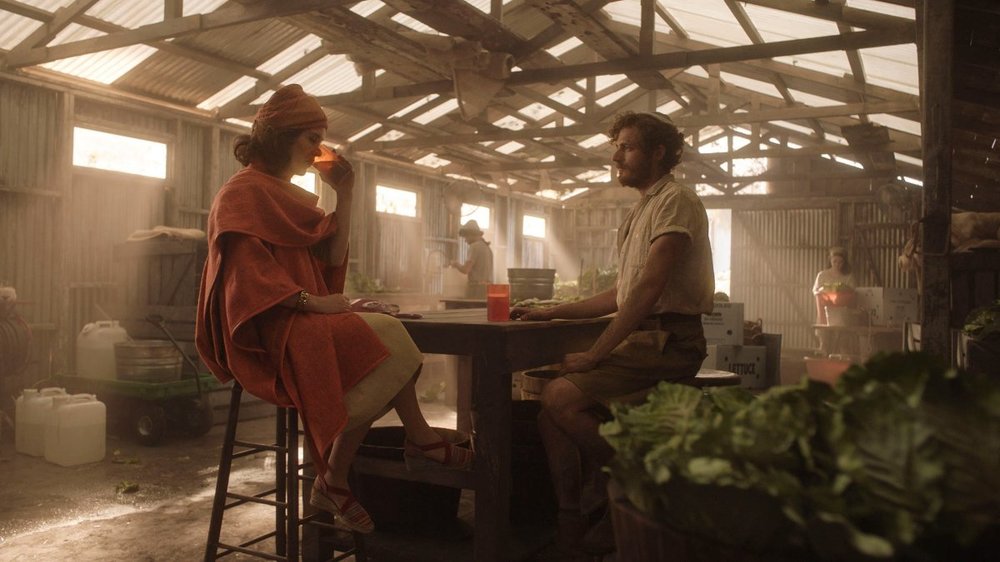
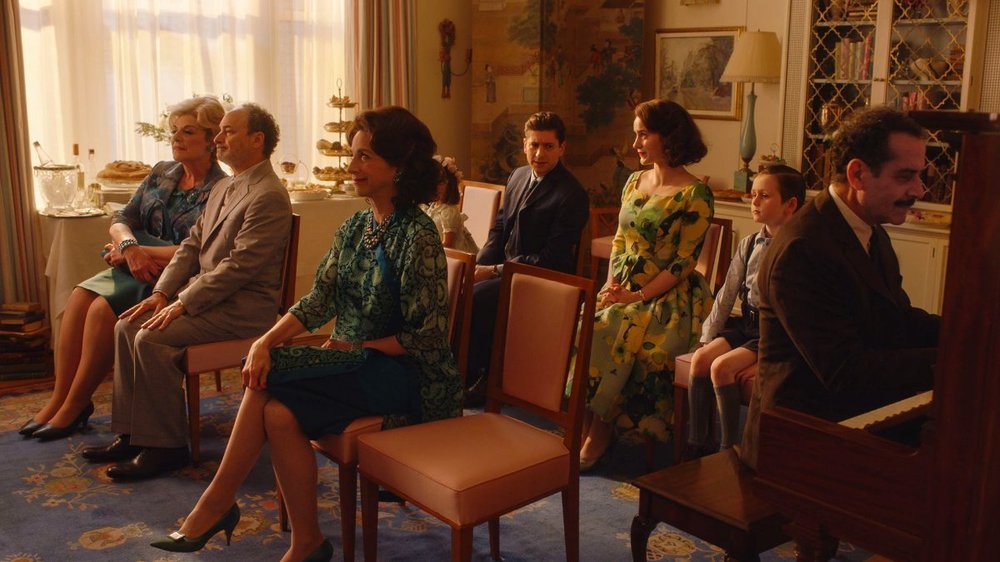
Considering that they shot on the Alexa 35, probably only the brightest highlight was clipped if that, just like when the sun kicks off of a shiny car. But I don't know for sure. If anything, it's hard with the Alexa to get a hot highlight to burn out and halate so often that has to be enhanced in the color correction. A clipped highlight is acceptable if it is a small area -- when someone momentarily hits the lens with a flashlight, you don't expect to see the filament of the bulb except in the tightest of insert maybe. For the most part, you expose scenes to minimize clipping to very small areas so that you have control in post over them. But in the grade, you may decide to let more things burn out. For example, when I lit this scene, I wanted to make sure the pattern in the sheers was captured, but my DIT pointed out to me that the round circles inside the sheers' pattern were clipped. But that just meant that those circles were white with no detail, which I was fine with -- I didn't want to underexpose the scene further just to hold texture inside those little circles, I'm not sure there was even any texture there anyway. Or in this scene, I exposed so that the individual globes of the MoleFays were captured but I didn't need to record detail inside each globe. Or here, this set was on a stage -- I had a white sheet hanging beyond each window but was counting on the Molebeams, smoke, and dirt on the glass to burn out the window, otherwise you might see the wrinkles of the sheet hanging out there when if you saw anything it should be a farm landscape. But the Skypanel lighting coming through the frosted ceiling panels was dimmed to the level to hold some detail in the panels.


-
Killers of the Flower Moon
David Mullen ASC replied to Stephen Perera's topic in On Screen / Reviews & Observations
I didn't think the grade was aggressive, quite the opposite, it seemed like classic Vision-3 film for the most part. A few sequences are more stylized and the color saturation is modulated to match the mood of scenes. -
Killers of the Flower Moon
David Mullen ASC replied to Stephen Perera's topic in On Screen / Reviews & Observations
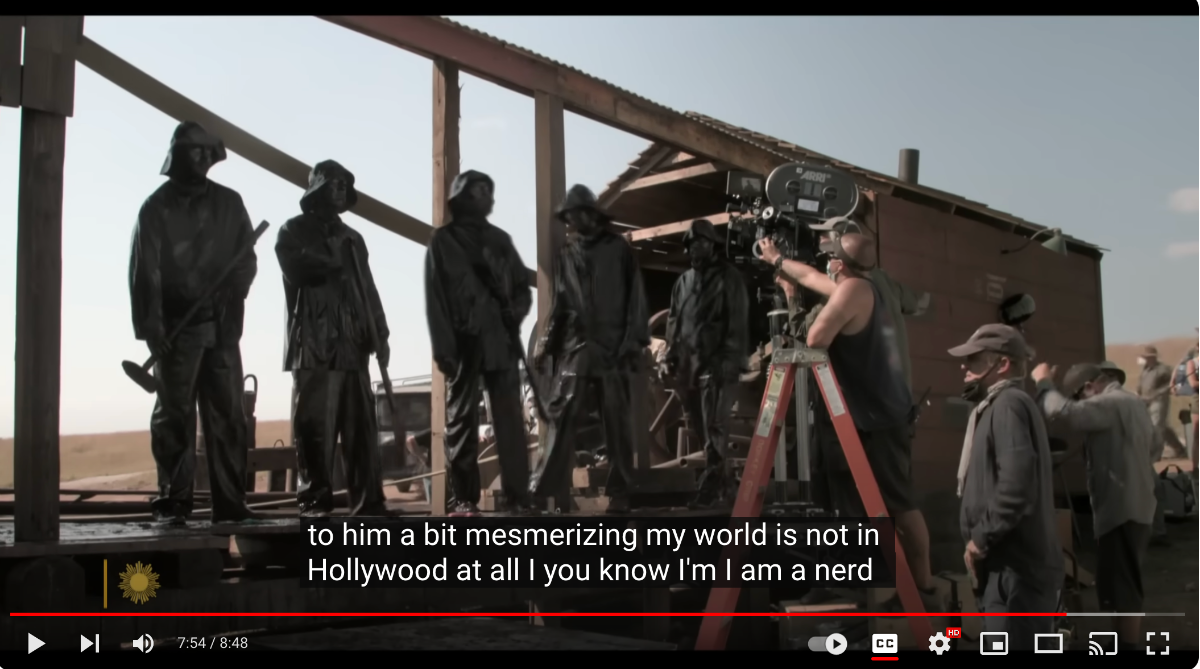
Really, I just looked through five BTS videos on YouTube and cannot see a digital camera... Can you provide some examples?

-
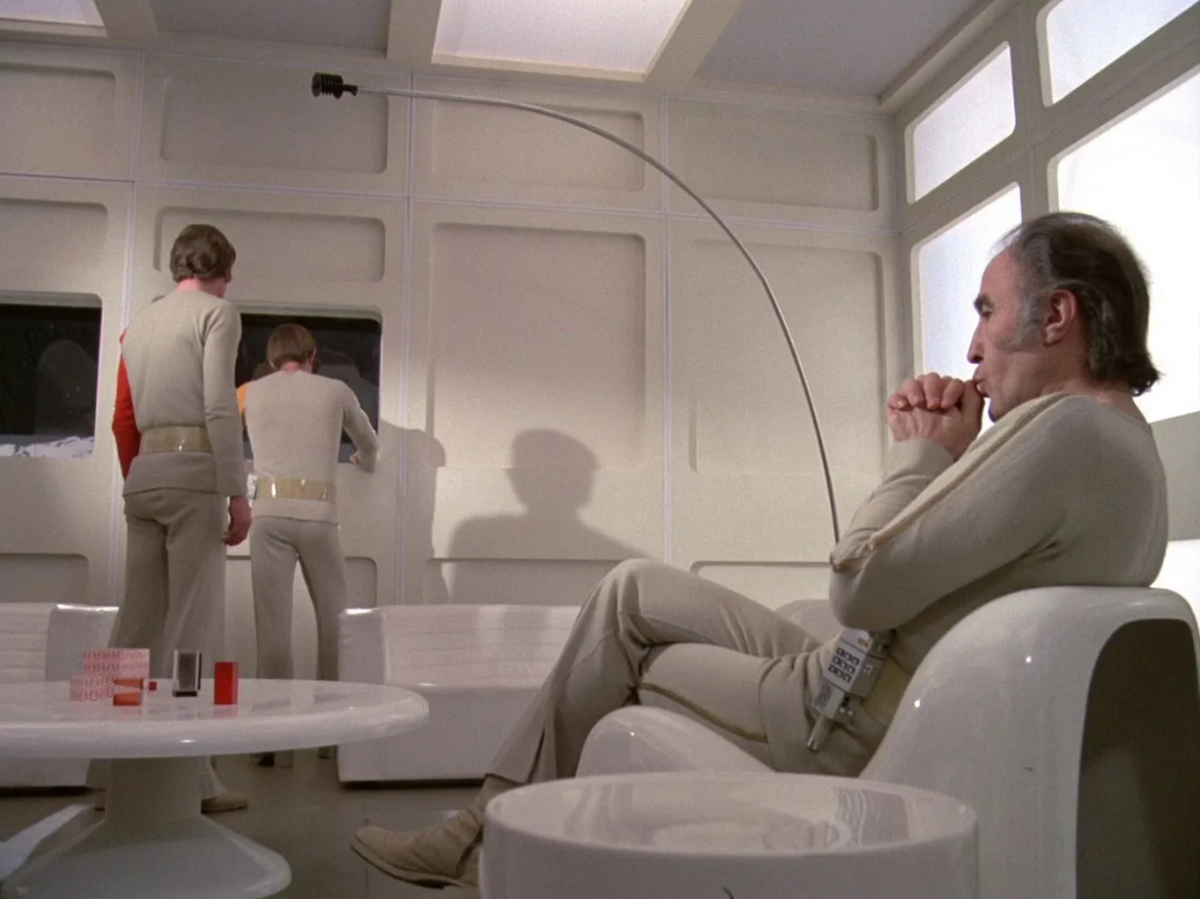
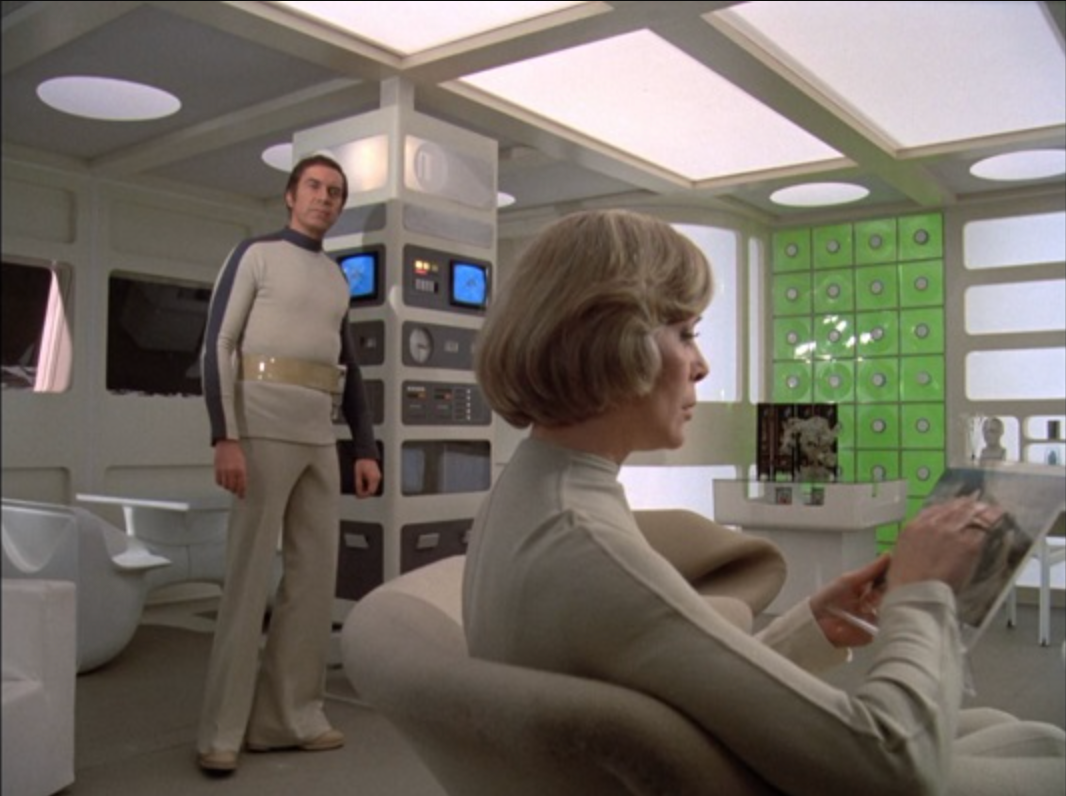
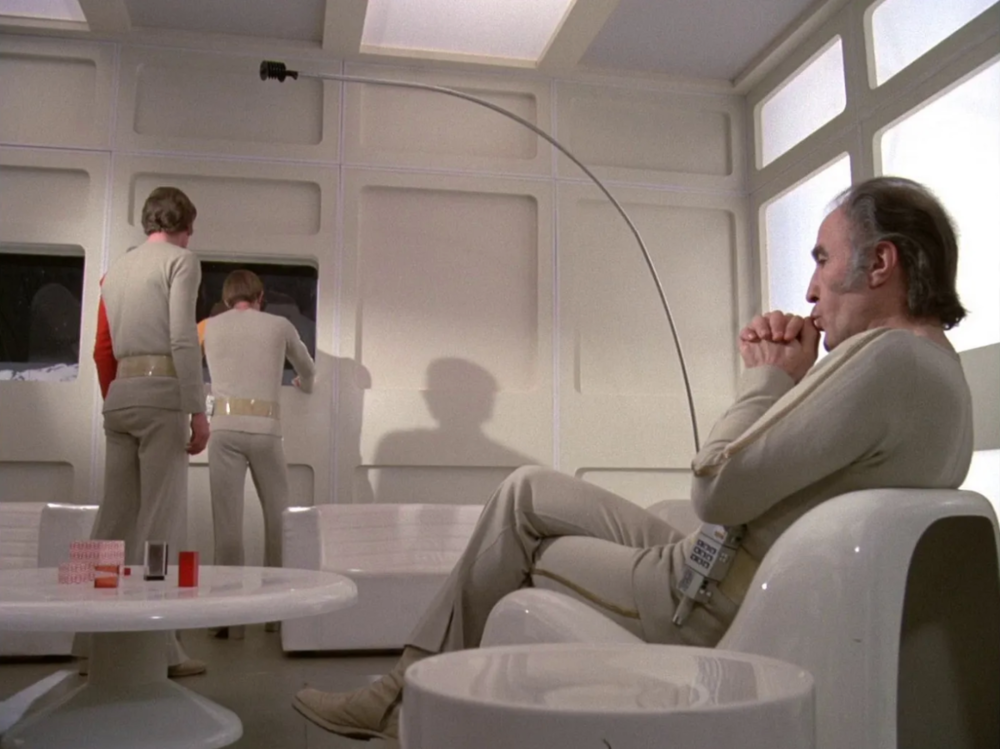
Some broadcasters will look on scopes to make sure the signal isn't being clipped obviously but with something like a whited-out window, it doesn't necessarily have to be at 100% on the scope or it could just be touching that. As long as it doesn't look like a mistake. You wouldn't want a medium shot of someone in a white shirt having it clipped with no texture/detail because that's ugly, distracting, and artificial-looking. It gets tricky with something like a scene in a white limbo space because if you expose the white room too low, you often see unwanted texture, scuff marks, shoe prints, etc. but if you push it too hard past the clip point, a broadcaster might reject it. So it takes some massaging in post to blur the details in the whites and then keep them just below 100%. The problem with a film transfer is that you need the ability to apply luminance keys, power windows, and knee compression in order to get the white areas near the clip point but the rest of the image to the level you want. In other old days of telecine work in the 1990s I found that some cheaper rooms didn't have knee controls so they would just set the transfer so that a bright light like a hot fluorescent tube was just below 100% even if that meant the whole shot now looked too dark. I was thinking about this issue while watching "Space: 1999" -- they clearly modeled some design work on "2001" with the frosted lighting panels but rarely used them to light scenes. Partly because in order to create mood, they wanted a harder lighting style at times, but I also think the cinematographer, who had to deliver a film print to be shipped to TV stations, had to work around the fact that the film chains would set the exposure based on the brightest thing in the frame so if the panels were too hot, even though the film emulsion could handle it, the TV stations would start complaining about large parts of the frame hitting 100 IRE. Whereas "2001" was shot for theaters and eventually when TV stations showed it, they'd have to accept the photography whether they liked all the whiteness or not. Same for "THX-1138."

-
Killers of the Flower Moon
David Mullen ASC replied to Stephen Perera's topic in On Screen / Reviews & Observations
There might have been some shot here or there done with a digital camera (I don't know) but the "cleaner" day exterior sequences just looked like they switched to 50D stock. -
Overexposing doesn't increase latitude or information in the highlights. Basically film has more latitude in the highlights compared to the shadows, which is why Ansel Adams used to say "expose for the shadows and print for the highlights." In other words, the gains in improved shadow detail and tighter grain patterns is worth some minor loss of bright highlight detail because film can handle a lot of overexposure. Unlike digital, film responds to light on a log curve, so as exposure increases, density stops increasing equally, it falls off -- in other words, the contrast starts to flatten out.
- 6 replies
-
- 5
-

-
-
- film
- overexposure
- (and 3 more)
-
A very soft side bounce or ceiling or floor bounce would help… but a frontal soft fill can get flat-looking unless really minimal.
-
At The Time Reaction to Attack Of The Clones?
David Mullen ASC replied to Max Field's topic in General Discussion
There were some digital screenings of footage in Los Angeles and most of us were fairly impressed, but then, digital projection was also a new thing so I’m not sure what was more impressive. When the movie came out, the reaction was a lot more muted due to all the vfx layered on every shot, or the number of pure CGI sequences. Remember that “The Phantom Menace” was shot on 35mm film (except for one scene shot on 1080i HD as an experiment) and it had some issues from all the vfx layered on it. I saw “Attack of the Clones” a few times and the weakness of the HDCAM recording codec became more obvious on repeat viewing; I thought the “Revenge of the Sith”, shot on the F950 and recorded in 4:4:4 looked a lot better technically. But the real problem with all those movies was that there was so much CGI that it felt like an animated movie at times. -
I had a late afternoon / sunset scene on stage last year. Basically you want to create a very soft ambient fill to reduce the contrast from the hard sunlight effect coming in. In both shots here, there was a soft light coming from the left side but I also (in the bedroom) let the light be hotter on the bottom of the window in order for it to bounce off of the floor a little. I also parted the sheers so that the whole window would not be blown-out. Sometimes when I've done that in the past, I also then go outside the window and either add a strip of ND gel on the window right behind the strip of hot sheers to knock them down, or use a open-ended net flag on the sunlight on the vertical edge to feather down the hot strip.

-
Is The Fluid Head Obsolete?
David Mullen ASC replied to Marcos Cooper's topic in Camera Operating & Gear
Most shots are still done on fluid and geared heads but it's not like that sticks out at the viewer. Just watch any family dinner scene around a table -- most of those shots are done on a fluid head.- 18 replies
-
- 1
-

-
- tripod
- fluid head
- (and 2 more)
-
Shooting an Event in Low Light with Multiple Cameras
David Mullen ASC replied to Chris Barker's topic in General Discussion
You can't have everything, so find an ISO that works for all your lenses and light levels, or increase the light level or don't use the slower zoom. The only variation I can think of is to boost the ISO of the camera with the zoom by 1/3-stop and increase the shutter angle by 1/3-stop for an effective 2/3-stop increase, the difference in noise and motion blur should be undetectable. -
Sheers are always the worst-case scenario for putting a hard sunlight effect through, they clip so quickly. But if you exposed for the sheers, you can probably apply a window to the area to hold a bit more texture while still playing it near the clip point. As for the interior, it's fine if you want that moody semi-silhouette look. I'd nitpick over a few things: (1) The light is coming too straight in -- if that's the sun, it's the setting sun, so it would be very warm at that point. Otherwise it should be higher so that the pattern slants down a bit. (2) Maybe it's intentional but there is an overall greenish cast. (3) It's my own pet peeve about composition: you're neither straight on to the window wall or angled enough to create more diagonal lines. If you moved the camera more to the right, panned left, the window might be on the right third side of the screen -- and if this were a static shot, then an ND grad set vertical on the right side would help with some of the balance. If you were more straight on to the window wall, then you couldn't use a grad but you could frame him against the brightness and play him in silhouette.
-
Shooting an Event in Low Light with Multiple Cameras
David Mullen ASC replied to Chris Barker's topic in General Discussion
The more you overexpose, the lower the ISO, the cleaner the image gets -- but then you start limiting dynamic range and headroom latitude. When a manufacturer recommends an ISO like 800, that's because it is considered an optimal compromise between noise, dynamic range, and distribution of information between shadows and highlights. -
If you're going to do a fast drop down like that at a face, often you shoot it in reverse -- it's safer. But at some point you either have to zoom into the eyeball (but then the shot is on a zoom lens, which won't focus as closely without a diopter -- plus it's heavy) or you digitally zoom, probably morphing into a tighter shot of the eye that is higher resolution (like a digital still) or a CGI eyeball. When they did a similar shot at the start of "Star Trek: First Contact", they got as close to the eye as they could with a 50mm macro lens and then they composited in a hi-res still photo of the eye's iris that they could zoom further into. You also have to take into consideration that the closer the camera and lens gets to the eyeball, you have to light it from an extreme side angle in order to not get a camera shadow on the face. It's even possible that the coach and actress were leaned/mounted against a wall vertically so the move could be done on track.
-
A mole fogger alone is not enough - I suggested an IGEBA plus a mole fogger.
-
It’s the way highlights burn out to the clip point. If you’ve ever seen camera comparison tests and looked at what happens at 4-stops over, you’d see how the Alexa was superior to other digital cameras and behaved more like color negative. However the latest generation of competing cameras have gotten better. If you look at the latest HBO Camera Assessment Series, the best cameras for retaining detail in overexposed areas was 35mm film & the Alexa 35, followed by the Alexa Mini.
-
For a big space, you may need one or two IGEBA foggers, which are loud and outdoor only. Two just to get two people to spread out quickly as the wind shifts, at different distances. Or one IGEBA and a Tube of Death set-up as well (which needs a fog machine.) Or one IGEBA and one smaller hand fogger like a Mole Fogger.
-
No, the test was for internal use at HBO with limited public screenings where they can make sure the 4K presentation is accurate.