Luca Bonicalza
-
Posts
27 -
Joined
-
Last visited
Everything posted by Luca Bonicalza
-

Servicing lenses - EUROPE
Luca Bonicalza replied to Boris Kalaidjiev's topic in Lenses & Lens Accessories
Hi! I do lens servicing in Italy! Let me know ? -
new Lens and Camera Servicing company - Italy
Luca Bonicalza replied to Luca Bonicalza's topic in General Discussion
Dear Dave, thank you for your reply. Yes your'e right! I really love to explain what is going on the servicing but picture are, for sure, a very interesting thing! Thank you for your suggestion! -
new Lens and Camera Servicing company - Italy
Luca Bonicalza replied to Luca Bonicalza's topic in General Discussion
Thank you Jon for your message! Yes, it's the motion picture film love that move things! ? Shot film!! -
Hi Cengizhan, yes, if you make a 3952 x 2964 pixel frame line you will obtain 24mm x 18mm exactly. Bests Luca
-
Hi everyone, I'm bothering you since I'm opening a new lens and camera servicing company in Italy. Seems to be the only one company here and probably one of few in Europe. So just you know, if you need help I'm here. But I'm not writing you today as advertising: I need help from you, I'm looking for a new way of making this job. The company will be innovative, we are looking for a new way of doing things. We have developed something new in payment management but nothing new in reality, it's the same service you get from the fidelity card when you go shopping. For me this is not enough, I need your needs in timetables, service, everything. And I need your dreams of the best servicing company that could ever exist, since we will be this company ? ? I hope you will enjoy this Thank you very much! Luca
-
Hi Cengizhan, I would suggest that the camera should be already tested by the rental house camera technician, so you should consider the camera fine. But check this with them. Do steady test, lens focus test, GG to gate test, mags test. Check mag's battery have been replaced or still working fine. Check for camera noise. I would suggest to make camera and mags run with film for some time. If you are not sure about something, check it with the technician. About the format: - S35 1.33 silent 1.33 format GG K2.54083.0 with projected area of 24.0 x 18.0 - N35 1.33 TV safe GG K2.54100.0 with transmitted area of 20.2 x 15.2 - N35 1.37 academy + 1.33 TV safe GG K2.54000.0 with projected area of 21 x 15.2 @1.37 So you have both type, DP needs to define it since the dimension is different and with S35 it will have larger image, and need an appropriate lens coverage. Hope this will help Luca
-
Man with a BL - Arriflex 16BL complete refurbishing
Luca Bonicalza replied to Luca Bonicalza's topic in ARRI
No, Chris, I don't know the name. Is a black paint with small spheres inside, and I can tell you that it is a special effect one, that means that the final look depends only how you apply it. -
Man with a BL - Arriflex 16BL complete refurbishing
Luca Bonicalza replied to Luca Bonicalza's topic in ARRI
Hi Chris, nice to meet you. I actually sent all the pieces to the car painter and I've worked with him to find a paint that could imitate the original wrinkle effect but that could be cook at 40°C. In fact, you can find wrinkle paints online but they need to be cooked at 120°C! Bests Luca -
Dear all, I'm looking for an Arricam ST IVS HD 4:3 lens and 2x cinemascope ground glass and glow. Does anyone have or know where I can get them? Thank you and many wishes Luca
-
Hi Dom, how are you? Thank you for your reply. Just to be sure I'm going to recieve one borrowed and we asked for anothervone, moreover Arri sent us the pinout: it's only tz, rx and gnd connection so it's really easy. Thank you very much!
-
Dear friends, I'm writing you here because I'm looking urgently for the pinout of the k4.54630.0 cable, the one to connect the Arricam to the PC for the 2/3/4 modification registration. Does anyone have a cable to test it or the datasheet pinout? Thank you so much! Luca
-
Man with a BL - Arriflex 16BL complete refurbishing
Luca Bonicalza replied to Luca Bonicalza's topic in ARRI
Dear Aapo, forgive me for my late reply! Well, I have not started this project yet, until now I have only tested the camera.. Working on is really slow because I work too much inside the company :D :D Anyway, I was thinking to add a multi switch, with 10 or 12 position, in order to select only defined speeds. I don't want to add a display on it, since I really like the analogue look of the camera. The switch (that would look as a cronographer) would be backlighted in RGB, so that you could understand in it's running at the correct speed or if are happens some failures. Sure, one arduino board will not be enough to organize a checking circuit, so I was planning to add one more arduinio nano board for this kind of things. During the latest time I've studied a lot for the ham radio exam, so I'm learning a lot about electronics: I hope it will be useful for this project. Meanwhile, an 80 years old colleague (he used to operate on movies) gave me two xtal sync unit, a 2C camera and also a beautiful stroboscopic light! So, right now I don't need anymore my xtal sync unit anymore.. :D :D Dear Derrell, may you explain a little bit more? Thank you everybody! -
Man with a BL - Arriflex 16BL complete refurbishing
Luca Bonicalza replied to Luca Bonicalza's topic in ARRI
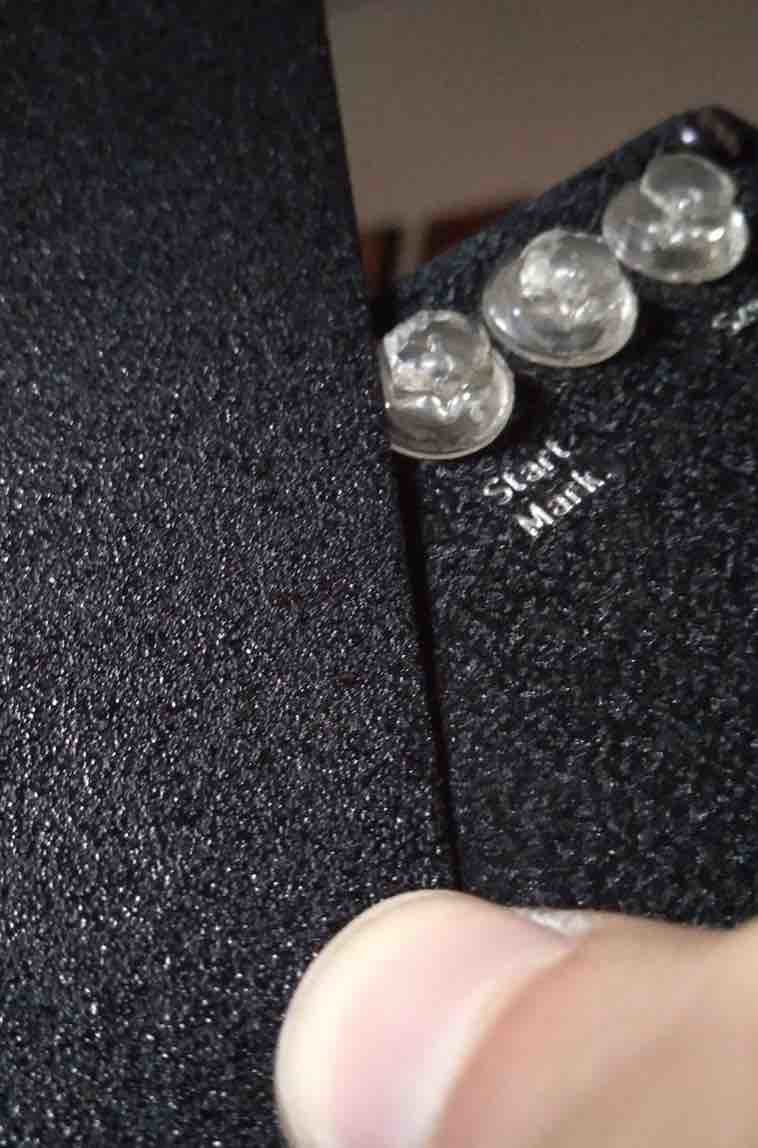
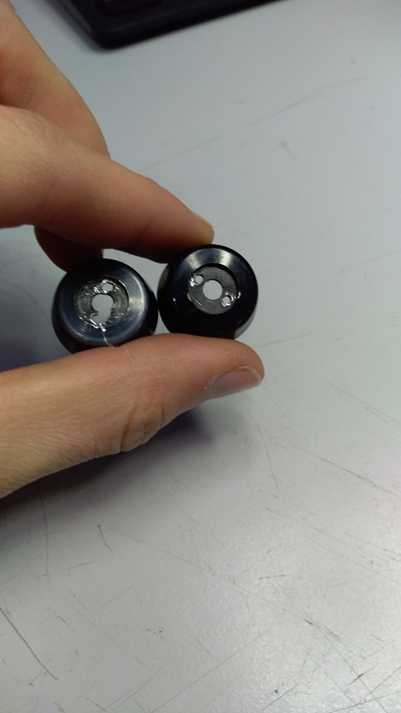
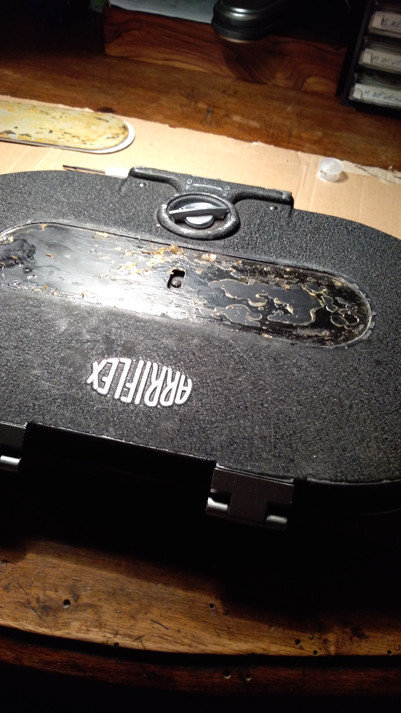
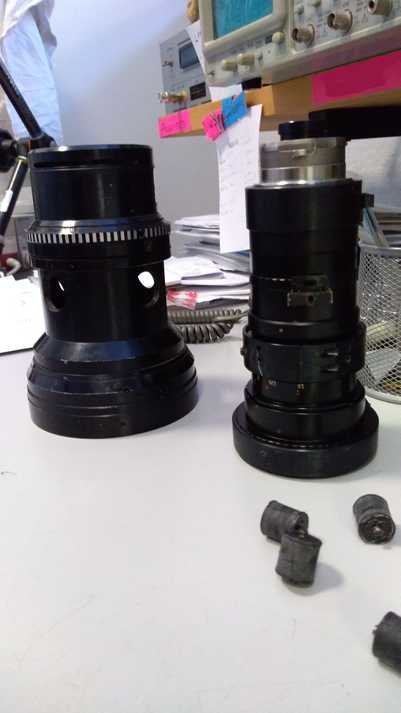
Hi guys! How are you? I have not worked on my 16BL for a long time: so many things to do and I also left the company I was working for for a new one, but now, with this coronavirus quarantine, I have a lot of time for my lovely camera! I have sooo many things to say and pictures to post, so please forgive me if pictures are small but you know, there is a maximum! If you want to have more specific pictures or description, just ask! I'm sure I'll forget to write you now all the things I have to say. First of all I have worked on the lens blimp, that now is completely painted and rebuilt. You have seen something in my latest post, but here there is a picture of the blimp before and after the work: it looks new (I mean, I hope so, I have never seen it new). Pictures are not fine because of my low quality phone. and after: After that I also have opened the Angenieux 12 120 - recoated the iris (we will see in the time how this coating will survive) and cleaned ALL the elements from the fungus except the fungus that is inside the first doublet that I can not open. Work has been nice, now I have to check if the lens still collimated before insert it into the blimp. And this is the fungus in the douplet: Next I have worked on mags, since I'm waiting a welder in order to re plug the electrical circuit inside the camera blimp. I had a problem with the mags, because at the beginning I had to unmount the rubber and I couldn't find any kind of rubber that would be fine. Then I have found a synthetic bicomponent rubber, use for model tyres, and seems nice, but sure I'll have to check now much noise will pass thought it. Today I have completed (I just need to plug two more elements) the first mag, and now I have to wait for the sunny days in order to make the runner catalyze. What do you think? Best regards Luca -
Man with a BL - Arriflex 16BL complete refurbishing
Luca Bonicalza replied to Luca Bonicalza's topic in ARRI
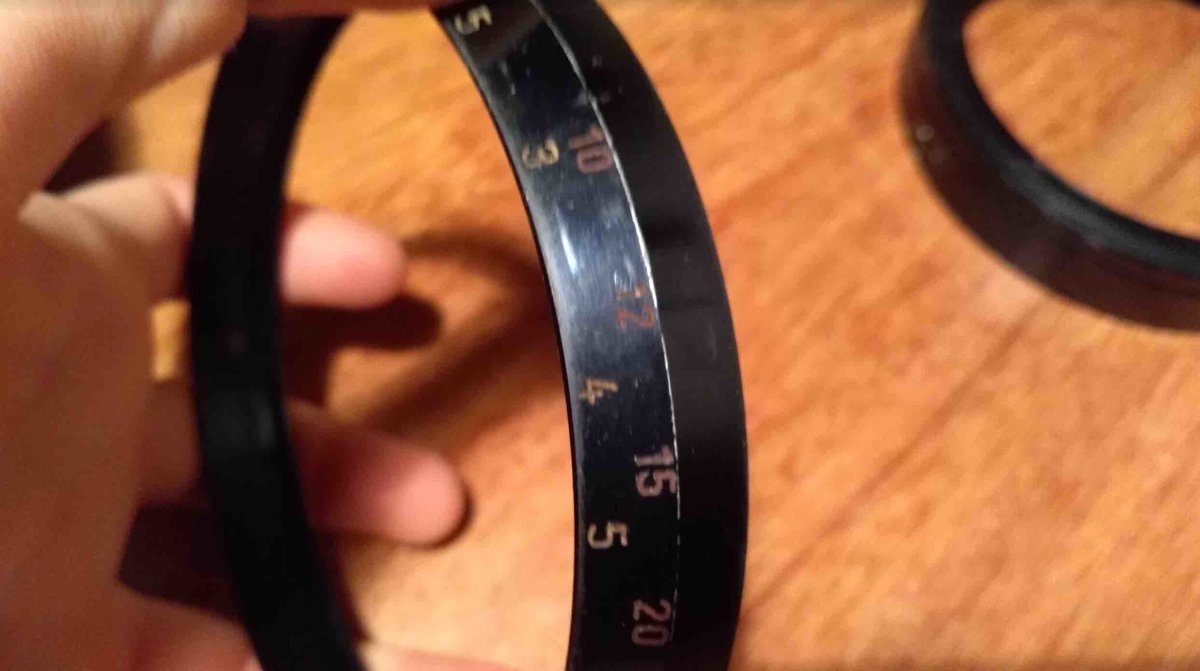
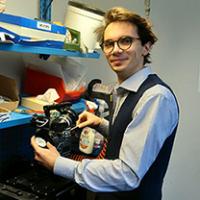
Hi everybody! I'm back, I really didn't had the time for anything. In this long period I got reanalyzed all the parts, and I also had all the camera repainted. I'm actually regaling with the rubber the two pats of the mag, using the tool I made before: quite a difficult and loooooong work! I've assembled the blimp, and repainted the scales! Here you can see two pictures, before and after! Originally the blimp was making lot of noise so, since I don't want a noisy blimp, I've tried with some abrasive paste to smooth the interior part and that's work pretty good, but I should do it more! And, of course, I put new grease ? Here one picture of the new painting: it is not the original one, but easier to paint and with a really really nice result! Can you see the difference? I don't have more space for pictures, but I hope you enjoy that ones! Bests!! Luca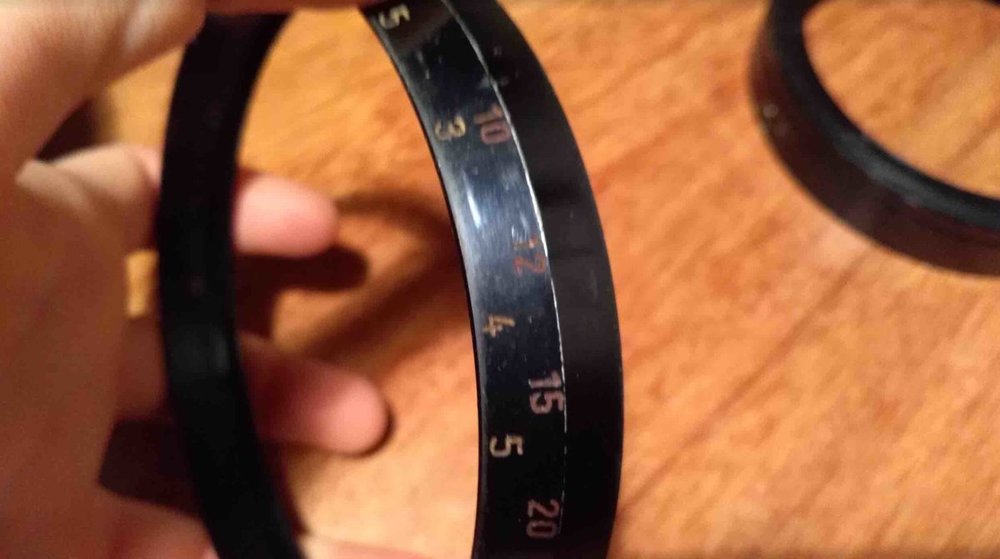

-
Man with a BL - Arriflex 16BL complete refurbishing
Luca Bonicalza replied to Luca Bonicalza's topic in ARRI
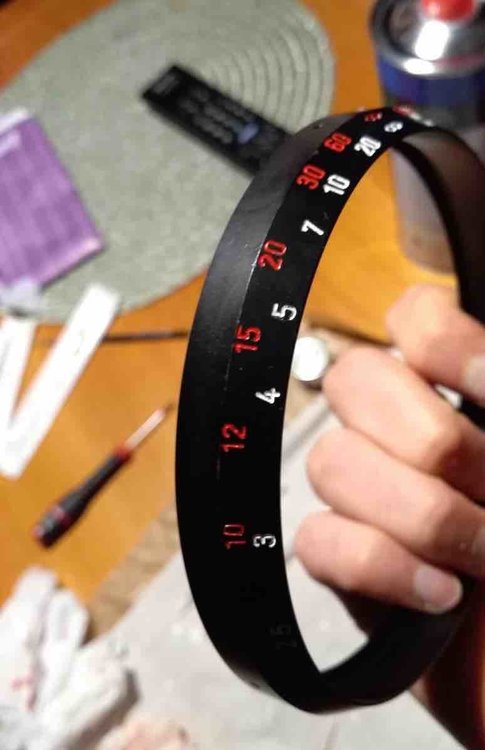
Just received the stamps (I LOVE THEM)!! What do you think about? And here the tool I've build to reglue the mag: Bests!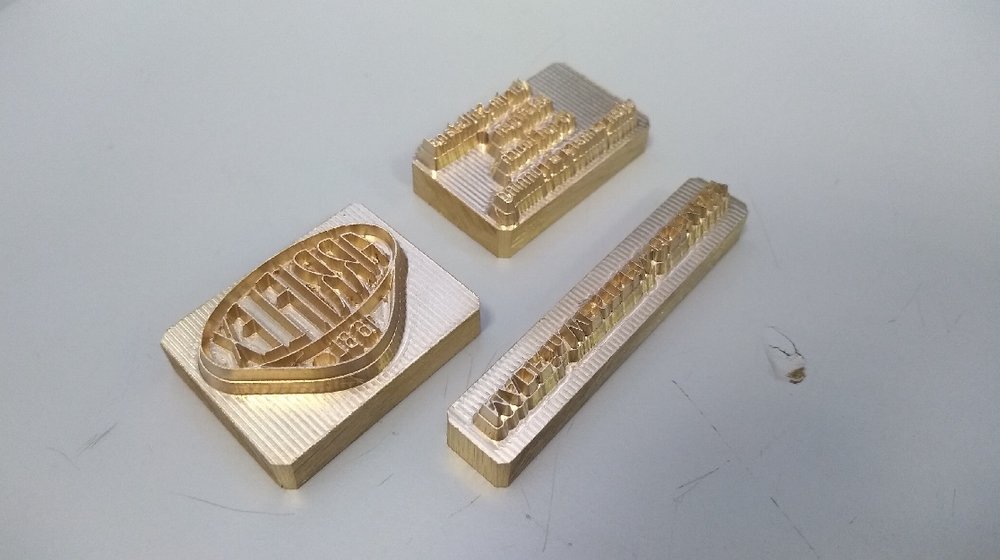
-
Man with a BL - Arriflex 16BL complete refurbishing
Luca Bonicalza replied to Luca Bonicalza's topic in ARRI
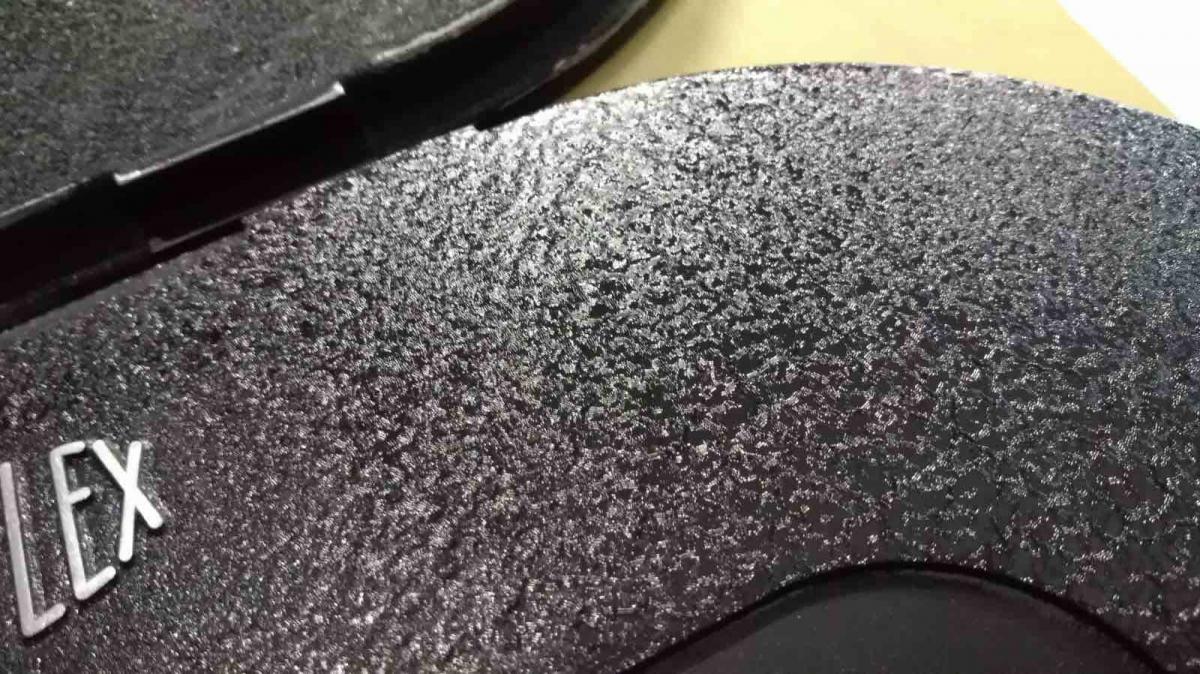
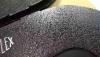
Hi everybody, it is been a long quiet moment due to the painting tests. I'm actually waiting for the stamps I need to replicate the serigraphs, but I'm also waiting for the 89 pieces I sent to re-anodyze! I should receive everything this week, so probably this week end, when I'll have checked the stamps, I'll bring the pieces I need to re-paint to the coach builder, who has done A LOT of work trying to "cook" the paint (because normal coach cookers are not enough!) Here you can see a test on the front mag element: this is a test on the original paining and other tests, it was not sanded because we are looking for one only "tour" to the sander (because he is not so close from here). The result is quite grainy, what do you think about it? Here original VS repainted: Here a detail of the wrinkle effect! I've also finished the element I need to reglue in the correct position the two pieces of the back part of the film mag. Picture soon! Bests!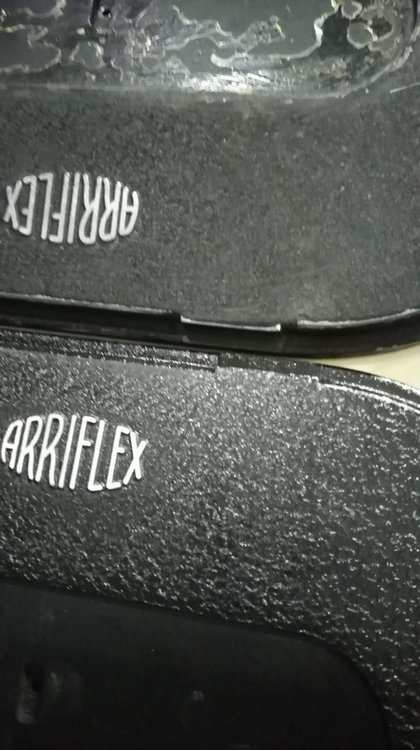
-
Hi Dom, Thank you for your really really interesting guide! :)
-
Man with a BL - Arriflex 16BL complete refurbishing
Luca Bonicalza replied to Luca Bonicalza's topic in ARRI
Hi Simon, thank you!! No my family is from Winterthur, ZH, but it's 4 generations abroad :rolleyes: I've seen that you are a mechanical engineer: maybe you could help me when I'll realize the crystal sync! It would be amazing!! ;) -
Man with a BL - Arriflex 16BL complete refurbishing
Luca Bonicalza replied to Luca Bonicalza's topic in ARRI
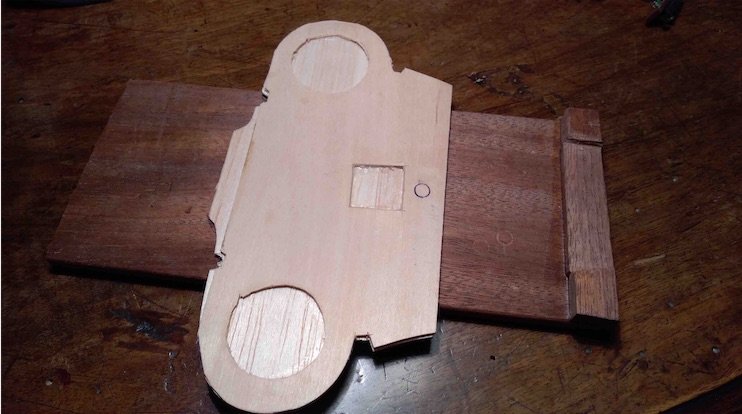
Hi everybody, here I am! Last week I haven't done too much, I've just unmounted the exposimeter, but anyway it is not easy as it should be: remove the interior and exterior screw, then it is glued because of the old rubber :rolleyes: It took me half a day that there were not more screws! ahah, anyway, here you can find a picture of the interior part of the exposimeter. It has a condenser burned, but I'm not going to re-install the exposimeter since I have planned to install a video assist /and I've already have a beam splitter!) Then I've worked to find a way to recreate serigraphs, maybe I can arrange something, quite expensive but it will be a really nice work! I've also find a professional painter that would help me repainting the camera, he's doing some tests right now. In the midtime I have to unmount all the parts I have to paint, so I'm dividing the magazines and I'm building a jig to replace back correctly the two peaces glued of the mags! Picture soon when I will finish it! (it is because I need to figure out how to do it :D ) I'm actually thinking to repaint the main component of the mechanism, that needs too. I mean, it is sure I will repaint it, I'm going to try to give to the painter ALL the pieces so... Has anybody unmounted it yet? I actually don't want to unmount all the mechanism now.. Ciao!!
-
Arriflex 16BL - SMOKING
Luca Bonicalza replied to Brendan Collins's topic in Camera Operating & Gear
Hi! It is not too difficult to unmount the camera, I've just opened a discussion where I'm completely refurbishing a 16bl. If you remove the cap and the motor (with 3 screws on the interior side of the camera) you have enough space to understand if some wires are burned. But if you want to do more, remove the blimp mount (8 screws), then unscrews the 4 shock mount and you will be free to remove the core part! -
Man with a BL - Arriflex 16BL complete refurbishing
Luca Bonicalza replied to Luca Bonicalza's topic in ARRI
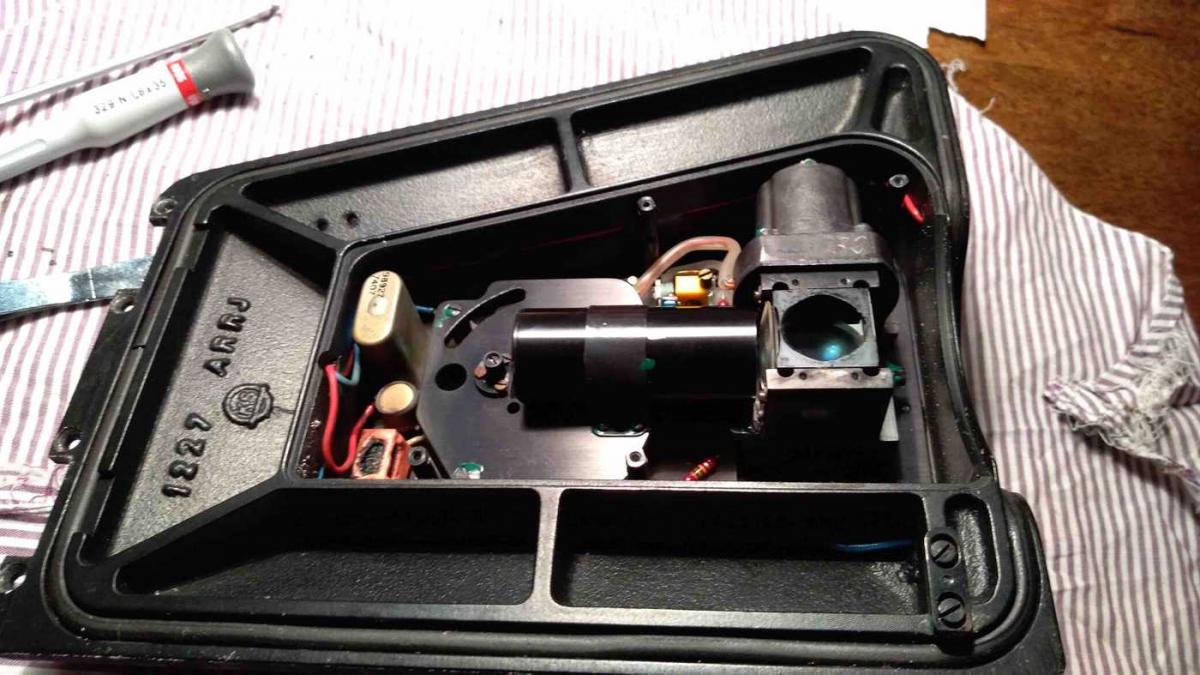
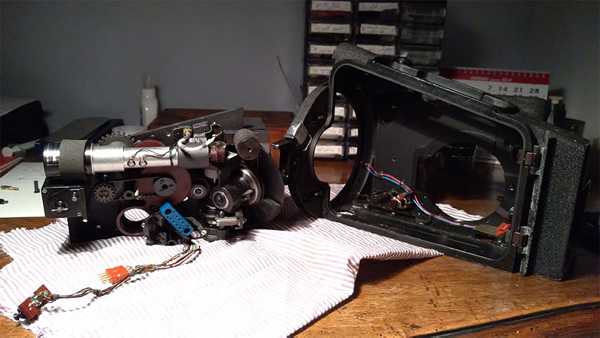
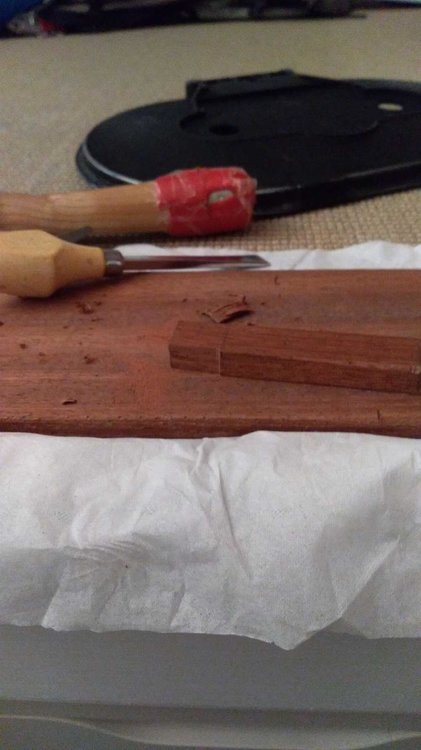
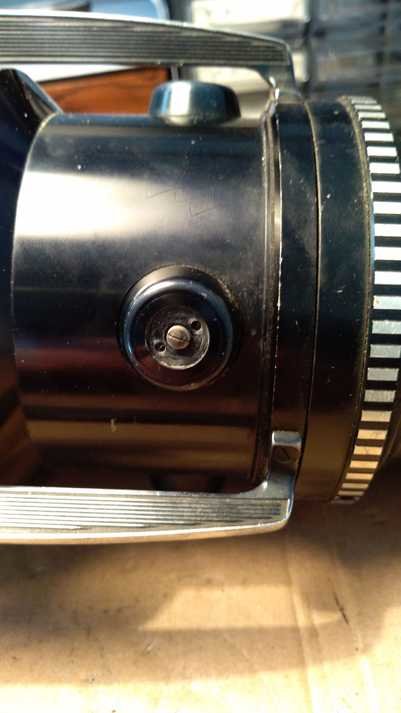
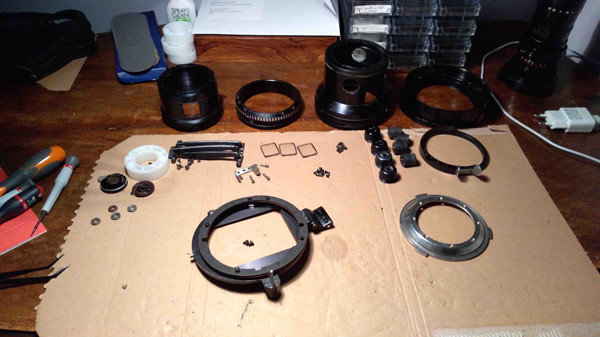
Hi Dom, Thank you! Yes I work in a rental here so I have all the stuff I need because we still have some motion picture film camera that work sometimes eheh! Yesterday I had some troubles with pictures, I hope it will be better today! So first of all I've completely unmounted the mags: the mechanical part it is not difficult at all, the worse things are the hinges that are really really tightened, and even with the solvent and heat was difficult to remove the screws.. The most interesting part is that the mechanical support of the film mag is glued to the rest of the mag with rubber, and I had to remove it in order to be able to repaint (and cook the paint) the mag. I don't have pictures of it yet, and I have to finish all the 3 mags because I have to make a "comparator" to place back in the correct position all the parts glued. here maybe you can see something Then I had to unglue EVERYTHING! So since I was looking for pieces to be re-anodyzed I've started with the blimp and the Angenieux 12 120 type b. First of all it was difficult to understand how the lens was suited in the blimp, so I've started removing all the parts I could easily remove. Then, I sow the shock absorber and believe me, it as been REALLY REALLY har to unscrew them. The aluminium is much soft and they are tightned very well! You ABSOLUTELY have not to try to unscrew the screw, because it's unusefull. Just try to unsrew the "bell" with the two holes. Lot of solvent and heat not much useful, here you can find the differences between a harder "bell" (I even broke the tool) and a softer one: and then it's easy, you have to unscrew the shock absorber not by the screw but from the two holes (quarter turn and they will gone!) and you can extract the lens. Unmount the Blimp is really easy then: (above you can see the shock absorber on the right) Just remember where everything goes. The zoom is easy too to be opened in its 3 main pieces: focus, zoom and fixed back with iris. I'm not going to work too much on the zoom yet, I've just opened it to take out all the parts I need to re-anodyze. And then is the camera moment! The mechanism is connected to the chassis by 4 shock absorber: two on the bottom and two on the right side of the camera (two screws). To remove the mechanical from the body, you should remove the blimp mount (the lens mount is on the mechanism), then remove the motor cap (screws on the external part) and then remove the motor by 3 screws from the inside part. Be careful to all the cables, then extract it. This is what you will get: I hope you will forget me for the quite fast description but I haven't take many pictures, but anyway I'm share that if you will need something in particular you will ask for. Anyway, you will probably find more informations on my instagram stories, the account is "Goodsock Vision" (Goodsock is the English translation of my surname eheh, and it sounds like Hitchcock maybe!)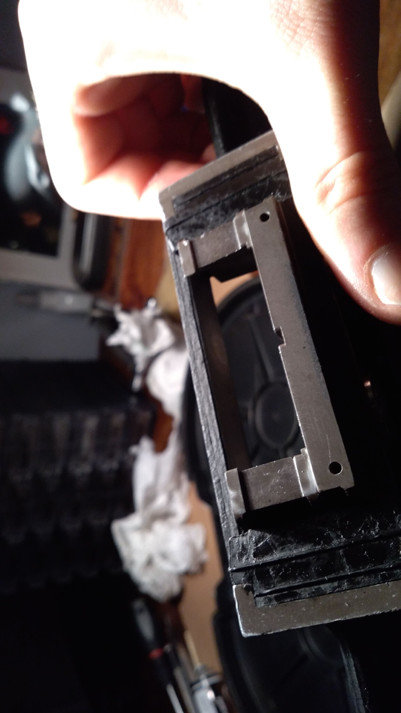


-
Hi everybody, here is Luca from Milano, Italy. How are you? I'm a camera technician and I've bought an Arriflex 16BL on Ebay (camera and 1 mag from UK, 2 mag and Angenieux 10x12 with blimp from DE) that I want to completely refurbishing, both lens and camera. The camera was ok, I've tested with a battery and everything was working good, and not too noisy! The lens unfortunately has lots of fungus inside, so I'm gong to completely restore it. I'm writing here because maybe (MAYBE..) it could be interesting for someone, or if someone need explications about the camera, or even if someone has tips and suggestion for my work, I'll be pleased! My aim is to make the camera in perfect conditions, both esthetically and working one (it works, but it needs a good cleaning). I would like to add a crystal sync unit, that it will probably will Arduino based - Swiss Made (since I'm Swiss eheh). For the zoom, that has a good mechanic but bad optical part, I'll extract all the lenses, clean them and recompose everything. So, first of all I'm un-assambling all the mags, the blimp and the camera in order to divide all the elements: the ones that needs to be re-anodyze will be sent to the lab, and the mags and the camera will be repainted with the original wrinkle effect. The problem is the serigraphies, that seems to be painted OVER the paint. I don't want to loose them, so I'm thinking for a solution but if someone has a suggestion.. please say it! :D


-
Hi everybody! I'm from Switzerland but I live in Italy, Milano. (Well, I'm actually from both).
-
Hi everybody! I've just published on amazon the dissertation of my BA and it's about chemical images in the digital post: I've actually tested that is more comfortable to composite and color footage from motion picture film (5219 in my test) rather than digital one (r3d). I think you are the best people I can share this with, and I hope we could start a discussion about that. You can find it here https://www.amazon.com/Improving-digital-industry-workflow-chemical/dp/1723717606/ref=sr_1_1?ie=UTF8&qid=1542138841&sr=8-1&keywords=luca+bonicalza and in all local amazon's website. The price is to cover the print costs (and I hope in a looooong time even the production ones!) Thank you and bests Luca Bonicalza