

Robino Jones
-
Posts
158 -
Joined
-
Last visited
Posts posted by Robino Jones
-
-
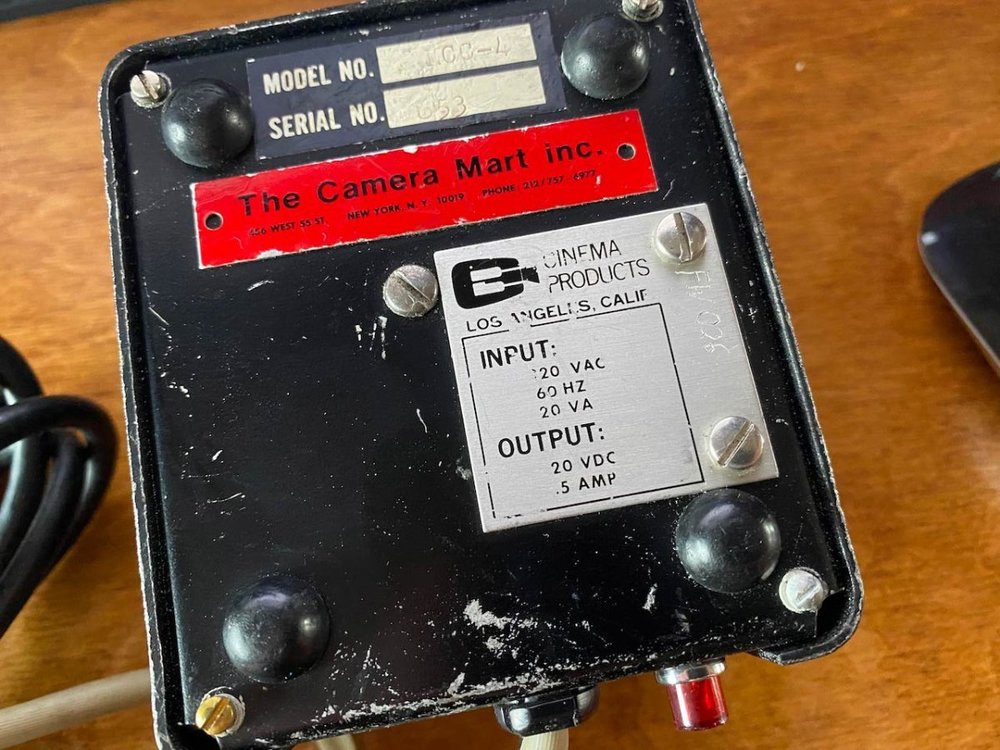
I have a power supply for my CP16R and here's a photo of the bottom.
It says the OUTPUT is 20V .5A
-
 1
1
-
-
I forgot to add. There is one issue. For my eyesight I can't get it to focus correctly using the diopter range -5, 0, +5, but if I put my contact lenses then it's fine. I also had a friend look into it and he has perfect 20/20 vision, he was able to focus it but had to be +5.
I'm ok with this since I wear contacts, also it might be my viewfinder that needs an adjustment..
-
11 hours ago, Ruben Arce said:
I have used viewfinders created for the CP-16r on the NPR and they work fine but not the other way around. How did the Angeniuex work for you?
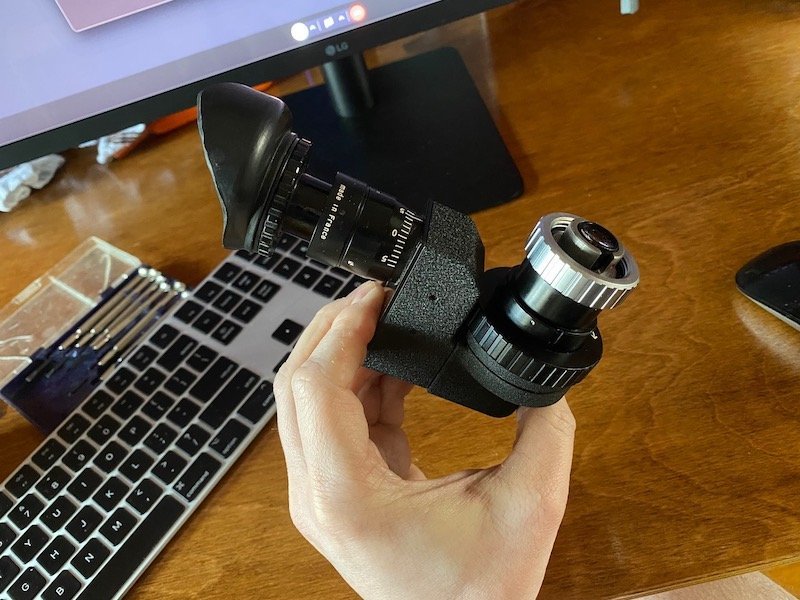
It works great, brighter and slightly bigger image. Also keeps the image up right in any orientation.
But now I'm not sure I want to look through it ?
-
 1
1
-
-
I just bought an Angenieux viewfinder for my CP16R and it's yellowish when looking through it. Reading this thread I'm not liking the situation..
If it is radioactive, is there a way to de-radioactive it?
-
1
-
-
Here's a hand processed reg test I did with my CP16 with old expired plus-X film.
pass: cp16
-
 1
1
-
-
Ask for an overscan so you can see the film perforations, if the perfs move with the grid then it's the telecine / scanner and if they are super steady then it's your camera.
-
1
-
-
9 hours ago, aapo lettinen said:
I think the orange is due to the viewfinder prism's coating affecting the transmission of light. I don't know if the original video beamsplitter has any colour shift but the normal prism (like I seem to have in my camera) is likely not meant for video tap use and thus it just has the regular (aluminium?) partial coating which affects colours when shooting through it
I asked Ken Hale from Whitehouse and he said: "That is an infrared mirror, it only lets the black and white light through."
So it maybe best to use a monochrome camera?
-
Thanks for sharing all your progress Aapo, nice to read this thread. I'm also interested in making a tap for it.
Last night i was finally able to pop-open the video assist cover and peek into it. Why is the image coming off the prism orange? Image is correct in viewfinder but wondering why it's orange when looking down in the tap hole.
I see that it is orange in your pictures as well.
-
For anyone looking for a replacement eyecup, I purchased the one from the link above and it works fine. I also found another one that works great as well.
So any eyecup with an opening between 28mm and 32mm will work on the CP viewfinder.
-
1
-
-
I will be getting my CP16R this Friday and it doesn't have a rubber eyecup.
Found this link on Ebay - do you guys think it would fit on the CP?
-
You don't need a dark room - Buy a film changing bag. In L.A go to Freestyle photo or filmtools. You can even get them on Amazon.
-
It looks really great! Great job!
-
Reviving this older thread.
I'm learning optical printing and I have questions about fading in a title with drop shadow over live action.
I gave myself a learning assignment and I'm hitting a wall.
My test starts with a clock wipe transition revealing the live action, then a title fades-in (with a drop shadow) and the live action turns into a double printed slo-mo, and at the end everything fades out.
I have created:
- Hand animated clock dissolve (18frames) on 5363 high con
- Hold out matte of title plus its shadow on 5363 high con
- Female matte of title only (black frame with clear letters) on 5363 high con
- IP of my live action from the original negative (I did the switch to double printed slo mo on that element)The issue is I added an 8 frames fade-in using the variable shutter on the camera for both the title hold out and female mattes.
Now I'm realizing that when I start printing my final comp, and photograph the Hold out matte bi-packed with the interpositive and then go for the second pass - by rewinding and exposing the female matte (to expose only the white area inside the font)...because I added a fade-in on the female matte, it will expose and flash the IP when the title fades in since the base will go from clear to black.. stupid me.
I know I will have to reshoot my title mattes.
My question is how do you do a fade-in or out on titles with shadow?
My guess is that I could do the fade-in (using the camera variable shutter) on the hold out matte since this will result in a clear base with black letters, and only the black letters would fade in - that will be ok. Then when I shoot my female matte, I would shoot the matte element straight through with no fades so I have opaque black from start to finish. And when I rewind and shoot the second pass with the female matte only, I could use the camera variable shutter to fade that element in.
I think this could work but I have a feeling I'm overcomplicating it.
If you know the proper way to do this, or can suggest a book or two about the subject I would really appreciate your help.
-
38 minutes ago, Satsuki Murashige said:
Do you have a list of the 7 film labs in the US? I’m only aware of Fotokem and Cinelab. Thanks!
I found 6..
http://colorlab.com/contacts.html
https://www.spectrafilmandvideo.com/Lab.html
https://www.kodak.com/en/motion/page/kodak-film-labs
Kodak = 2 Labs in USA
-
There's a 16mm Moviola on craigslist (in L.A) that looks to be pretty clean. Might be cheaper than renting.
https://losangeles.craigslist.org/lac/pho/d/los-angeles-16mm-upright-moviola/7277909016.html
-
If you require a 2K scan and shooting Super 16 you you could shoot a 4x3 chart at the beginning of your roll and tell the scanning operator to punch in and frame his scanner to your chart so you get 2048x1536. Or you can just tell them to frame full height right in the middle of your S16 frame but human error could crop the wrong way.. That's assuming you will see those frame-lines in your viewfinder for framing. This way you would get a 1:1 capture.
Or you can get 4K scan but if you're requirements are 2K you're going to pay extra for 4K and get a sub 4K result in the end. You can also do the center framing in 4K which would give you a 4K full app frame.(4096x3112)
I would ask the scanning facility for advice - everybody does things a little differently / different machines etc.. some can punch in some are more limited..
-
17 hours ago, Tyler Purcell said:
Yep, you're mostly paying for speed in the long run. If you want a system that has no software and is just a 1fps solution with a camera and a animation gate, it's not difficult to do.
What is difficult is to make a scanner that can actually make high quality scans on par with commercial machines.
You need to figure out a flat even light source(RGB lamp system hopefully), camera triggering and synchronization, create software for light and drive controls, find a great copy lens etc.
Then when you start seeing images you have to find solution for dense negatives, dusty scans, steadiness, multi formats 16/35 and a lot more stuff you didn't think about. It is difficult but VERY rewarding when you get it right.
And it's expensive to make great scans. There's a reason why commercial machines are so expensive.
9 hours ago, dan kessler said:Projects like these can run into months and years. I've been at this game a long time.
I'm 5 years in and upgrade my scanners every year with new features. Pandemic was great for that last year.
-
The Arriscan should give you a nice log transfer of your negative so you can adjust everything you need in your grade.
-
-
I have a couple printer projectors mainly used for scanning but I have a special one with camera and all ready for opticals. Going to start with basic stuff and go from there. I'll post tests here if i get to process some file with the tank ?
It's printing now I will see tomorrow am.
-
Thanks Chris for the super detailed explanation !
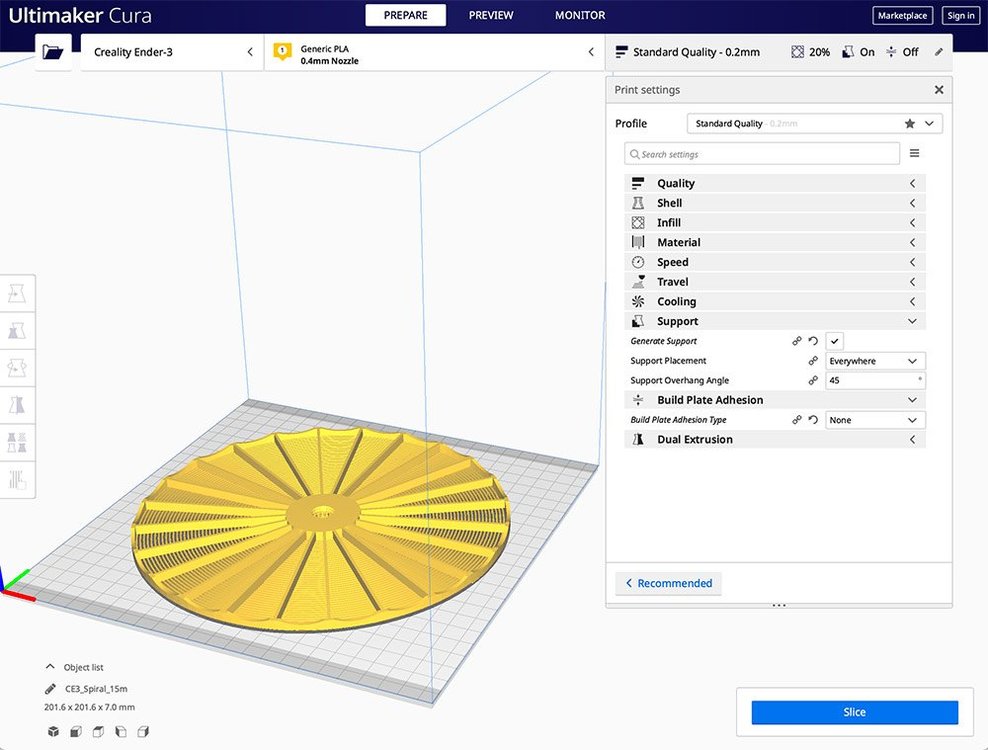
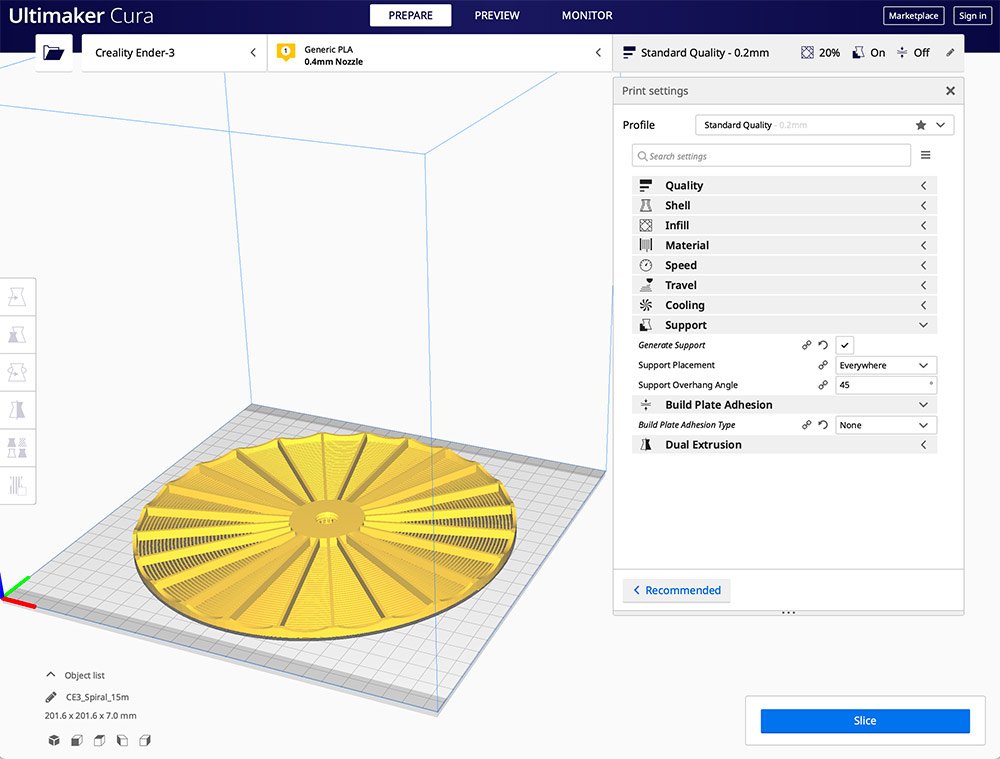
I printed the retainer this afternoon and started the spiral, I think I'm printing it the way you explained. See picture.
My printer is pretty tuned in so let's see how this one goes.
Hoping this will work - I can really use this because I'm about to do some optical printing and I don't want to have to go back and forth with the lab for my initial tests. I have some QWD Ecn-2 kits I can put to good use. https://quietweredreaming.com/product
-
Thanks for sharing this this is awesome - any tips on printing the spiral - there's a lot of overhang underneath what do you do for supports? I use Cura.
-
Looks like a very small vertical scratch on the negative. I would scratch test the mags.
-
1
-
1
-
-
Personally I would not touch the grain, I skimmed through your film, looks beautiful!
But if you really want to tone it down, Neat Video works great. Never had good results with Resolve probably because I don't know how to use its denoising feature correctly.., Neat Video is easy, and you get great results. Never used it on film footage though, only on video to remove the digital noise so I can add film grain in post.

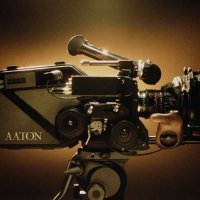
Radioactive viewfinders on the Eclair ACL
in 16mm
Posted
Does it look yellowish when you look through the viewfinder? My CP16R version has a slight yellow tint.