Don H Marks
-
Posts
77 -
Joined
-
Last visited
-
Yvar 75mm; frozen focus ring.
Don H Marks replied to Don H Marks's topic in Lenses & Lens Accessories
Good as new!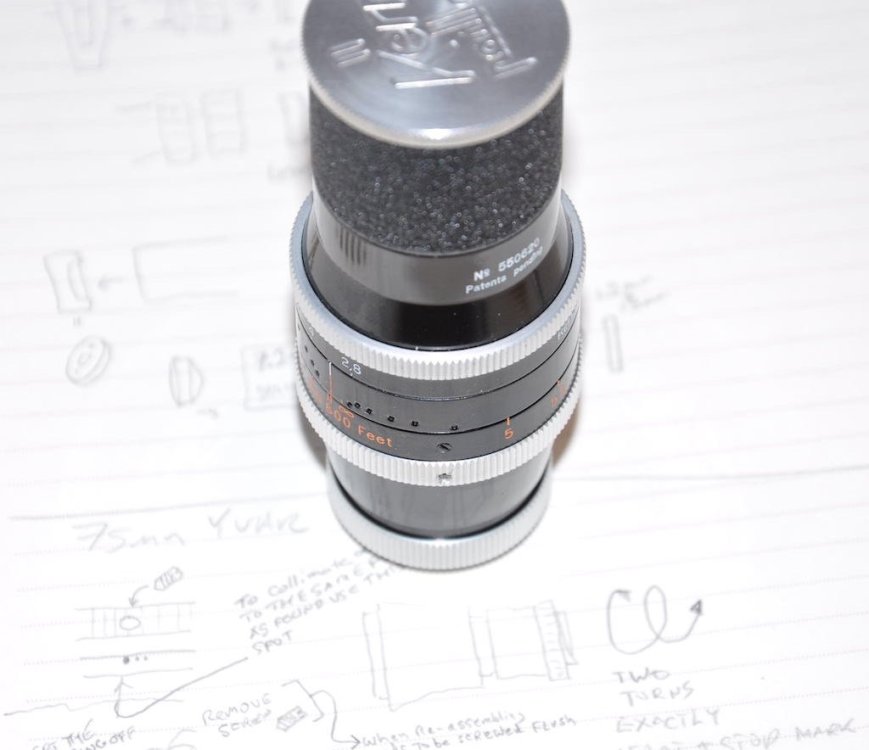
-
Yvar 75mm; frozen focus ring.
Don H Marks replied to Don H Marks's topic in Lenses & Lens Accessories

-
Yvar 75mm; frozen focus ring.
Don H Marks replied to Don H Marks's topic in Lenses & Lens Accessories
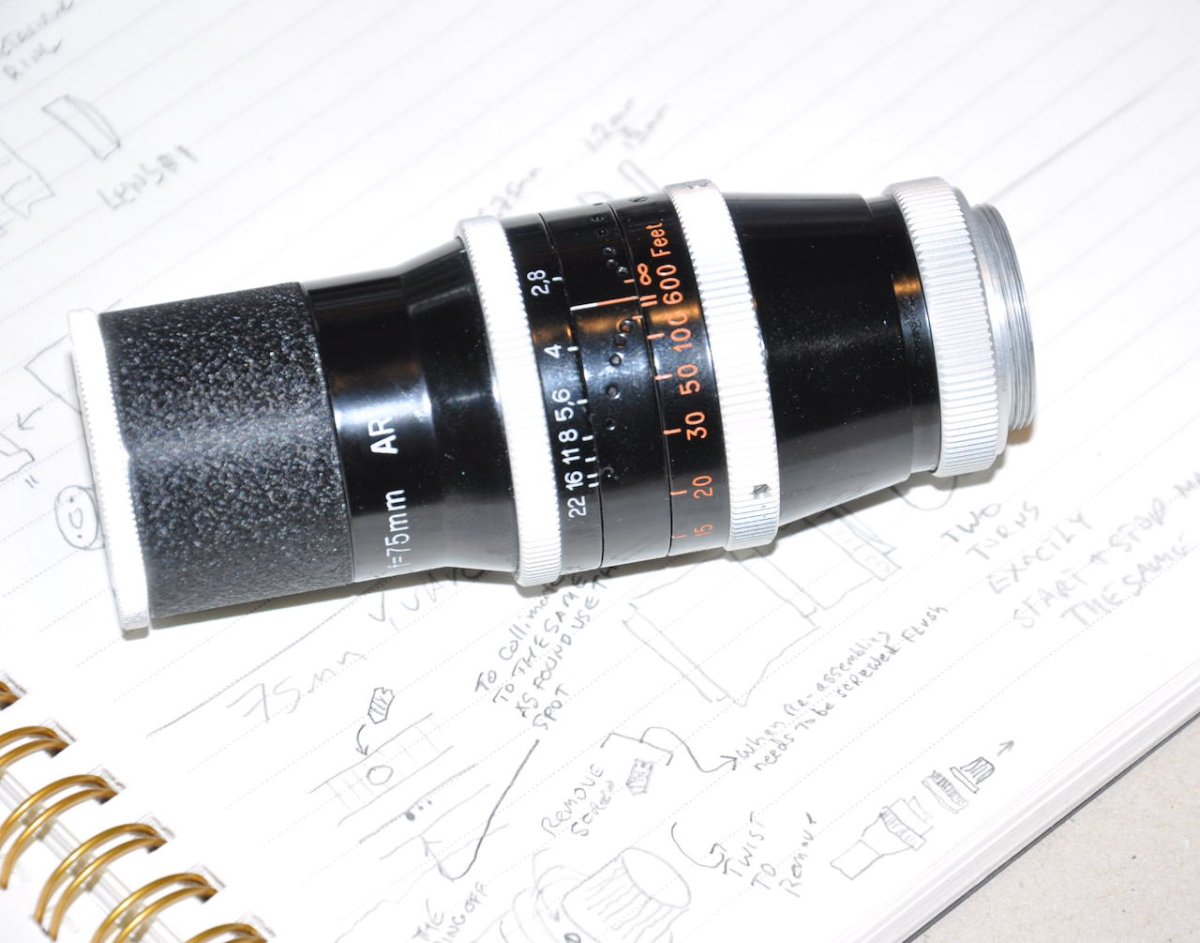
Re-assembled to the correct orientation for the H8 with new grease.

-
Yvar 75mm; frozen focus ring.
Don H Marks replied to Don H Marks's topic in Lenses & Lens Accessories
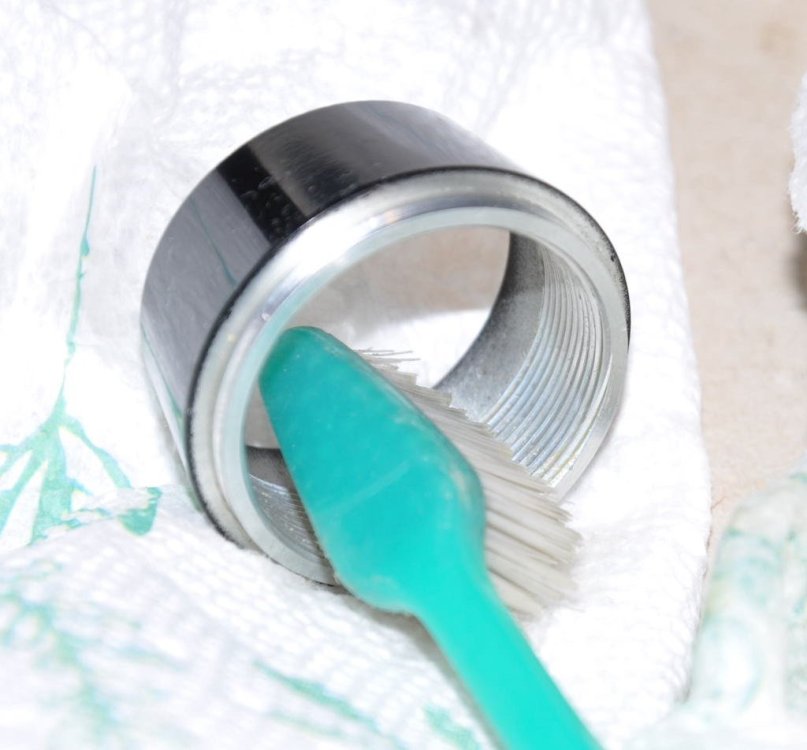
The focus ring was cleaned and re-greased. Not it is nice and smooth.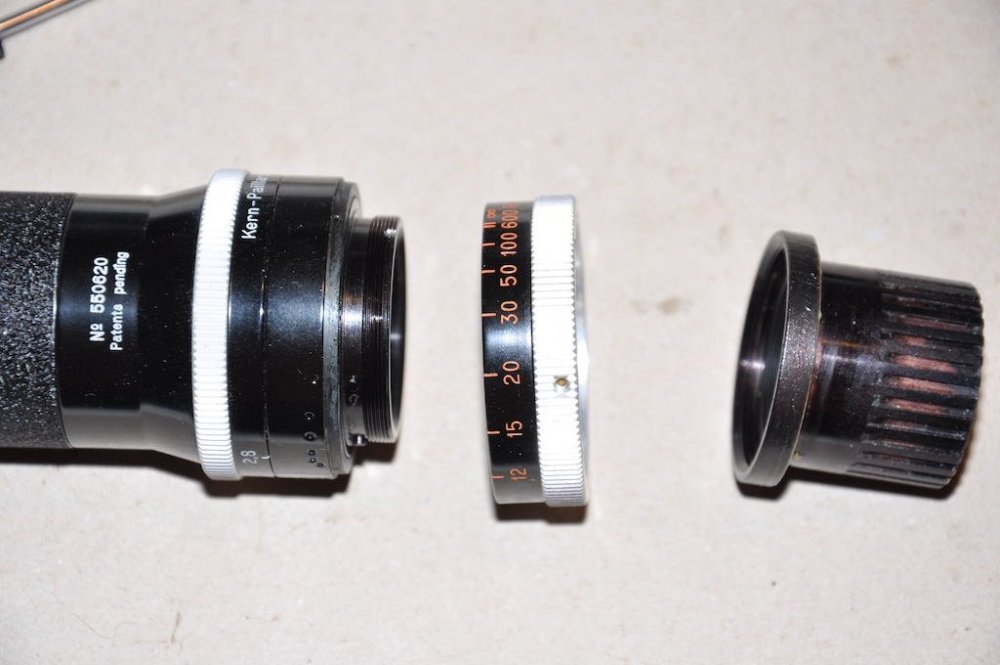

-
Yvar 75mm; frozen focus ring.
Don H Marks replied to Don H Marks's topic in Lenses & Lens Accessories
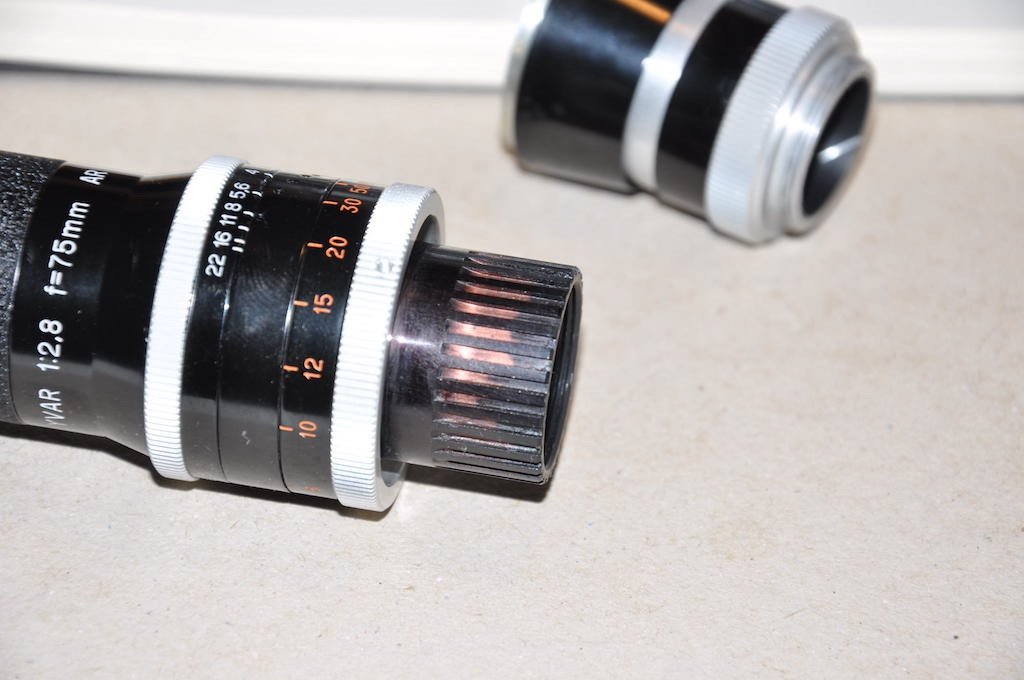
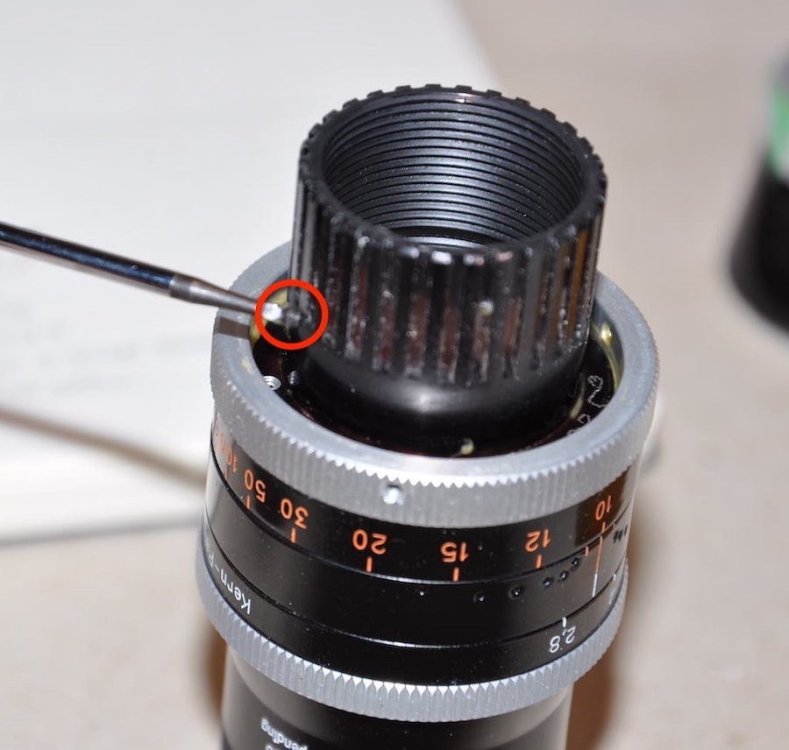
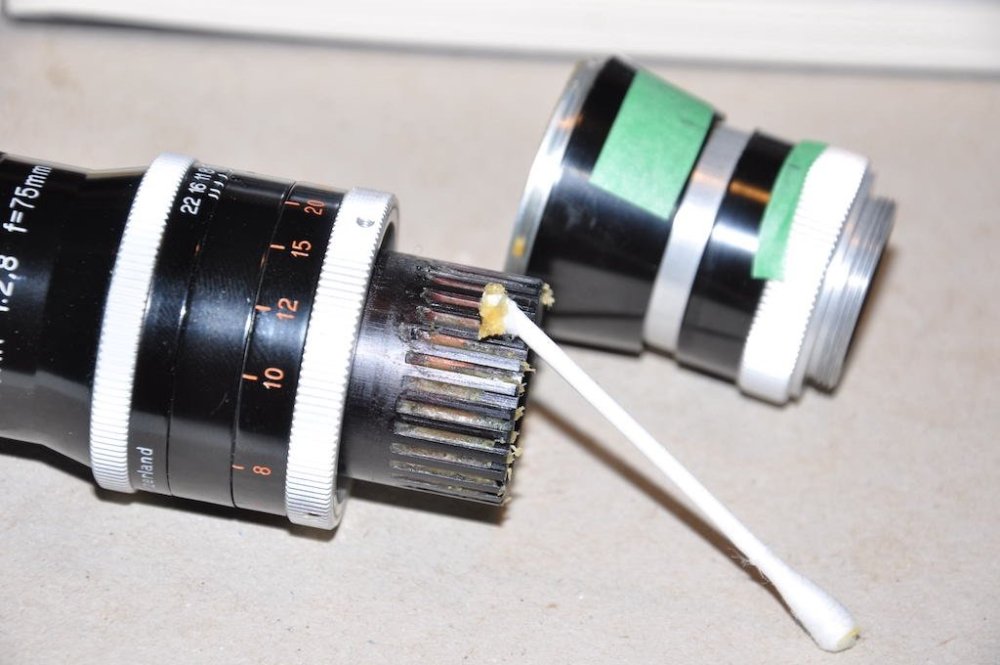
The focus ring was still stuck. Under the thick grease is a locking screw that needs to be removed to get to the focus ring.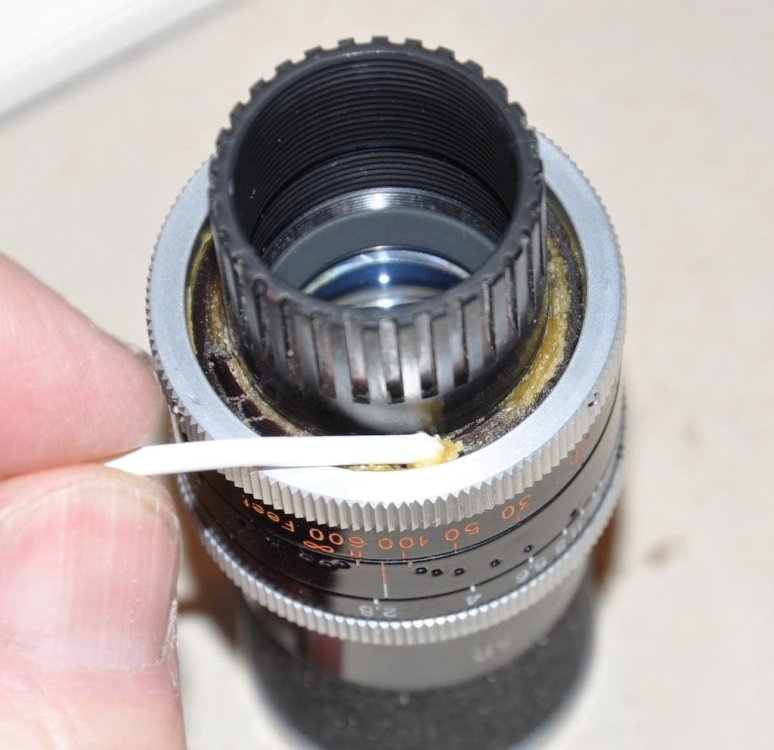
-
Yvar 75mm; frozen focus ring.
Don H Marks replied to Don H Marks's topic in Lenses & Lens Accessories
The focus mechanism came apart with exactly two turns. It was not that bad, but it was cleaned and re-greased. This one appeared to be simple threads with a single start location, not really a helicoid.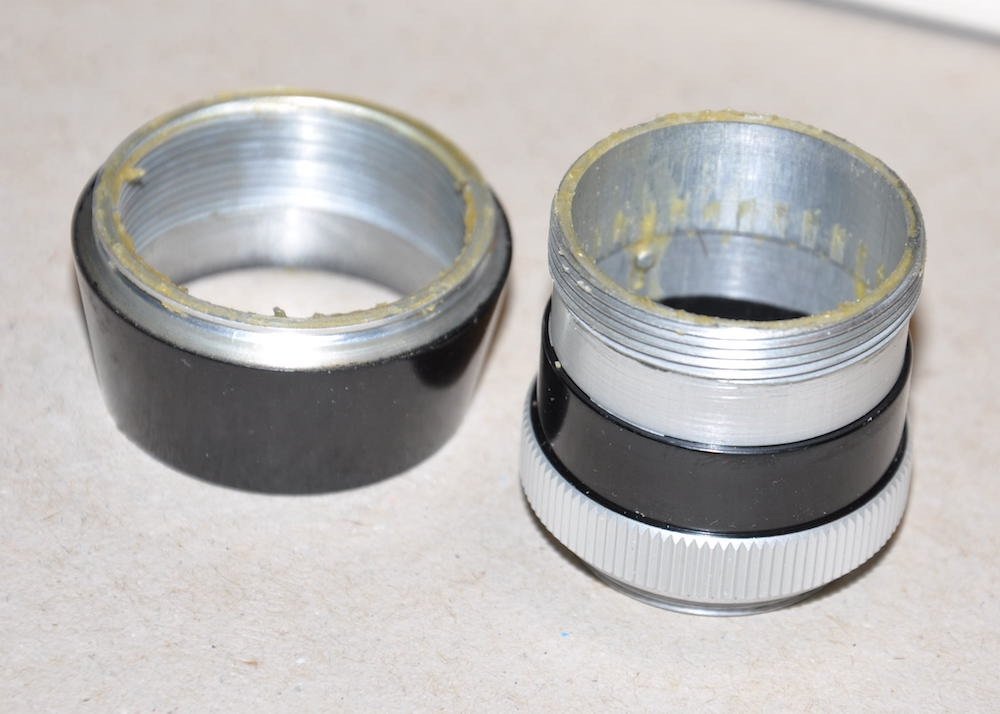
-
Yvar 75mm; frozen focus ring.
Don H Marks replied to Don H Marks's topic in Lenses & Lens Accessories
The grease had turned into something resembling wax.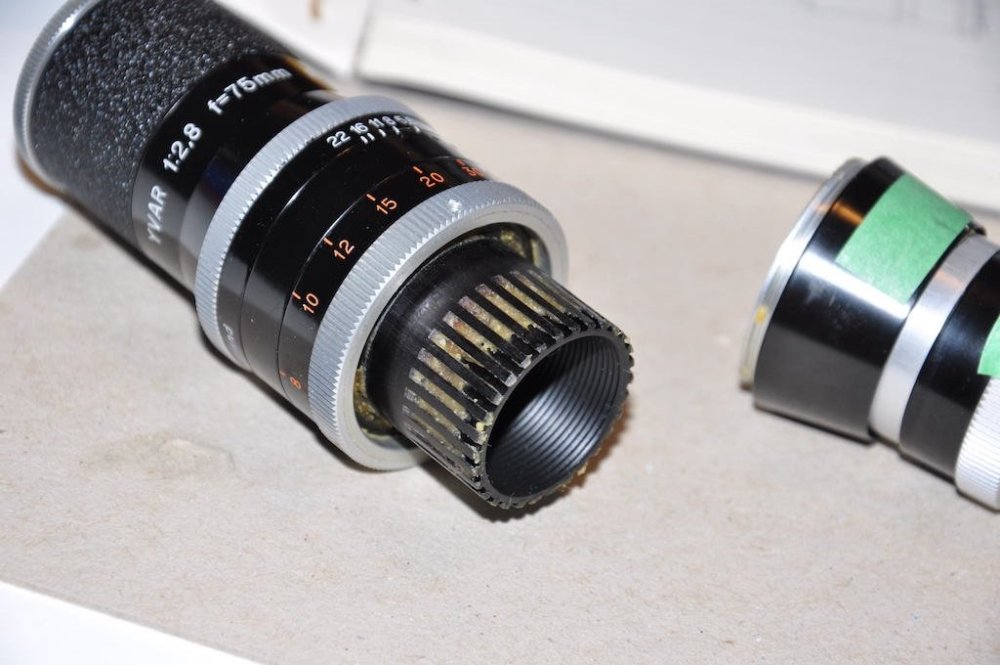

-
Yvar 75mm; frozen focus ring.
Don H Marks replied to Don H Marks's topic in Lenses & Lens Accessories
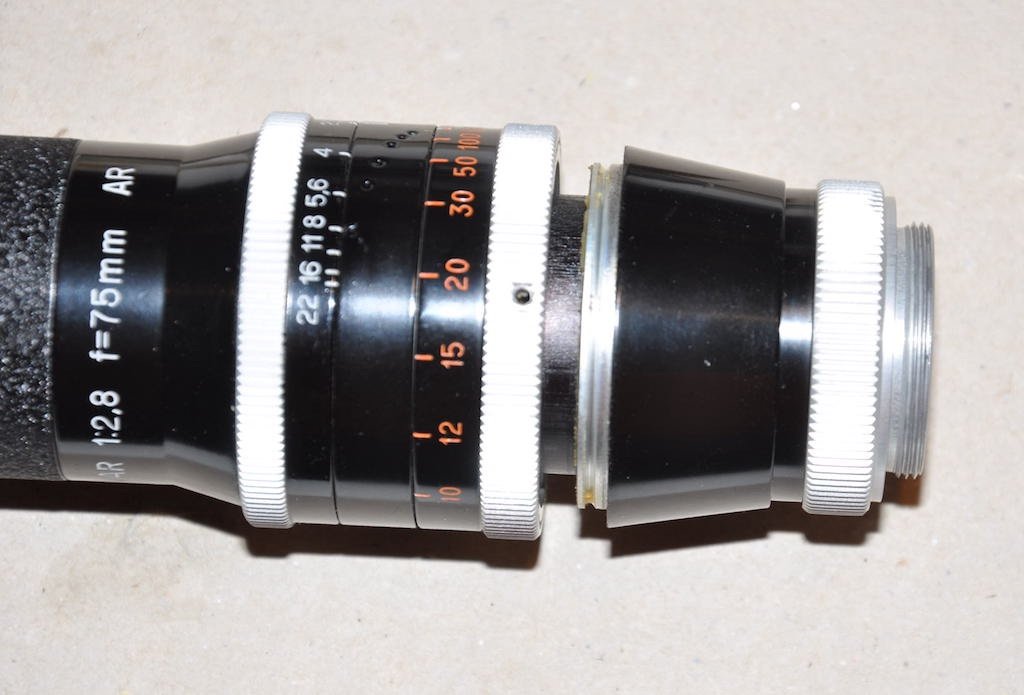
Mark the focus mechanism before sliding the lens apart.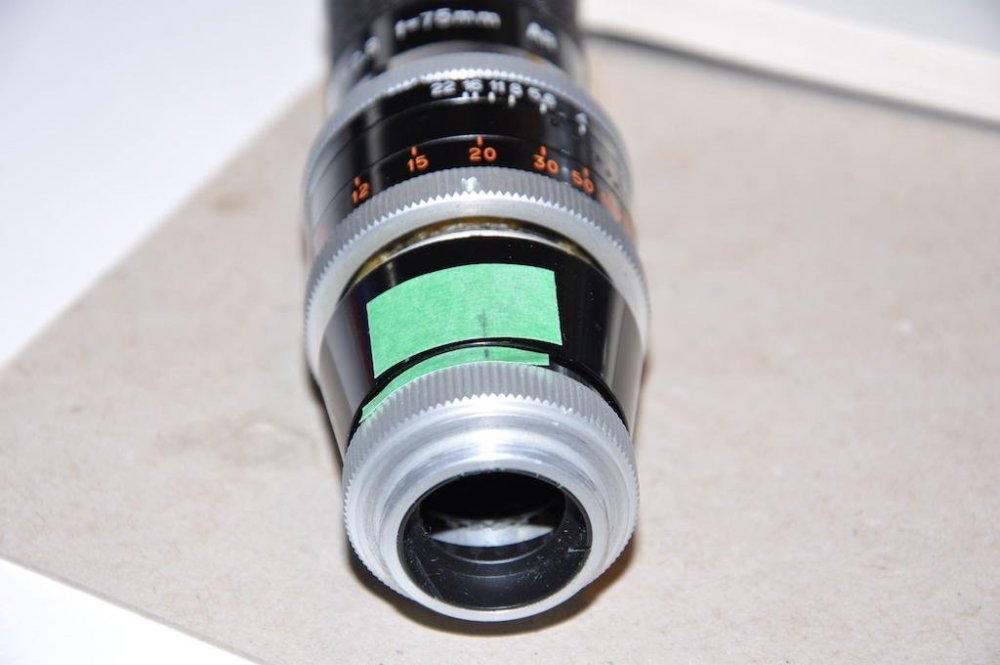

-
Yvar 75mm; frozen focus ring.
Don H Marks replied to Don H Marks's topic in Lenses & Lens Accessories
Three screws around the perimeter can be removed to access the frozen focus mechanism. If I plan on re-assembling in the exact same way, I remove the screws all the way, so the indentations can be seen to aid re-assemble. In this case, I will rotate the lens when I re-assemble it, so the index marks are in the correct place for the H8.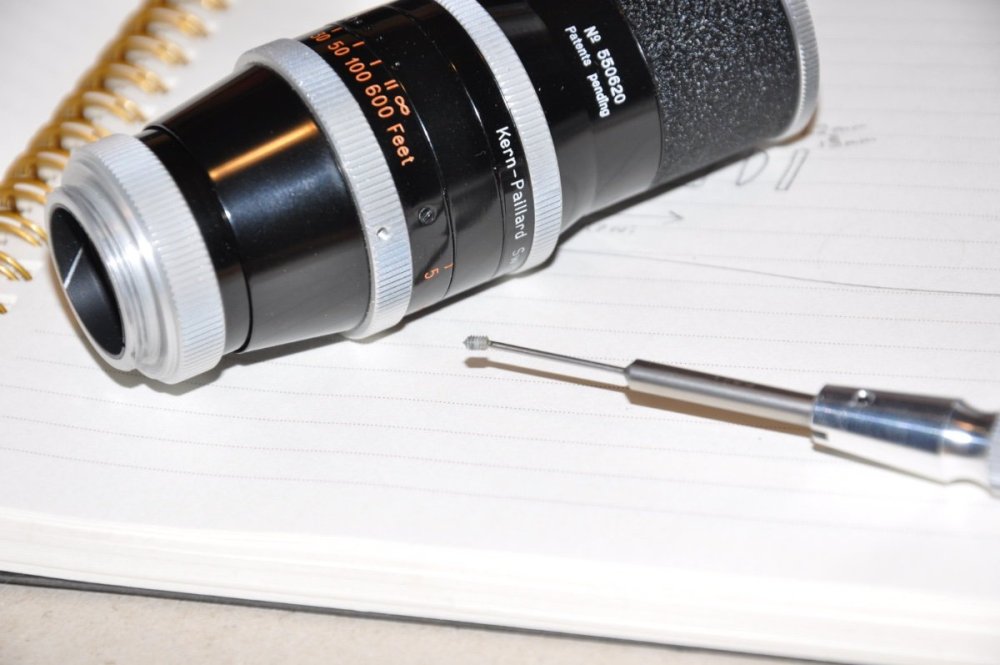
-
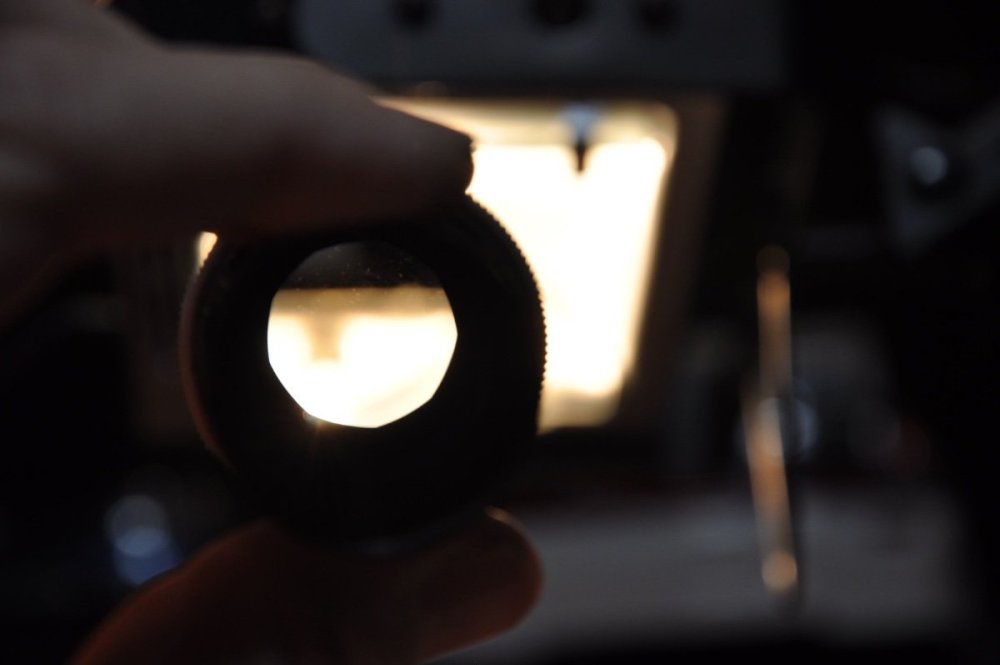
I picked up this mint condition Yvar 75mm lens for my H8 Bolex. The optics are perfect, but the focus ring is frozen.

-
C-mount lens to D-mount camera adapter?
Don H Marks replied to Aapo Lettinen's topic in Lenses & Lens Accessories
I found a 75mm Yvar and it works great on my H8 non-REX with the adapter I got off e-bay. For those that don't use 8mm, the lens is useable on that camera because the H8 Octameter has a 75mm setting. After servicing the helicoid, it was easy to re-assemble the lens so the index marks were in the correct positon with the adapter in place. For this camera I want the index marks of all the lenses on the left side.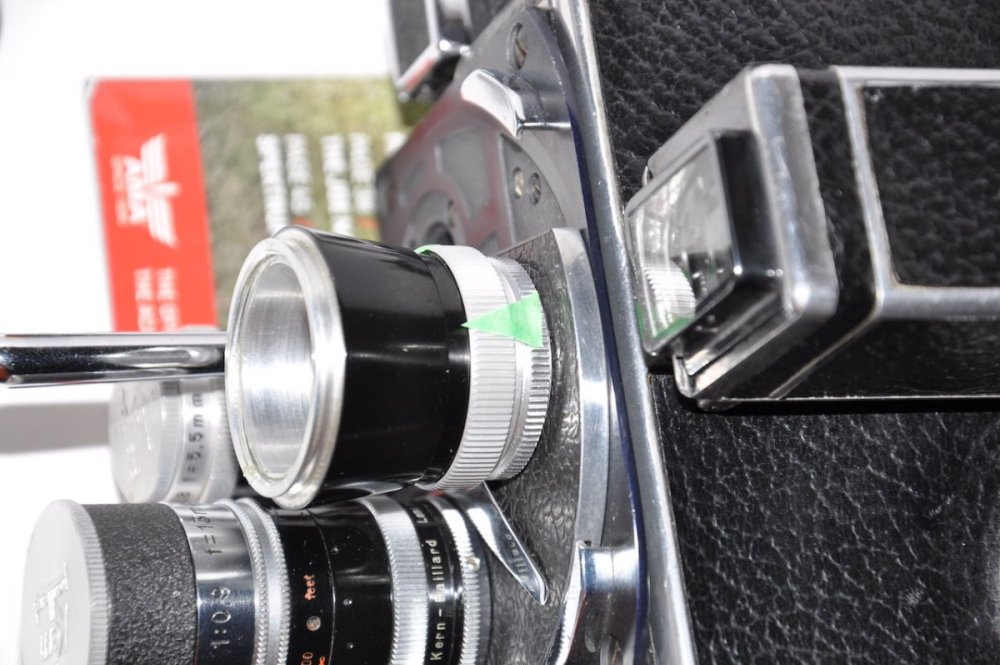

-
That is very nice, thank you for the link. I built mine to try time-laps to see if I like it before buying gear I might not use much.
-
A short video of the intervalometer in action:
-
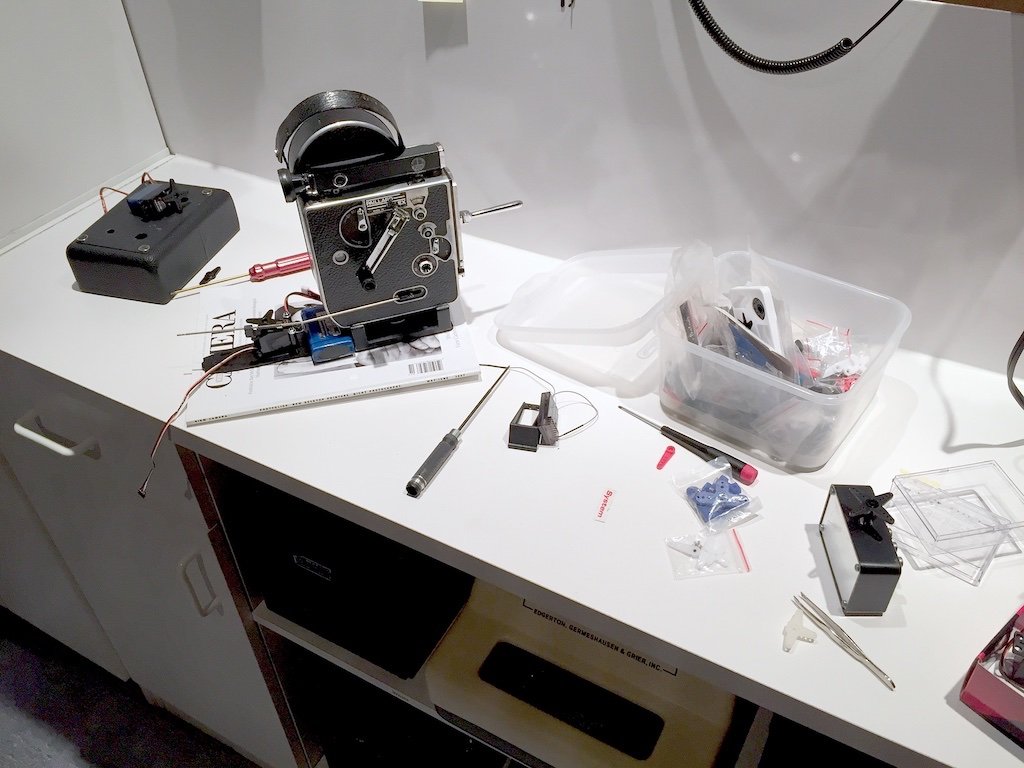
The servo cycles back and forth and pushes the frame release forward via a spring-loaded lever.

-
I put together a simple intervalometer for one of my Bolex cameras. The design uses a Radio Control Vehicle servo and a simple 'servo tester' box that cycles the servo at various speeds.