
Tyler Purcell
-
Posts
7,823 -
Joined
-
Last visited
Everything posted by Tyler Purcell
-
 Sure, but nobody shows up with a laptop in hollywood, they just don't. You'd be laughed off set.
 -
In the united states, Pro Res in the industry standard for everything outside of broadcast, this is because broadcast is still interlaced 1080i, they generally want a 59.94 iFrame MPEG file. Most of the time we simply deliver interlaced DNX straight out of our edit bay. When you're dealing with delivery for distribution outside of broadcast, you work with a content aggregator. Almost all of the aggregators in the US are here in So Cal and I know their workflows very well. They all require Pro Res deliverables, no matter what. There are no if's and's or but's about it. You can't make Pro Res? You aren't delivering anything to iTunes, Amazon, Netflix, Hulu, etc.. Outside of content aggregation and broadcast, most people still want an iframe codec. This is why the non-broadcast industry no matter what, still uses Pro Res and DNX, as not only their working formats, but also for final delivery. There really isn't anything "better" or as robust without going to speciality formats like JPEG2000, which is hard for computers to decode. The great thing about Pro Res is that it has a multi-threaded decoding engine, which allows for the decoding and encoding to be spread across multiple threads, vs simply cores. This means it works very smoothly at pretty much any resolution, on pretty much any computer. This is not the case with MOST formats.
-
The only MODERN, sync sound 35mm coaxial magazine cameras are the Aaton's. All of the 35mm cameras outside of those, are loaded every time you put a new magazine on the camera. All of the modern 16mm cameras are coaxial. So switching loads on 16mm is WAY easier.
-
.54/ft vs .32/ft I understand the power of 35mm short ends and that getting 16mm short ends is tricky. However, even if you made the stock price identical, you're still shooting more film for the same amount of time on screen. When discussing color negative and a bulk discount rate, you can generally get the same numbers for 16mm and 35mm per foot, if scanned at the same resolution. However, for 2 perf 35mm, you are working with MORE FEET! So the pricing goes up exponentially. I love 2 perf... however, it's NEARLY 2 times the cost of 16mm when you add up all of the elements from camera rental to post production. I do budgets for productions all the time, I'm constantly pushing customers to get deals at labs directly. I've taken the numbers they've worked hard to get and I've done the math on everything, which is how I derived the film production spreadsheet which is on my website. For a 90 minute Super 16 movie: $26,880 @ 10:1 ratio for all of the "film" related aspects. (2.5k finish) $17,550 @ 3 weeks for all of the camera related aspects. = $45,000 (rounded up) For a 90 minute super 35mm 2 perf movie: $43,600 @ 10:1 ratio for all of the "film" related aspects. (4k finish) $29,700 @ 3 weeks for all of the camera related aspects. = $65,000 (rounded up) These budgets assume new bulk stock purchasing. However, even if you use short ends, even if you do the 2 perf finish in 2k, you'd still not have equal numbers. No matter what, 2 perf is more money then S16mm, there is no way to make them the same pricing, unless you physically owned the equipment and even then, the cost is so much greater then owning 16mm equipment, the benefit goes right out the window.
-
But it can't "export" Pro Res... that's the problem.
-
Vegas isn't really a professional piece of software because it's very limiting in terms of it's codec's and computers it can run on. As I've said many times, the industry runs on Pro Res and DNX. If you can't do those two codec's, the software is worthless as a professional tool. Nobody takes MPEG files as master deliverables. Furthermore, most cameras today shoot quite a bit of "raw" codec's. So being able to support those, is very critical. This is why Avid, Premiere and DaVinci are the three top tools used today.
-
DaVinci needs a good graphics card to work tho, so that's one downside.
-
No, no, super 16 cameras are a dime a dozen. You could buy cameras on ebay for less money then it would cost to rent them for a 30+ day shoot. The reason people don't shoot super 16 is because a lot of distributors are scared of the quality. Plus, the cost difference for a big show between S16 and 3 perf 35mm (the standard today) is negligible on a multi-million dollar movie. So any movie you see in the theater shot on 16, they didn't use it to save money, they used it as an aesthetic choice. What I mentioned earlier was 2 perf 35mm cameras being rare. Kenny says 100, I say there are only two dozen available world wide for rental. I know of 6 modern Arri's that are 2 perf in the US.
-
Sony Vegas? It's not that expensive and does quite a bit.
-
I'm not a fan of smoking at all. I grew up with smokers in my life (grandparents) and I absolutely can't stand it as an adult. On set, it drives me nuts because nobody wants it around, smokers walk very far away to not bother anyone, so you're constantly looking for your crew. Smoking pot is an entirely new level of disrespect though.
-
Well for many reasons. The biggest one is that a film loader could also be an AC. So when they aren't loading film, they can be handy in other ways. On my shows, my film loader takes care of base camp and runs camera related gear to set when needed. A DIT won't do that. Also, DIT's generally charge a lot of money for their "rig" where a loader charges for themselves only. Ya sure do! If you're a laptop DIT, you aren't a DIT in my book. No laptop is fast enough to do the work necessary on a set unless you don't mind working at home as well. You've gotta show up with a decent grading monitor and a whole kit, including hardware fast enough to transcode and grade raw files in quicker then realtime, so you can spit out dailies super fast. Storage is actually the easy part, have the production pay for it. Every DIT I've worked with has $10k+ into their rigs.
-
Here in Hollywood, Panavision really helps filmmakers who want to shoot 35mm. I've budgeted a few short films with them and they literally gave us a 3 perf body for free, only charging for the accessories and lenses. It's the best deal in Hollywood for shooting 35mm. Of course, the problem is that Gold II packages weigh a lot, they aren't very portable and it takes a long time to rethread, far more then any modern Arri or Aaton. So if you're shooting 400ft loads (which is pretty common for short ends), you're changing film quite a lot and your cast and crew will be sitting around whilst this happens. 35mm short ends save a lot of money, around half the price of retail stock or less. Still though, you'd be paying close to 16mm prices, but using twice the stock... so the savings in the stock, doesn't cancel out shooting twice as much. I get stock for peanuts and even 3 perf 35mm is too expensive for me to shoot any appreciable project with. This is why I shoot 16mm almost exclusively, the cost is SO much less. There is absolutely a 16mm aesthetic, most of that is field of view though in my opinion. If you use longer lenses and shoot wide open, you can help compensate for the depth of field issues. It's for sure a flatter feel no matter what you do. No doubt 2 perf looks awesome and the larger negative is a huge benefit!
-
With new stock, the cost difference between Super 16 and 2 perf 35mm is double. You are shooting double the amount of film for the same amount of time AND the stock costs double per foot. So stock, processing and transfer is double. Plus transfer houses charge more per foot for 35mm then 16mm straight off the bat. There are also two other issues with 2 perf. One... it has a hard matte top and bottom. So if there is any dirt collection, it will be noticed on the edges of the frame. Most 2 perf movies have edge cleanup in at least one roll of film. Two... there are only a dozen or so 2 perf cameras in the world. So companies who own them, aren't renting them for cheap. For instance, if you go to Panavision to rent a 35mm camera, they will give you a 3 perf or 4 perf body for practically free, if you rent spherical lenses. They won't do that deal with 2 perf bodies. So now all of a sudden you're paying for a camera body you normally wouldn't be paying much for. Plus... MOST 35mm cameras you have to thread the camera. So your down time on 35mm is 3 times that on 16mm, which is a coaxial based magazine system. This is why so many people like the Aaton 35mm cameras because they're coaxial, but they're hard to find rental wise and people charge a lot for them. So 35mm no matter what, is substantially more costly to shoot then 16mm, not just technically, but also in down time. Personally, I think for 1.75:1 (HD) aspect ratio productions, Super 16 does a very good job. I think a lot of cinematographers try to push 16mm into places it shouldn't go (cropped 1.85;1 and 2.35:1 with underlit 500ISO stock), which is why you see so many noisy/grainy movies. Honestly a well-lit, dense, 200 or 250 iso S16mm negative @ 1.75:1 aspect ratio (or even 1.67:1 native), looks fantastic. Plus, S16mm cameras are A LOT lighter, smaller, loads last longer (less down time) and the cost to shoot is rock bottom for professional level film. Kodak will help anyone get the pricing that fits their budget AND labs will generally do the same thing. So S16 does have A LOT of strong points and considering there have been quite a few S16 movies released recently, people appear to be very accepting of the added grain. I thought Jackie looked outstanding, very low-noise. One final note... the beautiful 4 perf 35mm field of view that people like, is the defining difference between 16mm and 35mm in my opinion. With 2 perf 35mm, that field of view is totally different, it's no longer the huge benefit it once was. Sure, it's better then S16, but it's nowhere near that of 4 perf which is what people are USE to seeing, as most 2.40:1 35mm movies are anamorphic 4 perf.
-
Suffragette was also Alexa, so it's not exactly 100% film.
-
Outside of The Walking Dead, no there isn't anyone else using 16mm on Television. Super 16 has made a comeback in the last few years, starting with Moonrise Kingdom.
-
CinemaDNG and Red Code are both lower bitrate then equivalent Pro Res XQ. The "modular" aspect of the Sony Raw recorder is silly when Arri, RED and Blackmagic cameras record RAW internally. I was never a fan of the RED's when I first started using them because they had some odd issues, pink in the highlights and green in the blacks. However, as the software was updated over the last few years, they did solve a lot of these issues. The Dragon is a very good camera, it's a real cinema camera. Again, if you're shooting professional content with a full crew, you don't need built-in audio, you don't need a filter wheel either. You also don't need an "efficient" codec like iFrame MPEG. So the "benefits" of the very ENG centric FS7/F5/F55, kinda go out the window at that point. It's certainly not a "price" vs "performance" thing either, the Dragon is a 6k camera for gosh sakes, for similar pricing to the F55 new. Sure, the Dragon is a heavy little beast, but with the right shoulder mount, it's not too bad. One of my good friends shot his first doc feature on RED and it worked great and looks fantastic. Where I may not shoot a doc on Red, it's totally doable. I do understand the F55 market, there really isn't anything like it on the market for that price range. However, as I said earlier... swiss army knife cameras always suffer. The Sigma glass does look interesting.
-
I mean lower ISO (fine grain) stock is pretty darn crisp on S16. Modern S35mm lenses also help to create a very crisp image. If you're looking for good S16 references; "Jackie" and "Carol" are the two I'd watch. Remember a lot of older shows, even if restored, have elements that can't be restored so a lot of times in post, they'll soften the other cleaner elements to make them match. It's much better to study new shows because you can't shoot on old film stocks...
-
RED Dragon is 16 bit raw. You can get into a really decent used 6k Dragon package for around $28k, with everything you need. Also, since movie theaters are 12 bit and mostly everything else is 8 bit, the mere thought of shooting over 12 bit and needing to process all that excess data, doesn't seem worth it in the long run.
-
The Love Witch
Tyler Purcell replied to David Mullen ASC's topic in In Production / Behind the Scenes
One more feather in the cap! :) Congrats! -
Ok "option" is fine... but it's confusing when the camera doesn't come with something so critically important.
-
An upgrade is ANY component that is necessary to achieve a task that doesn't come stock. If it don't come in the box stock, it's an upgrade.
-
I don't know what Brawley is talking about. Again, someone who didn't go to B&H, buy a camera and learn it. This is a guy who went to a rental house and all the power to him, but the rental camera is NOT the same as a purchased camera. The camera doesn't do Pro Res or Raw stock. So when he talks about the Alexa shooting 12 bit Pro Res, he's not putting apples to apples. You have to upgrade BOTH the Alexa and F55 to do "RAW" of any kind. Love this quote "Sony have been making cameras for a long time but they seem to make newby mistakes like putting all the overlays in the viewfinder on TOP of the image. Alexa have a great way of keeping the image area free of clutter in their viewfinder. " This is another issue that just doesn't make sense to me. Ohh and global shutter isn't a deal killer. In fact, I'd rather NOT have global shutter and retain the sensitivity of the imager. Blackmagic explained all the issues Global shutter has and why Alexa and the Blackmagic higher end cameras don't have it.
-
I use the 3D LUT BMCC Rec709 v2 for most of my stuff and it's a good start on the pocket camera. I did try some of the SLog and CLog LUTs in the past, but they didn't do ENOUGH to the BMPCC LOG file. I found the only LUT's that work right at the blackmagic ones within DaVinci. They're very close to what the footage would have looked like if shot in Rec 709 on set. I just did a correction on a show that one camera was REC709 and one was LOG and just applying that one lut to the LOG file, balanced it almost perfectly with the REC709 shot. I had to do one minor tweak because the LOG file retained so much more color information, the REC709 capture needed some coloring to match the LOG.
-
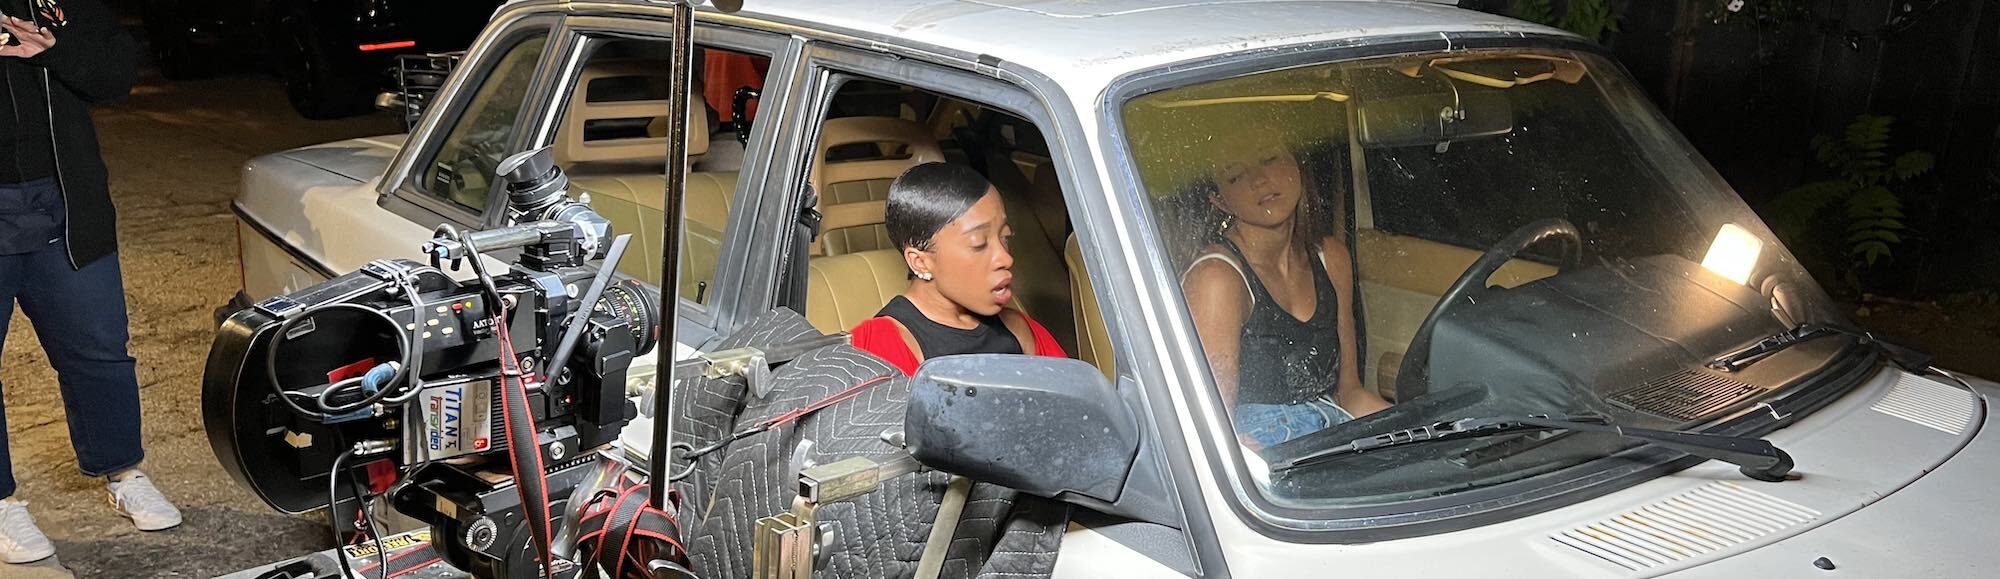
Hey Bruce, Yea, the A7SMKII is a low-bit rate camera. The F55 is 410Mbps iFrame 10 bit 4:2:2 capture, compared to 50Mbps 8 bit 4:2:0 on the A7SMKII. I've never been a fan of MPEG, but iFrame 410 is OK... I shot at 800 and 1600 ISO. I didn't use the meter much, I used the electronic aids to help generate my exposure, which is what I use on every other digital camera. I did use the meter every once in a while to help gauge/balance lighting in a given scene based on the exposure I already set the electronic way. Gosh I wish it was that simple. Small "mistakes" like that are great to figure out so you can make sure they don't happen again. Alas, I do believe the problem was explained earlier... the base REC709 LUT was deceiving and because the camera doesn't have a LOG based histogram (which is what I'm use to) the waveform scope is based on the Rec709 image. I exposed based on how good it looked in the monitor and the scope matched the look for every shot, so I didn't think twice. It's just, the files looked nothing like the on-set monitoring. Again, been shooting digital cinema since the F900 and never once came across this issue. It also wasn't a camera body specific issue, as we had an A and B camera, both cameras suffered from the same issue. Had I known there was an issue, I would have gone into the menu's and tried to correct it, but I didn't know there was an issue until it was too late. The DIT simply corrected the shots, without telling me how underexposed they were. Again, I should have looked at them myself day one, but we were so swamped, I didn't have any time and we were kicked out of every building at the end of each day, so the DIT station was already shut down every night when I went to check the files. I was assured by the DIT, things were fine, but they weren't. Again, fast shoot, quick turn around and me trusting people. I tried mate... I tried! And ya know what, using a meter is what smart people do. I had a three person crew... Me (DP/1st camera), 2nd camera and a AC/DIT. On the last two days, we brought in a full-time AC, who helped considerably, but he didn't know the camera systems. So our brains were dribbling out of our ears every few minutes, putting out fires and setting up complex dolly shots. I rarely had time to get off the chair of the dolly, as the A camera was entirely shot via a Fisher 11. If my first AC was good at metering, I would have used him to meter for me, but I gave him the meter once and he kinda didn't quite understand how to use it. Being an educator, I explained how to use it, but there is only so much education you can do on a set that's trying to shoot 6 days worth of content in 4 days. Here is a little clip of how things were shot on set. Notice I'm a one man band, pulling focus and operating on some tricky camera moves. https://www.dropbox.com/s/4qcfn9emhpm0qix/onset_demo.mov?dl=0
-
Yep... I just don't think traditional broadcasts can do much. The move to HD was subsidized and they don't have the kind of money to keep upgrading. Sure, the national infrastructure can support higher bandwidth content, the Superbowl for instance is broadcast in 4k, but only for special satellite services. It's easy to rent a 4k truck, it's easy to send that high bitrate content via satellite, but it's hard to get it to all the consumers. I personally feel traditional broadcasting is on the way out, so what happens in the next 10 - 20 years is going to be very interesting.
