Joerg Polzfusz
-
Posts
579 -
Joined
-
Last visited
Recent Profile Visitors
8,384 profile views


-

Marrakech shoot on Ektachrome 100D - bizarre results!
Joerg Polzfusz replied to Stephen Gordon's topic in Super-8
Maybe the camera was affected by the heat (so that the filter got stuck)? Of course, there are also cameras that let you enable the Wratten85 despite having loaded a daylight balanced film. On some cameras, this is a defect, on others, this is by purpose (E160G or using the Wratten85 as orange filter for B&W). -
Marrakech shoot on Ektachrome 100D - bizarre results!
Joerg Polzfusz replied to Stephen Gordon's topic in Super-8
Sorry, forgot to mention: In test 1, the camera has to run, otherwise the shutter will block all light. -
Marrakech shoot on Ektachrome 100D - bizarre results!
Joerg Polzfusz replied to Stephen Gordon's topic in Super-8
There’s a mechanical connection between switch and filter. So there might be something stuck or broken. And I don’t know whether this Canon is one of those cameras that was designed to match the E160G (that was notched like the E100D). There are two ways to check this (with batteries inside and the camera switched on): 1) Go into a dark room, put a lit torch inside the film chamber. Then project the image onto something white (wall/sheet of paper/screen). When switching the filter switch to „sun“, the image should become orange compared to „bulb“. 2) Outside the dark room: Watch the light meter‘s needle when using the filter switch (with the camera in a tripod or a table). The Wratten85 eats up a lot of light. So at „sun“, the iris should be opened 2/3 f-stops wider than at „bulb“. Note: Your camera might have a sensor whether a cartridge is inserted or not. You might have to press it down during the tests. -
https://sustainabletechpartner.com/topics/ai/generative-ai-lawsuit-timeline/
-
According to Disney and Universal, AI isn’t art, but piracy: https://www.bbc.com/news/articles/cg5vjqdm1ypo (There are similar lawsuits e.g. against Google showing an AI summary of the search results instead of showing the real results.) There are discussions (in German) about this: Some say that „it’s about time to stop those AI companies from using everything as a source without permission“. Other fear that this will lead to verdicts that would also prevent all hand-drawn fan-art („it could be like Monet getting a copyright for Impressionism, preventing everyone else from doing impressionistic works“). What do you think?
-
Yes, this is looking great, Stephen.
-
Marrakech shoot on Ektachrome 100D - bizarre results!
Joerg Polzfusz replied to Stephen Gordon's topic in Super-8
Looks like the Wratten85 got enabled (which is not a good idea as the E100D isn’t Tungsten balanced). Now you will have to find out whether the filter got enabled by mistake or due to a defect in the camera. (The only other reason for such a redness would be the film getting loaded so that the emulsion is on the wrong side - see https://en.m.wikipedia.org/wiki/Redscale. But this only happens when you are loading bulkware into cartridges on your own. Of course, there might have also been problems with the film becoming too hot… but I doubt that the result would look like this. ) -
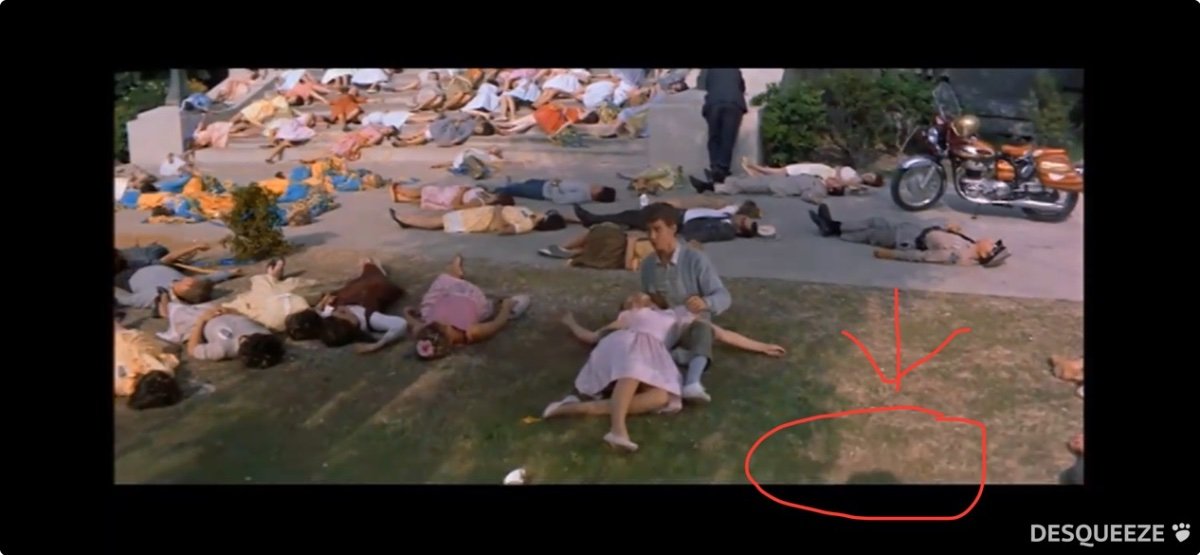
Probably the first „moving camera hanging down from something“-shot - but not from a rope: https://www.youtube.com/watch?v=2Ud1aZFE0fU
-
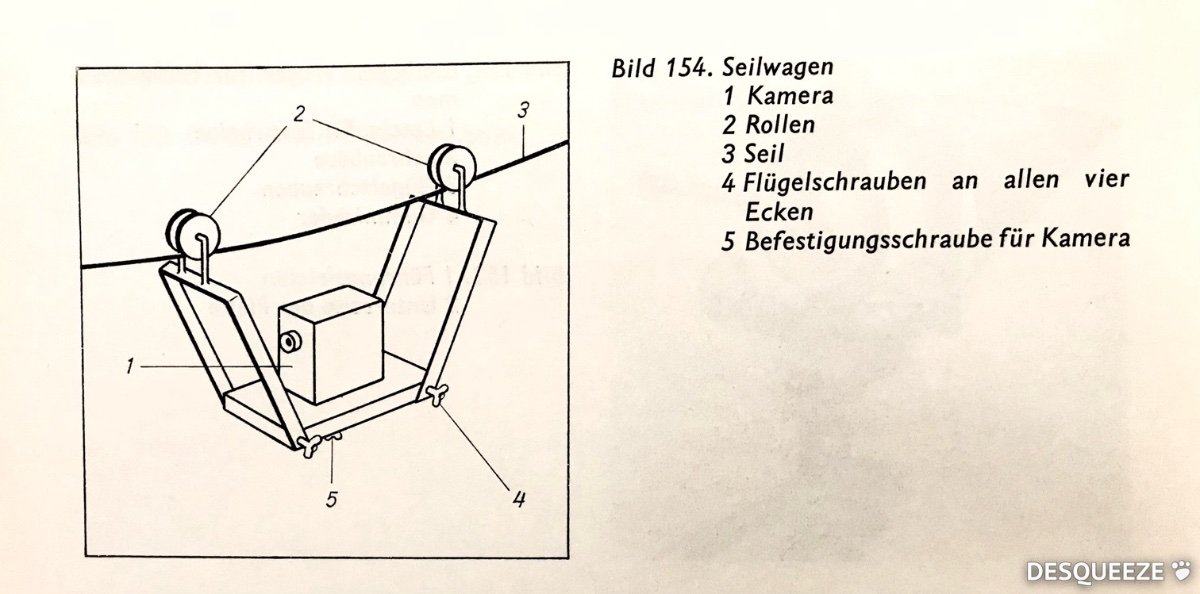
Hi! What was the first big budget movie to use a camera hanging down from a ropeway? There are DIY solutions for amateur home movies from the 1970s (expecting you to have a camera with at least „run lock“ - image is from an East German book - I can provide title etc. when needed). But have there been similar solutions used professionally before?
-
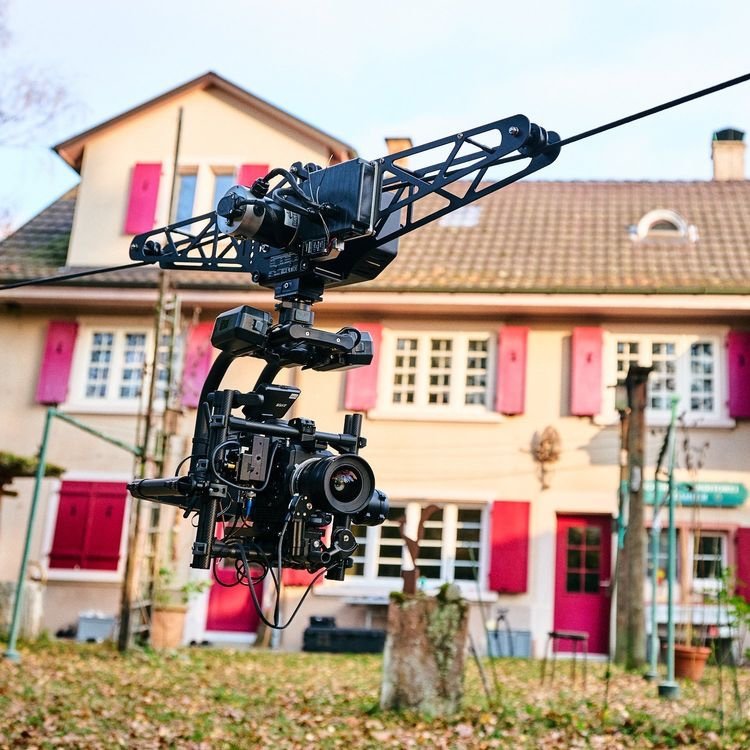
Maybe something like this: https://www.lightandmotion.com.au/gripping/camera-cranes/ Alternatively, the camera might have been hanging down from some ropes like in this auction: https://www.ricardo.ch/de/a/seil-kamera-kit-motion-compound-cable-cam-profi-equipment-1247736434/
-
These are at least two shots - there’s a cut after 3s. Unless it’s something from the scanner, there’s a shadow in the lower right corner from the camera(?). So I would assume that they have used a combination of zoom-lens plus camera with a crane on a dolly.

-
Goodbye remjet, hello AHU?!
Joerg Polzfusz replied to Joerg Polzfusz's topic in Film Stocks & Processing
Hello Dirk, my understanding is that Kodak is only going to change their ECN-2 stocks. -
Goodbye remjet, hello AHU?!
Joerg Polzfusz replied to Joerg Polzfusz's topic in Film Stocks & Processing
Of course this will affect all gauges = also DS8, Single8, D8, 9.5mm, … . And I can’t think of any camera for these formats without a „silver“ pressure plate. -
Deleted
-
Hi! Is Kodak really going to replace the remjet with an AHU on all Vision3 films? https://kosmofoto.com/2025/06/eastman-kodak-replacing-remjet-layer-from-vision3-cinema-films/