
Nicolas POISSON
-
Posts
122 -
Joined
-
Last visited
-
How to shoot extreme close ups
Nicolas POISSON replied to kris limbach's topic in Lenses & Lens Accessories
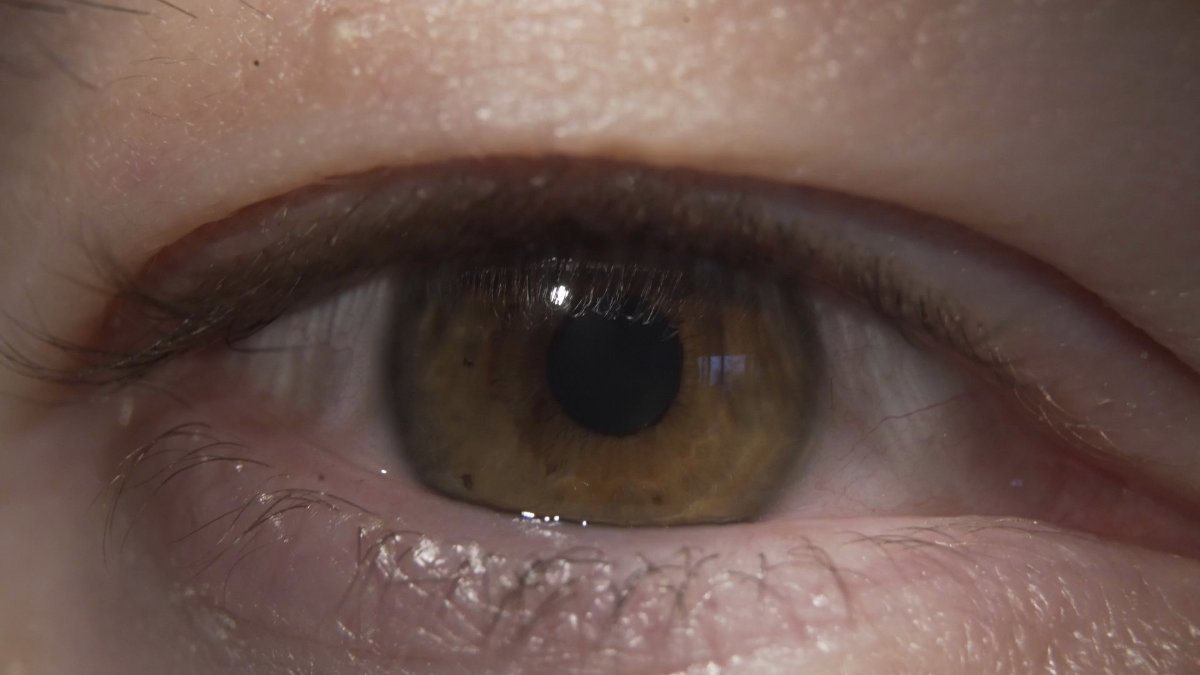
An example of what can be obtained with extension tubes. This was shot on an A7s3 in full frame mode, with an old still lens (Tokina ATX 35-70 f2.8), at F/11 if I remember correctly. My face was almost touching the lens, and was lit with small led panels (Viltrox RB08). The set-up is not comfortable by any mean. You could place the camera a bit farther away if you were using S35 or m43 sensor.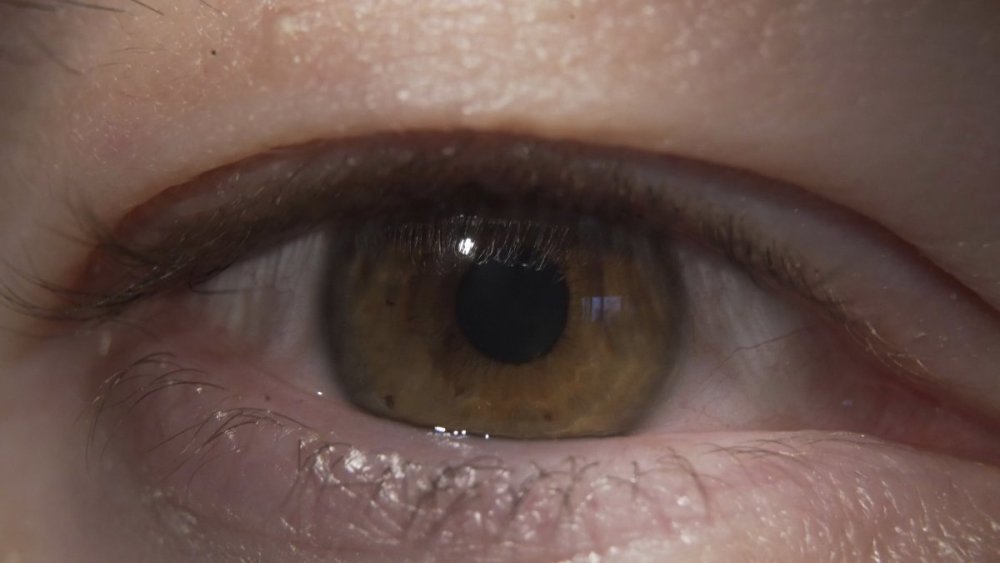
-
The old tripods were pretty interesting
Nicolas POISSON replied to Daniel D. Teoli Jr.'s topic in Off Topic
The hook underneath can be used to add sandbags or to anchor the tripod on a dolly for example. Although in this photo the bag seems just an accessory bag. The guy sure was a hipster well ahead of his time... What was marketed here ? Camera or clothes ? -
I do not think there is an exact classification specified in an official ISO document. Mine for full frame is: normal = 35 to 85mm, below = wide, above = tele. You will find some variation across people. All the more that there is the FF/S35 ratio that some people take into account, while some others do not and simply keep the same focal lengths in mind.
-
You are correct: there is no way to determine the lighting ratios because you have no idea of the curve used in post. It is even possible that "power windows" were used: some objects with the same reflectance could end up at different IRE levels, and some objects with different reflectance could end up at the same IRE. However, if you have access to log footage, the formula of the curve is often documented and you can determine the scene reflectance from IRE values. You can do that easily in DaVinci Resolve using a CST from the log to linear space. By the way, this is exactly the principle of EL Zone system.
- 4 replies
-
- 2
-

-
- lighting ratios
- lut
- (and 1 more)
-
Moonlight Color Temperature
Nicolas POISSON replied to Vivek Venkatraman's topic in Lighting for Film & Video
The value of 3800K is probably just for convenience. When you want to keep the look of warm 3200K tungsten and cool 5600K moonlight, you will often end up setting your WB around 4000K. The advantage is that there is no need to gel anything. But maybe you find the moonlight not cool enough, or the tungsten not warm enough. Say the look of 3200K tungsten is OK with a WB of 3800K (Mired Shift of 49) but moonlight is not cool enough. Then yes, setting your moonlight at 7700K will give you the same blueish light as if you had set WB at 3200K with 5600K moonlight (mired shift of -134 in both cases). But maybe you cannot change the colour temperature of the moonlight, it is fixed at 5600K. Then you set your WB at 3200K (mired shift of -134), and change the tungsten at 2800K (Mired shift of 49). Many LEDs can be set in a rather wide range of colour temperature. You have some latitude with the relative settings of moonlight cool white, tungsten warm white, and camera WB. Still, if you set the camera WB too close to one side of the range, you may not have enough latitude. So you will target the intermediate colour temperature. Here are some examples of four LED devices, with their colour temperature range. As you can see, the central colour temperature remains around 4000K: 3200~5600 => 4100K 2500~8000 => 3800K 2500~10000 => 4000K 3000~6500 => 4100K It is not a rule. If you mix LED devices simulating tungsten and HMI, you might prefer to configure all the set according to the HMIs. -
I guess you want to adjust the exposure using the aperture ? A very simple way would be to set your A7s so that the grey card falls at 41 %, then open the aperture one or two stops. If you prefer maths, you need the Slog3 Formula : out = (420 + log10( (in + 0.01) / 0.19) * 261.5) / 1023 ‘out’ is the target IRE value ‘in’ is the reflectance. For middle grey, IN = 0.18 (18%). One stop above is IN = 0.36, two stops is IN = 0.72 Target IRE is 41 % (0.41) for middle grey, 48 % one stop above, 56 % two stops above. The ‘10 % per stop’ rule is very generic. It depends on the log type, and even for a specified log, it depends on were you are on the curve. In the linear section, we get close to 7.5 % per stop in Slog3.
-
Anyone Want to Take a Guess at My Eyemo's Shutter Angle?
Nicolas POISSON replied to Aaron Martin @ OH's topic in 35mm
Measuring your image in Gimp gives an angle of 26°. But the perspective is making this measurement wrong. The photo should be taken right in front to avoid this. By the way, what's the purpose of the dual "11 /11" shutter ? -
Gerald Undone passes on Sony FX6, praises Canon
Nicolas POISSON replied to Samuel Berger's topic in Canon
ms = milliseconds. This is the time required to read the whole imager, and is an indicator of the rolling shutter. Yes, lower is better. However even amongst professionals, there are various opinions about the importance of this figure. The only thing sure is that the lesser the movement within your frame or from your camera, the lower the importance. You should really not care about this when shooting corporate talking heads. -
Lighting question for shot of subject at PC
Nicolas POISSON replied to Andre Klonowski's topic in Lighting for Film & Video
I would also use a flat LED panel on the display. Since the source will be right in front of the face, you do not even need a wide emitting surface. A small battery-powered panel does the trick. I would set it to a higher color temp than the camera to get a cold white. I would not bother changing the light: it is more a "TV" effect. A computer display is usually steady, unless the actor is supposed to be watching a movie. -
Sorry, my mistake about the MCPro. Still, a white light would be cheaper and lighter. The RB08 alone weighs 100g. I have 4 of them with chargers, 4 mini magic arms, and some accessories: all the stuff fit in a 21x32x7cm "EVA" case for a total weight of 2.5kg. I can put it in a messenger bag together with my laptop. The MC Pro definitely seems to be a higher grade device compared to the RB08: greater battery runtime, DMX/CRMX control, many accessories included (a honeycomb grid is very useful)... It is not the most portable option, but if this is portable enough for you, this is probably a better investment.
-
Usually, the key light will be a kind of white. You can play with the colour temperature, but keep it white. Some RGB panels produce a decent white, but you get better results with true white LEDs. You can use colour for lighting the background. It is of course possible to use colourful key light, but: - this is harder to set up, especially with LEDs that can produce saturated colours (beware of not clipping the corresponding channel), - this is harder to get a good-looking image, - this may give a "music video" look, which can be adequate for some styles, but not what is expected for classical music in a church. This is a matter of taste, though. I use a set of Viltrox RB08. These may be no longer sold, but you will find tons of equivalent devices. For stands, the Fosoto FT-195 is very compact once folded (50cm), and less crappy than the cheapest models. You will also need ball heads with 1/4" screw, tiny magic arms with clamp, cases, charger...
-
I also checked FalconEyes website and could not get the weight either. My Godox F200Bi (2x2 foldable panel) is 12kg for one single unit. The panel itself is less than 2kg, but you also need the power supply, softbox, cables, various accessories and case. The FalconEyes are smaller and probably way lighter, but for two units I would expect the whole package to reach 10kg. As I said, the problem with the MC pro is not power. It is an RGB light, which you don't want as main source. Once you have built a solid kit, then yes, you could add RGB lights. I think you pay too much attention to the hardware quality. Start with simple, lightweight, cheap lighting, and experiment with them. Learn how to place them, watch videos about 3-point lighting, define what rigging accessories you need to face any situation quickly (highly underrated topic), search the sweet spot between your ISO setting and how intrusive is your lighting... There are plenty of folks that get decent results with super cheap LED panels everyday.
-
One single light could do the trick, but you will need to place it carefully if you want good results. With more sources, you can fill shadows and this is more forgiving to placement. No offence, but I find it hard to get your constraints. At the beginning you seemed to need something extremely portable. Hence I suggested tiny panels that would weigh 300g. Then you are looking at flexible panels whose total weight is around 10kg. It is hard to give advices with such a wide range. Thanks to the sensitivity of modern cameras, you can get decent looking images using only 2 or 3 tiny 10W LED panels. Not "professional" results, but good enough so that nobody cares. The quality of the result will be more a question of position and focusing than power or softness.
-
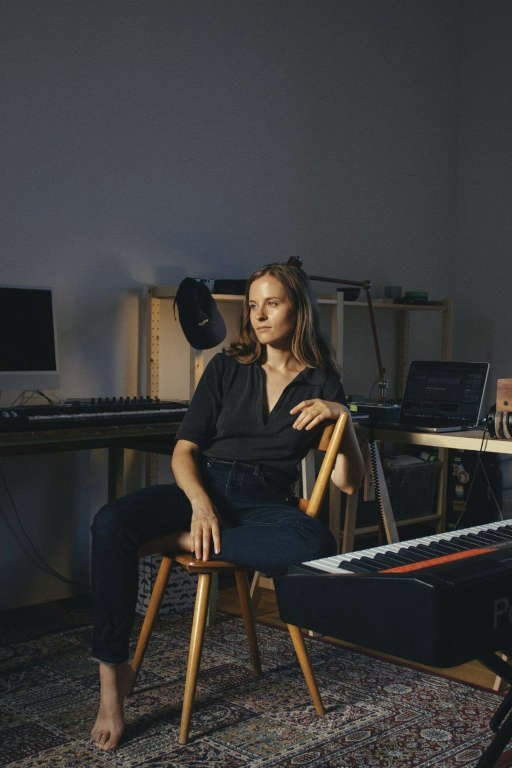
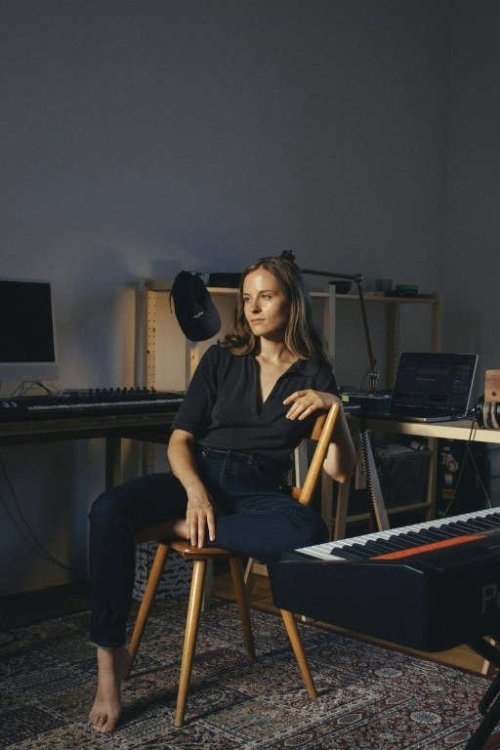
I think you were doing a very common mistake (even amongst experienced professionals - and I used to mistake as well): soft shadows is not simply linked to the strength of diffusion, but to the emitting surface. One way to get a wide surface is to have a primary point source to light a wide surface of diffusion, which becomes itself a secondary wide source of light. Using a wide reflector does the same. You will not get soft shadows placing a diffuser close to the point source. Stacking layers of diffusion (as I have seen so many times) will not help either. You really need to get a wide surface evenly lit. That's why soft-boxes often use dual diffusion distant from one another: the first layer spreads the beam of the point source, so that it lights the whole surface of the second diffuser. Without this first layer, the beam would hit only a small part of the second one. Furthermore, what can be considered as "wide" is directly linked to the distance. The sun is huge, but so far away that it acts like a point source. A 30x30cm panel at 1m from the subject will create the same shadows as a 60x60cm panel at 2m. If you can place your diffuser close to the subject, you will get soft shadows from a not-so-wide surface. I'd say a panel will create soft shadows at distances comparable to its size. A 60x60cm panel will be definitely soft at distance of about 1m. It will be decently soft at 2m. It will not be that soft at 4m. I own a pair of Godox F200Bi which are similar to the LC160. I am pretty happy with the rendering. Two units fit in the case of one (included and good quality). That could be a good solution if you accept a 22kg case. The panel itself is light, but I an afraid any device of this type to be around the same weight with all the mandatory accessories. If you need a lighter kit, and if you do not want to spend too much time setting up the lights (those foldable panels need some time), then small or tiny panels could do the trick, but you need to accept hard shadows. This does not mean German expressionism style: you could have a relatively soft rendering, filling the shadows with a second hard light. Hard shadows does not mean high contrast ( another common mistake). Look at this still of Hania Rani, a Polish pianist (published in FutureMusic ) This is hard lighting from the sun at dusk I guess, but shows a relaxing feeling.
-
Mandatory safety hat.