Frank Wylie
-
Posts
521 -
Joined
-
Last visited
Everything posted by Frank Wylie
-

Shooting a whole Movie at a given F stop?
Frank Wylie replied to Abdul Rahman Jamous's topic in Lighting for Film & Video
Willis, like many classically trained DPs, totally controlled the light; even outdoors. Arc lights, scrims, flags, ND filters and every tool in the grip truck would be used to force the dynamic range of the shot into the predetermined exposure range and f stop chosen. It's not a luxury most of us have or will ever have, but they were given the vast resources to make this happen and obtain the smooth visual continuity a constant aperture affords. Most of us have to adapt and supplement the available light; he kicked it into submission... -
Need Help with Old Optical/Contact Printers
Frank Wylie replied to Nicholas Lymberis's topic in Film Stocks & Processing
Nice! One of the BH C's has a Schmitzer wet gate! Quite the haul! -
Try contacting Stone Cinema Engineering in California, USA: http://stonecinema.com/ Phone P: (661) 242-8490 Cell: (805) 358-2802 Email StoneCine@gmail.com Address Stone Cinema Engineering P O Box 6367 Pine Mountain Club, CA 93222
-
Need Help with Old Optical/Contact Printers
Frank Wylie replied to Nicholas Lymberis's topic in Film Stocks & Processing
Hopefully the lab didn't throw away all the technical documentation for these printers and/or the spare parts and you have them in your possession. Do you? I hope you have a LOT of floor space, power and some mechanically inclined people. Rather than just shotgun the approach, why not pick out one or two printers that will fit your most pressing needs and save the others until they are needed? As I have suggested in the past to you, how about contacting this organization near Paris? https://www.l-abominable.org/en/ They have experienced printer operators, lots of experience with lab operations and should be able to help in some fashion. Edit: https://www.filmlabs.org/docs/ModelCPartsBreakdown.pdf -
Kiev 16U & 16UE camera dismantle and re-assembly website
Frank Wylie replied to Gareth Blackstock's topic in Russian Gear
It sounds a lot happier after servicing! -
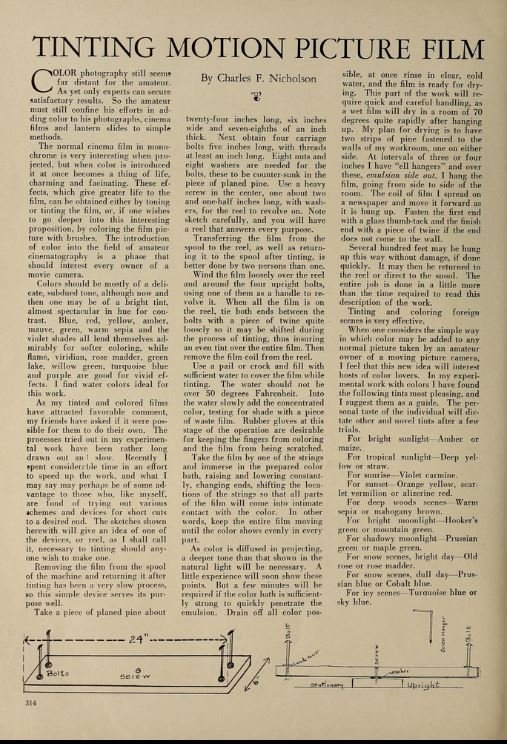
Joerg, No, it's "out there" just not in a convenient, one-stop form. The above book is just a good book on samples of tinting, toning, stencil and other color methods from commercial cinema. The closest thing I can think of is Alan Kattelle's "Home Movies: A History of the American Industry, 1897 - 1979", but it's been so long ago since I read it, I cannot remember if it had any information on tints and tones in home movies. The information you seek is scattered throughout the literature of Amateur and Home movie magazines from the mid 1920's to present, but you'll have to actually search for it and compile it if you really want to see it. Libraries that have actual archives of magazines and books are more fruitful than endless search engine queries, but you might find a few articles at The Media History Digital Library. https://www.mediahistoryproject.org/ Specifically: https://www.mediahistoryproject.org/collections/non-theatrical/ Anyway, sounds like a good book just waiting to be written! Maybe you could take it on? In any event, good luck with your research. Frank Edit: Here's an example -- https://www.mediahistoryproject.org/reader.php?id=amateurmoviemake31amat
-
There is a lot of information out there on all aspects of color in early cinema. https://domitor.org/research/test-research-post-1/ Just one example...
-
Kiev 16U & 16UE camera dismantle and re-assembly website
Frank Wylie replied to Gareth Blackstock's topic in Russian Gear
I've always wanted to tinker with one of these after briefly owning a Konvas. Nice job! -
Well, the formulas and chemicals were freely available at the time, so it's certainly possible if not common. Many amateur film making publications had articles on the very subject along with how to build homemade racks and tanks, as well as drying racks. I must say though that in 40 years I have seen very few "home movies" that took advantage of this process. Most of the few I have seen were from very wealthy families, and in 35mm, so they probably had a pro lab do the work. That doesn't mean there aren't any out there; I just haven't seen them...
-
There were many plasticizer oils used; camphor, lavender and even spearmint. The original Biograph negatives used spearmint. The cans still smell minty fresh!
-
You probably bought a Diacetate, not Triacetate print, so it may not be suffering from vinegar syndrome; it's just naturally odoriferous! Most diacetate is orangy/yellow and smells of mothballs. Once you smell it, you'll never forget it! It may be fine, just a bit brittle and shrunken. EDIT: the reason most early 16mm prints were yellow/orange is that it was a form of copy protection. Yellow subtracts blue light; most 16mm lab stocks were blue only sensitive. Film lending libraries used this tinted base stock in an attempt to keep their prints from being duped! The old Kodascope Library prints were all this color, for obvious reasons. https://www.nfsa.gov.au/preservation/preservation-glossary/diacetate
-
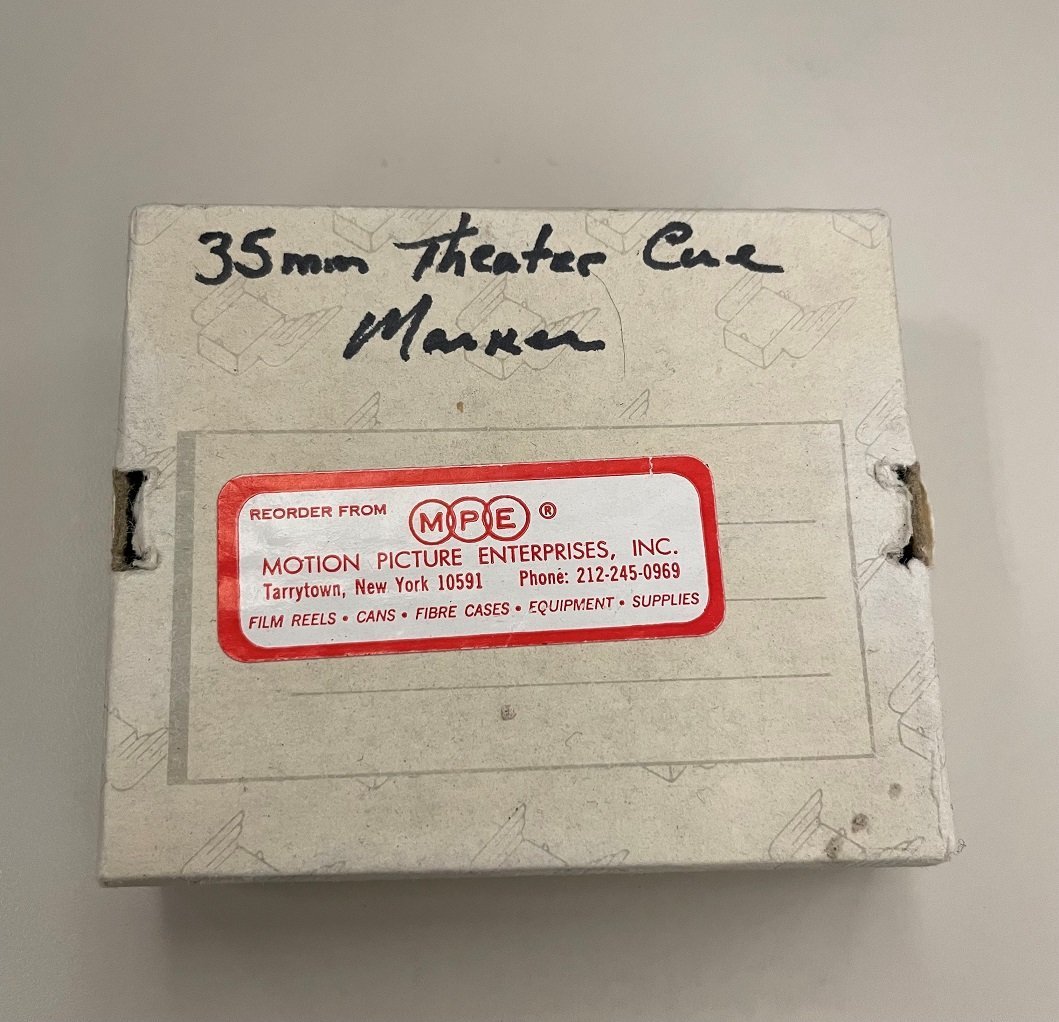
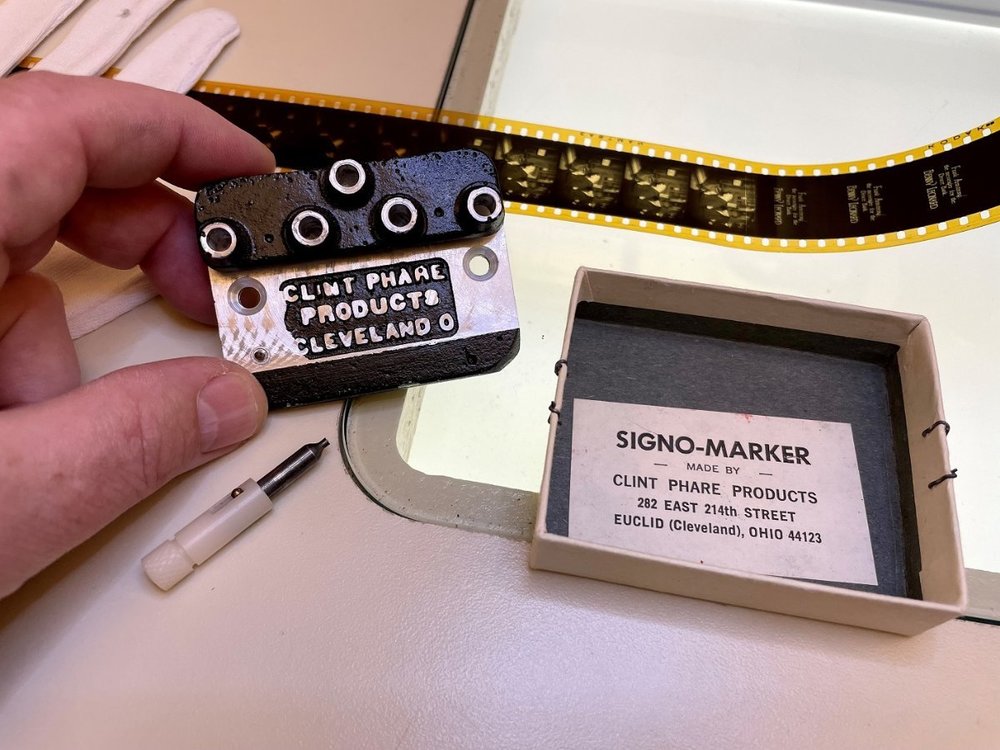
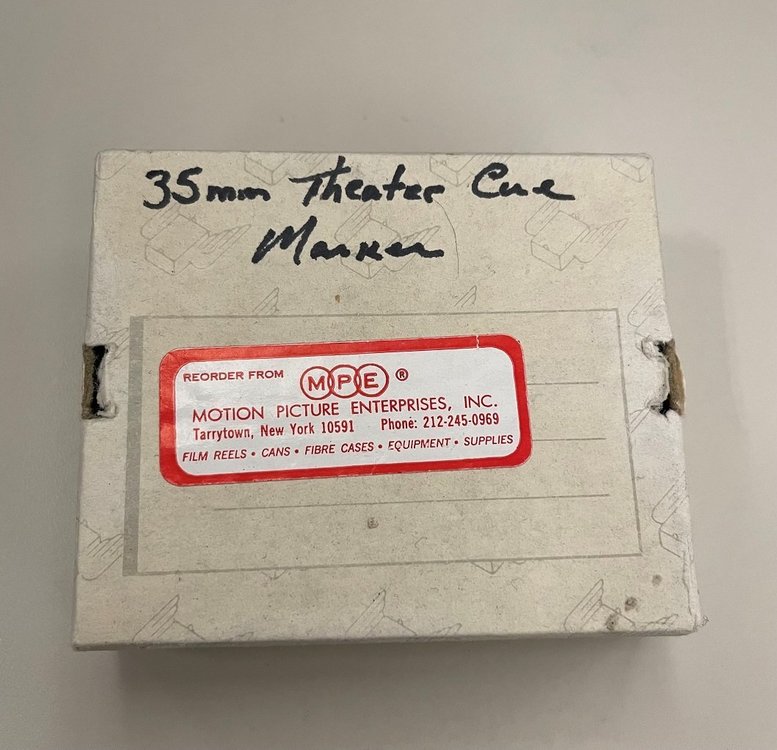
Countdown leaders were integral to the dual projector, "change-over" system of cinemas for classic screenings of reels of 1 to 2K feet each. (greatly simplified, many variations on the below) The projectionist would park the 2nd reel of the show on the #2 projector somewhere around the 9 or 7 second mark on the countdown while the first roll was playing. The projector lamp house shutter (dowser) would be closed, blocking the light of the projection carbons/bulb. When the first reel was just about finished, they would check the #2 projector lamp to insure it was up to full brightness and start watching the screen. When the first set of changeover queues appeared on the screen, the #2 projector was started and the projectionist got ready to close the dowser on the #1 projector and open it on the #2 projector. On the second set, the switch was made. Often these "change-over" system were electronic with a solenoid on each dowser, as well as the sound system to change to the #2 projector sound reader. Below is an example of the marker used establish the changeover queues with the instruction sheet. 0852_001.pdf
-
Comparing 8mm Footage. Quality Looking very different. Why?
Frank Wylie replied to Gerald Martindill's topic in Super-8
The first example looks like it has been color graded and the second looks like a flat-pass scan with little to no color correction. Just a few seconds in GIMP gives me this: You need to color grade your footage...
-
If you never saw one of those well-made, multimedia, 60 slide projector, video, arena-sized, "mega shows" in person, you missed a remarkable spectacle. These stands were the king of producing these type shows. I know it sounds cheesy and primitive, but if the show was put together properly; wow. Just wow...
-
Since it (probably) is not a stock not designed to be a camera original, a test roll with bracketing under a variety of conditions would be advised. Of course, with any important shoot, the same can be said for any film stock you plan to shoot. The "latitude" and ISO of a stock designed to be exposed by a tungsten lamp in a motion picture printer could prove "interesting" under varied lighting conditions such as the Sun, LED lamps and other light sources. I would be more worried about under exposure than over exposure with that ISO equivalent... Good luck and take a lot of notes if you decide to try it.
-
It's most likely a dupe neg lab stock that has been respooled.
-
It appears your upper and lower loops are a bit too large, but that's not going to cause your problem. Are you using the inching knob to engage the perforations and test the loop by hand before starting the motor? The take down claws do not engage the perforations from start-up and the lower loop is pulled too tight. When you shut down, it appears that the claws do suddenly engage for a bit when the motor is slowing down. Check the condition of the magazine latches; are they worn? The startup torque of the motor may be slightly pushing the magazine back and moving the film plane backwards a fraction of an inch and causing the claws to miss the perforation. Try running the test with gentle pressure on the back of the magazine, pushing it toward the film gate and see if you feel it move outward a bit. Other than that, I would guess it appears that the pressure plate may need adjustment.
-
If you want to emulate the so-called "hand-cranked look", you don't actually have to hand-crank the camera. First of all, it's a misnomer if you are referring to the pulsing-density type of artifact of some surviving copies of Classic-Era Silent Films. That is not a byproduct of irregular hand-cranking, but a function of how either the negative or positive film was processed on either a Rack and Tank or a pin reel developing system. I have graded/timed over 600 features from the Nitrate era and can tell that when the camera original negative survives of a general release feature, practically NONE of them exhibit this fluctuating density unless we are copying a sole-source element of a print. In either method of film developing, the pulsing density is a result of higher developer velocity over the edge of the supporting rack or pin. Anyone who has developed film in a darkroom is familiar with the problem of agitation/turbulation artifacts. With increased agitation comes increased contact with fresh developer, thus higher density. Sections of the film that are not over these pins or rank ends, do not receive the same amount of agitation, thus less fresh developer hits the film surface and produces slightly lower densities. This results in a repeating pattern of higher density that is misinterpreted as irregular hand cranking speeds in a camera. Think about it: 99.9% of silent, 35mm hand-cranked cameras were driven by a crank on a 8:1 drive shaft. Every turn of the handle passed 8 frames through the gate; two cranks a second were the baseline standard for cranking a silent film camera. Now try to translate that to the typical 3 to 4 foot distance between pulses; it just doesn't make physical sense. A favorite trick of mine is to take a section of a print with those pulses and loop it back onto itself to determine just how large the developing rack was that processed the film we copied. So why are their so many examples of this pulsing in Silent Era Films that survive? It's simple, so many only survived as release prints with the built-in density fluctuations and the artifact is propagated by copying these prints. Why did so many prints have this fluctuation? Like any time in motion picture history, the hierarchy of importance of cost and skill diminishes as you get farther away from the actual production of the original negative. Why didn't the negative have these fluctuations? There are a number of reasons; #1. There was much more care taken with the camera original negative; often supervised directly by the camera person who shot it. #2. There were specialized racks for developing camera original negative that could physically expand and contract via a screw or lever system during use to vary where the rack slat crossed over the film, thereby minimizing any density pulsations. #3. The gamma/contrast level of a camera original is typically lower than 1.0, minimizing relative contrast differences in exposure gradients as compared to base+fog. The production may spend lavishly on actual shooting, processing of the camera original and everything else up to the release printing stage and then generally the emphasis on quality is overridden by the need/desire to economize making the exhibition media (i.e., the release print). Need to make 50 or 100 prints in a week for a general release? Guess what, the deadline will override the desire for ultimate quality control and then the parameters will be loosened to meet the deadline. Prints will be churned-out and standards will be lowered to meet the deadline. Fixed racks would have been used and the higher gamma (well over 2.0) of the positive developer, often combined with higher developer temperatures to speed production, would emphasize any density variations on the print. Are there examples of fluctuating negatives? Yes! Some examples exist in very low budget features and 35mm home movies; rich people's home movies shot on unmounted, miniature hand cranked 35mm cameras like the Zeiss Icon Kinamo, but even there the camera weaves and bobs so violently that it is practically unwatchable. There are also examples of rapid density pulses in negatives that must be attributed to pin-rack development. These typically exhibit a violently pulsing image due to the closely spaced pins of the rack for the same reason as the long rack; overly enthusiastic agitation. You tend to see this most often in VERY early actualities of 30 to 40 feet of length (1899-1902) when a full camera load could be processed on a single pin rack. Anyway, this is getting too long and frankly, even the so-called "film preservation schools" still teach the "uneven cranking" meme to their students, so it's a losing battle in the end... So, if you want the "hand-cranked" look, shoot with a spring wound camera or electric motor camera and look into processing your film with a rack and tank or pin-rack based developing system, use a high energy developer and agitate the crap out of the film. Viola, instant "Silent Film".
-
And your current camera is .... what? Typically, a reflex camera is very awkward to hand crank; they simply are not designed ergonomically for that function. I cannot recall any reflex 35mm camera that would fit your purpose.
-
Here is a repair manual for purchase: https://van-eck.net/en/product/fuji-_film_fujica_single-8_zc1000_spare_parts_and_service_manual-_languages-_english/
-
How precise are you with the amount of Photoflo you are using? I have found even a tiny bit more than required can cause the very problem you are attempting to avoid. Have you tried reducing the total amount of Photoflo being used? Try cutting the amount by 5 to 10% from suggested mix ratios and see what happens. As for an air knife, we used to use a custom built air knife on our Triese machines, but switched to a vacuum squeegee. (From memory) The air knife relied on a pair of delrin rollers that floated in machined grooves inside a plexiglass box that was slotted on the top and bottom for film passage and supplied with filtered compressed air that blew from the top-down and blew the water out of the bottom back into the final rinse tank. However, we found processing staples (probably not an issue for you) would eventually scar the surface of the rollers and cause marking on the film. The rollers could also bind in the slots and scratch the film, so you had to watch them like a hawk during a processing run to avoid disaster. Our current vacuum knife is also a custom made device, but it's pretty simple and effective. If it malfunctions, it only leaves water spots and doesn't damage the film itself, so that's an improvement. The film can be rewashed/reprocessed and the spots go away... There is a short cylinder oriented 90 degrees to the direction of the film transport that is attached to a back plate with two guide rollers above and below the cylinder. These rollers guide the film through slots cut out on the top and the bottom (sides actually) of the cylinder to avoid rubbing against the lip of the slots. The upper slot has two soft squeegees that barely touch the film surface, front and back (base and emulsion). At the rear of the cylinder, a PVC pipe passes through the back plate into the cylinder and is attached to a industrial grade vacuum system. The vacuum sucks the water out as the squeegees gently wipe the film surface. I could see it being replicated on a smaller scale with a small wet/dry vac to replace the industrial vacuum system for limited runs of film. You might have to rig a bypass valve on the suction side of the shop vac to adjust the strength of the vacuum (just a "T" with a valve open to the atmosphere) but it should work. I can try to take pictures of the vacuum squeegee we use next week and post them here if you think it would help. I am doing this all from memory, away from the machine, so a picture might be more accurate.
-
Most fabric stores carry a fabric to stiffen shirt collars that is heat resistant and looks very much like a thicker tough spun light diffusion material. It's also a lot cheaper than tough spun...
-
Can't agree. Kodak shows no sign of abandoning film despite their diminished stature as compared to the past. I've been hearing "film is dead" for over 50 years. Come post again when it dies and I'll concede. Until then, the saga will continue...
-
I doubt the modification predates 1950, but the camera might. I assume they modified a projector to show this footage as well and that the camera had to use "C" mount lenses to cover the extended frame, over the typical "D" mount used on R8 cameras.
-
Could be a Kodak Stringset variant; one of the first "you push the button, we do the rest" that took 100 images per roll.